

Every tomato patch hands over a second harvest at the end of the season, and almost nobody uses it. Spent tomato vines hold minerals the plant spent all summer collecting, and they hold enough structure to be built with. Sending them to the curb in a bag wastes both. What narrows the options is disease, not the material itself.
Good end of season tomato plant care starts with sorting the vines. Late blight (Phytophthora infestans) and powdery mildew (Pseudoidium neolycopersici) do the most damage during the season, though both need living tissue and die along with the plant. What lingers on dead stems is early blight (Alternaria linariae) and Septoria leaf spot (Septoria lycopersici), and a cold heap carries either one straight through to spring. One rule runs through all of it: only clean material gets a second life.
1. Burn the Dry Vines and Save the Ash
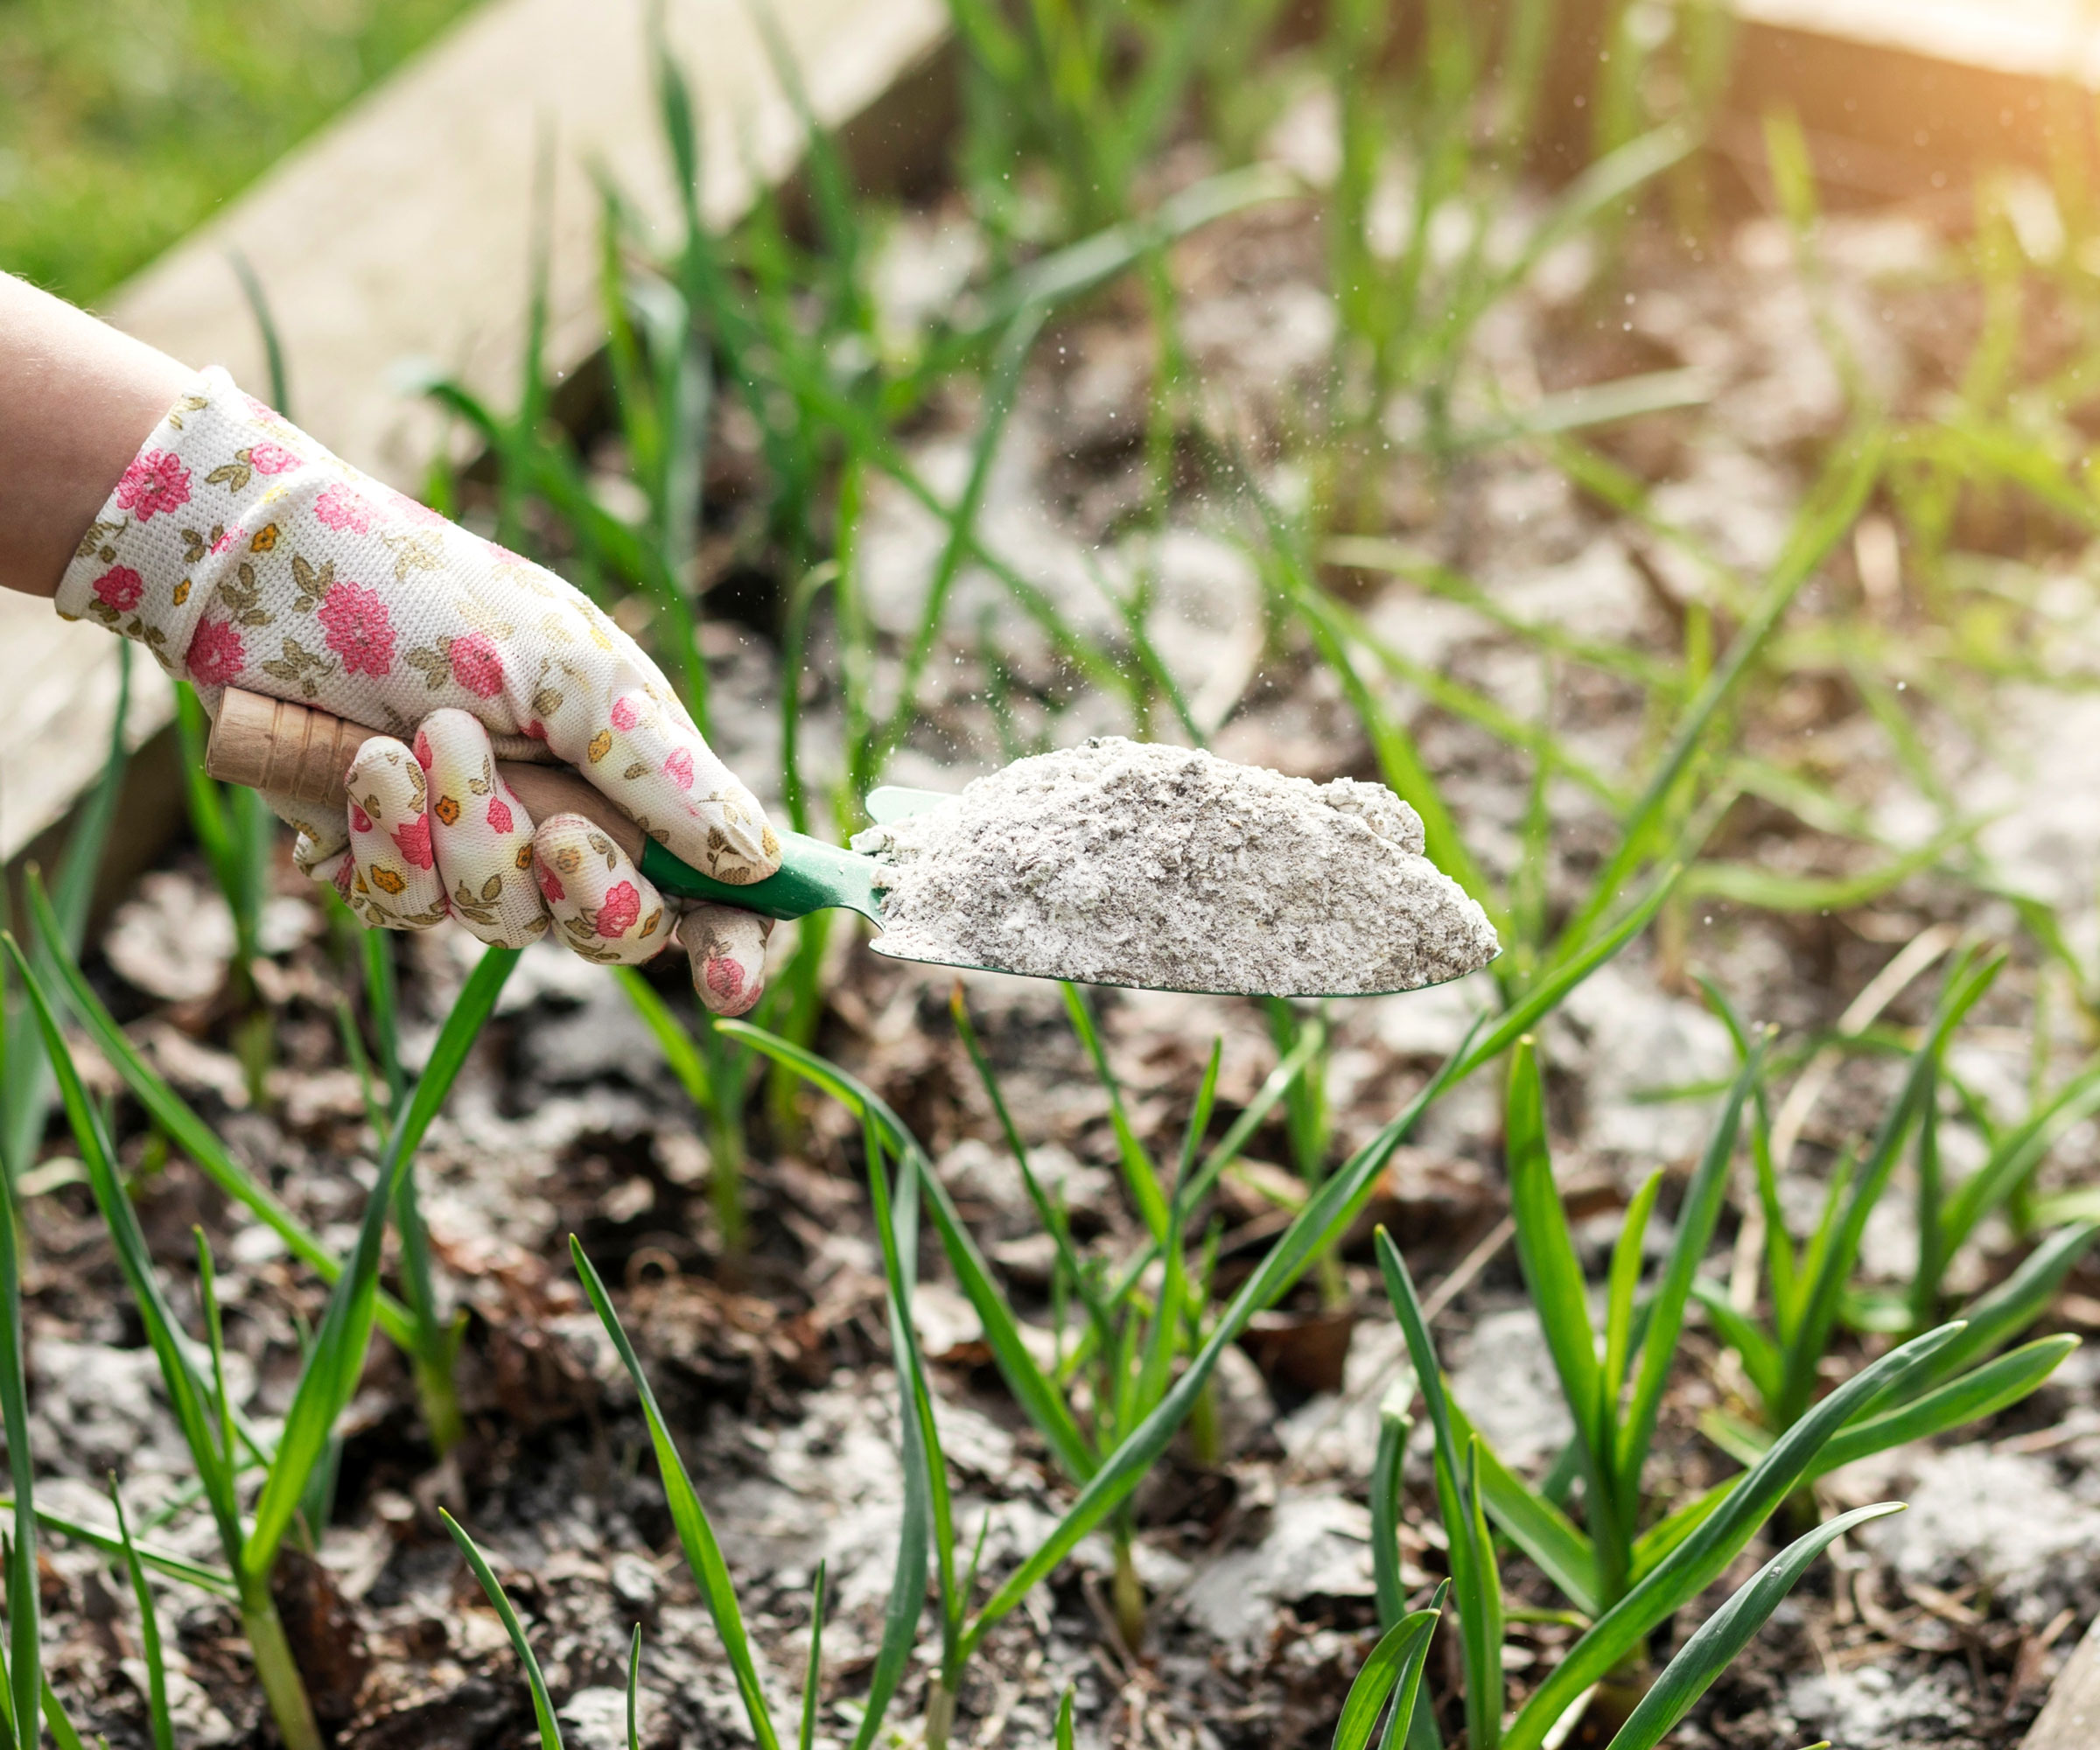
(Image credit: Mariana Serdynska / Shutterstock)
Vines have to be bone dry before they burn cleanly, so stack them somewhere sheltered for a few weeks first. Check local burn regulations before lighting anything. Plenty of counties restrict open burning outright, or allow it only in certain months. A contained burn can from Walmart keeps embers off dry grass in a way a loose bonfire pile can’t.
What is left is the mineral fraction of everything the plant pulled up all summer. Garden ash behaves much like wood ash, carrying potassium, a good deal of calcium, and enough liming effect to move soil pH in a single season. Spread it thin, no more than a five-gallon bucket's worth over 1,000 square feet (93sqm) of ground already sitting close to neutral. Keep it off blueberries and anything else that wants acid. Skip the potato bed altogether, because higher pH is what favors scab.
2. Char Them Instead if You Want Biochar
Burning and charring are not the same operation, and the difference matters here. Complete combustion leaves nothing but mineral ash. Pyrolysis – burning with the oxygen choked back – leaves biochar, which holds the carbon skeleton and the pore structure that makes it worth putting in soil.
Stems this thin do not give up much. One whole season of vines might char down to a few handfuls. This works best as an add-on when woodier material is going into the same burn anyway, like prunings or spent stakes. Crush the finished char and let it sit in compost or a bucket of diluted fish emulsion for a couple of weeks. Raw char pulls nutrients out of soil before it starts giving any back.
3. Bury Them Deep... Just Not under Next Year's Tomatoes
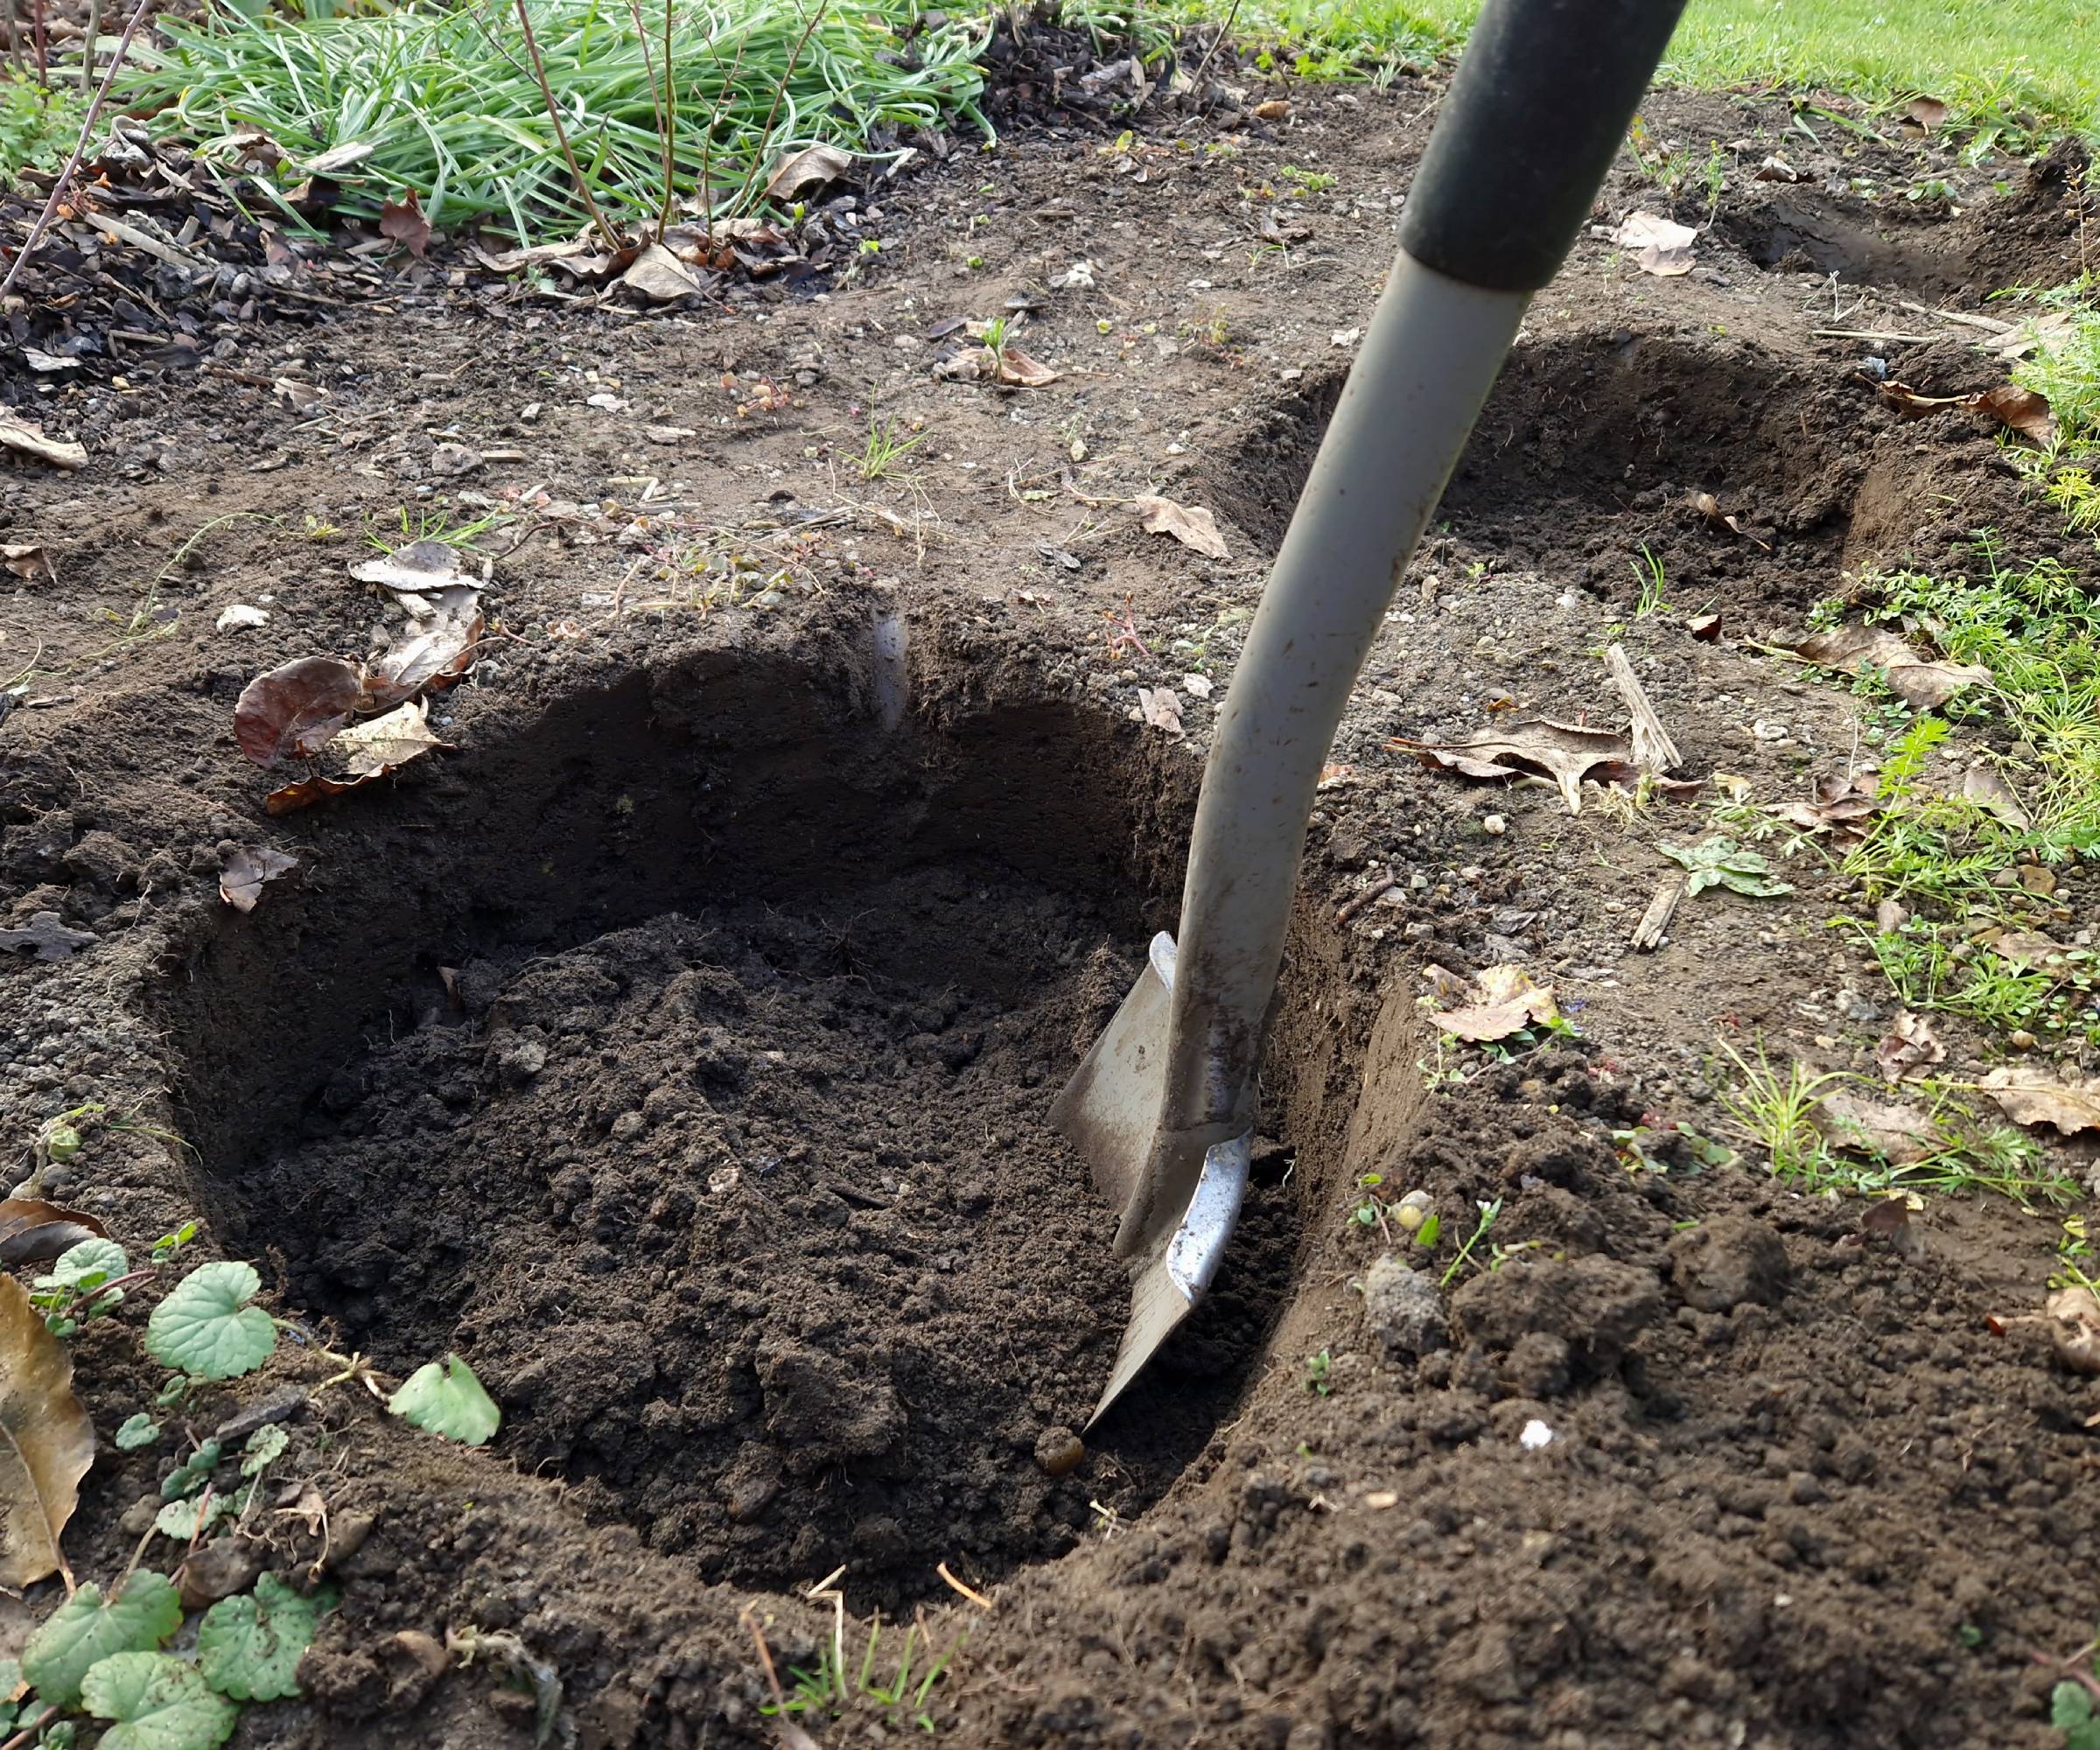
(Image credit: beekeepx / Getty Images)
Burial beats a cold heap outright. Soil biology is faster and more thorough. Dig a trench 12 inches (30cm) deep, lay the chopped vines in, and cover it back over. Chopping matters more than it sounds. A bypass lopper from Amazon run through the thick basal stems turns a tangle into something that packs flat and breaks down evenly.
Placement is where this goes wrong. Never trench tomato debris under ground slated for tomatoes, peppers, eggplant, or potatoes next season. Early blight and Septoria both persist in soil and old debris. Two to three years away from solanaceous crops is the standard rotation. Brassica and allium beds are both fine. Beans work too, and the nitrogen they fix offsets some of what the decomposing stems tie up.
4. Weave the Sturdiest Stems into a Trellis or Wreath
Clean vines only, and only ones still supple. Main stems on an indeterminate tomato plant turn properly woody by September, and pulled fresh they bend without snapping. Give them an hour in the sun to lose a little water first, then coil the longest ones into a ring and tuck the loose ends back through themselves.
Expect one season out of it. Those stems are pithy and go brittle as they dry, so a woven trellis is a summer object rather than a permanent structure. Wreaths last better indoors where they stay dry. Green stems shrink as they cure, so weave tighter than looks right and bind the coil at three or four points with jute. Loose rings fall apart by November.
5. Lay Them Down as a Path Liner
Walkways between beds are the easiest place to absorb a lot of bulk. Lay the vines flat down the middle of a path, overlap them, and cover the lot with wood chips or straw. They block light well enough to hold weeds back through fall and winter. By spring most of what is underneath has flattened into a mat.
One trade-off comes with it. Damp mats of vines and chips are the shelter gray field slugs (Deroceras reticulatum) hunt for over winter, so keep it on the path itself and off the bed edges. Skip any path bordering next year’s nightshades for a separate reason. Rain splash onto lower leaves is exactly how early blight gets started in the first place.
6. Steep Clean Foliage into a Pest Spray
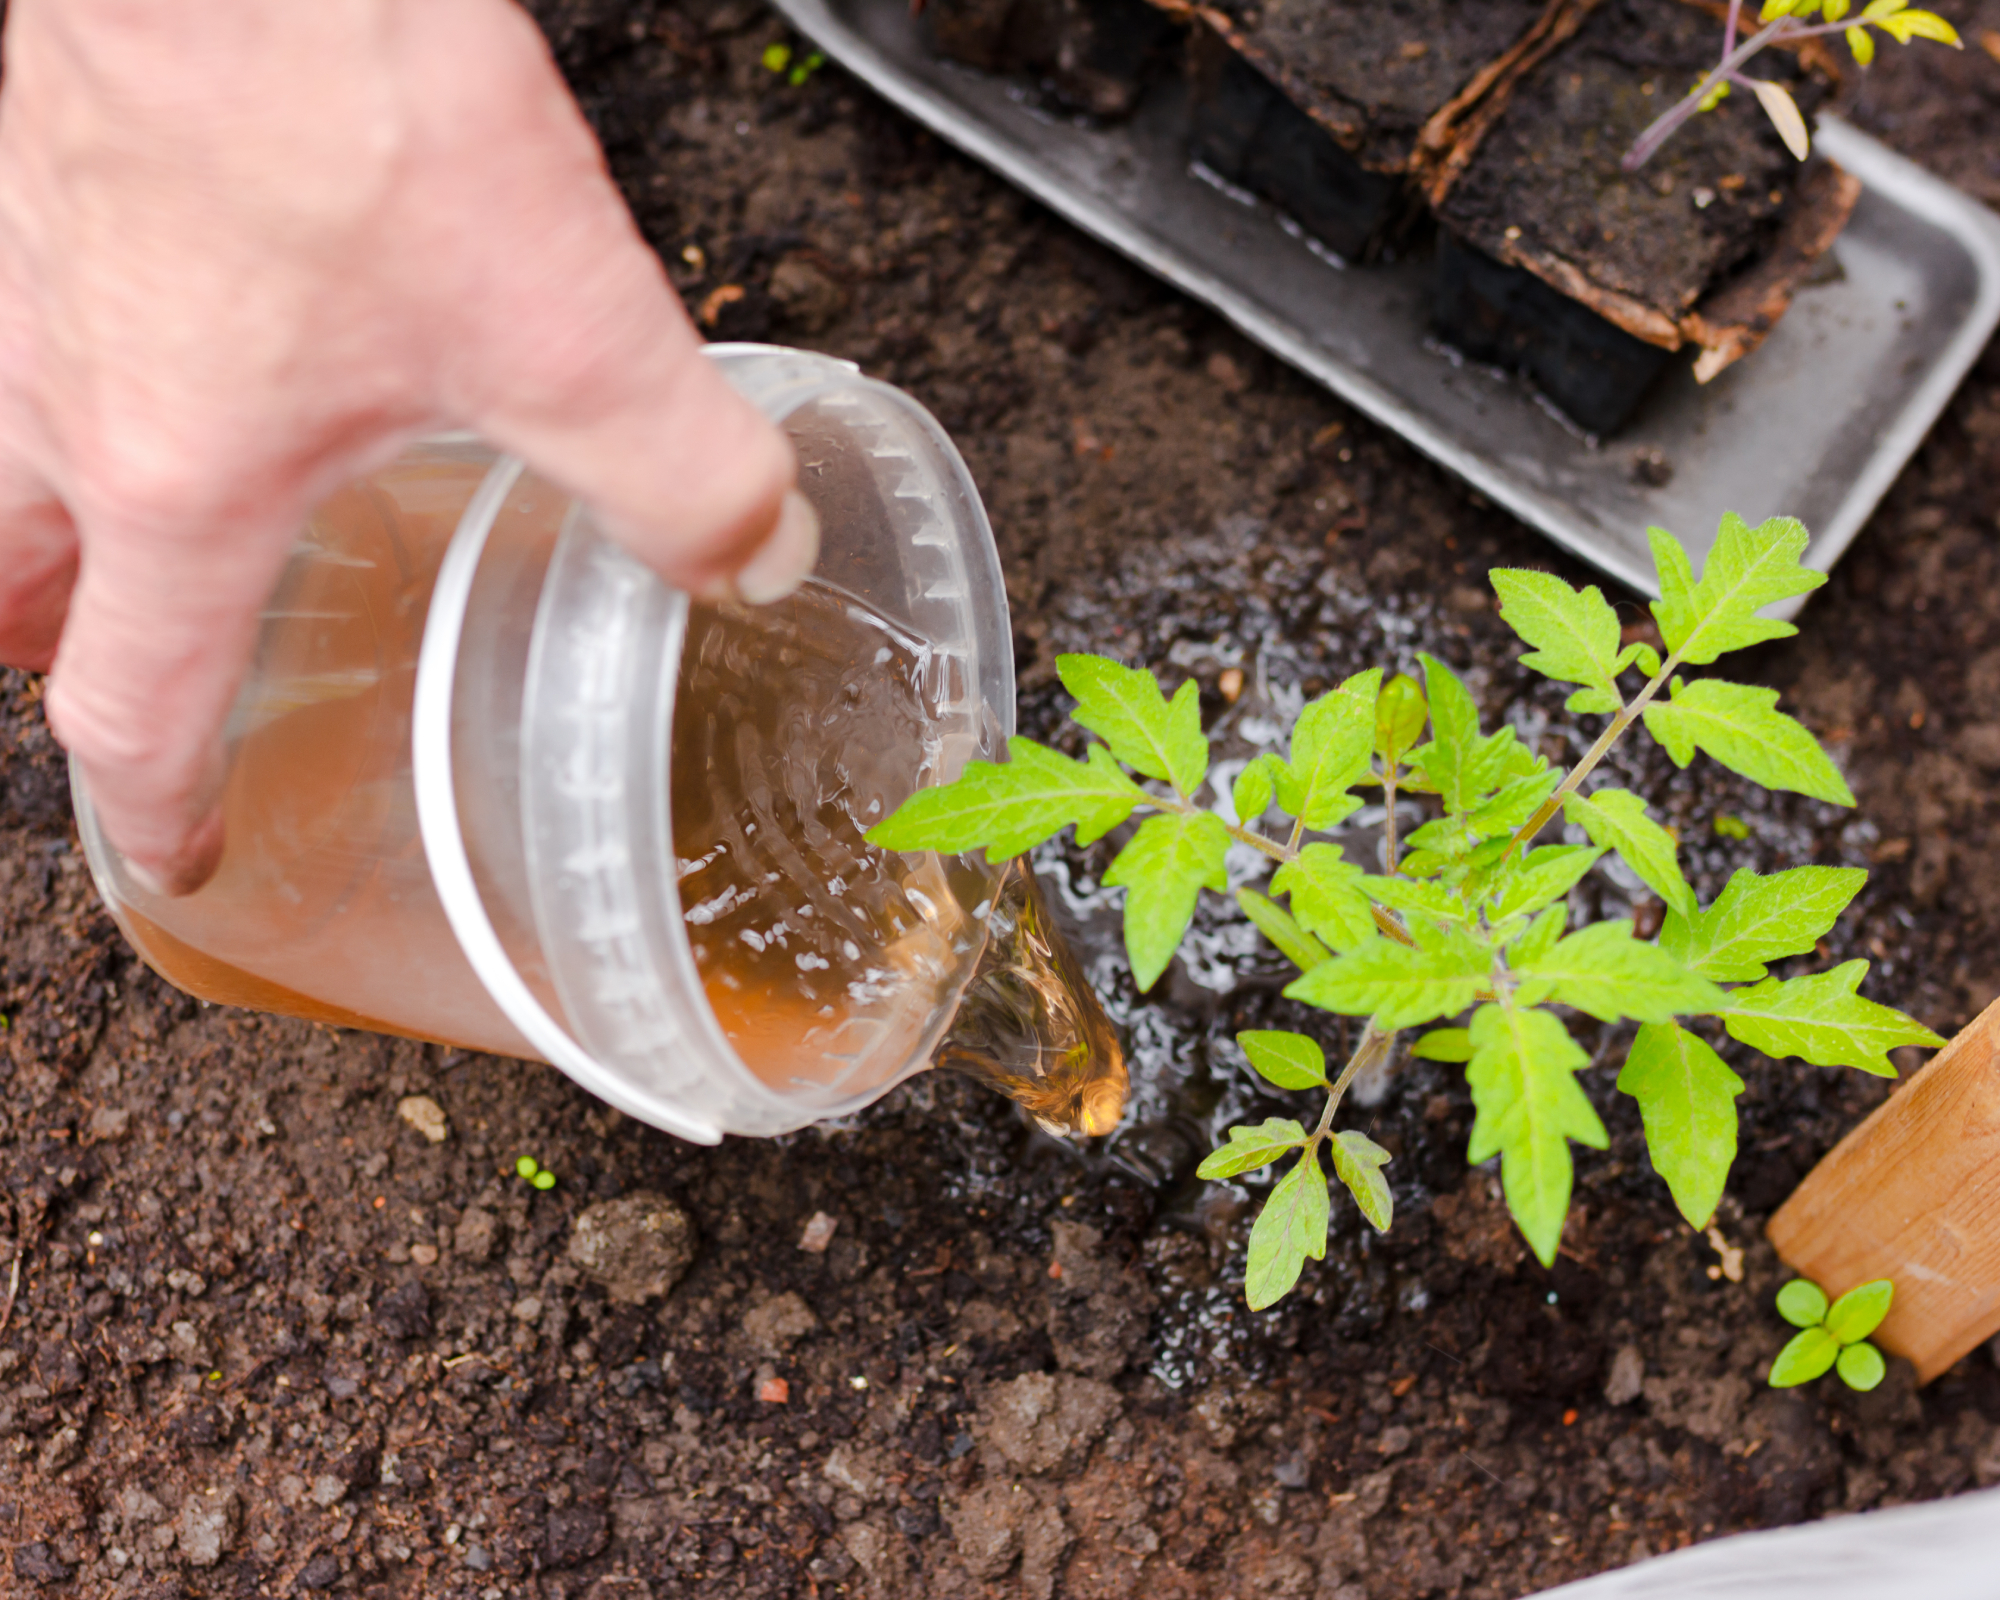
(Image credit: Habrovich / Getty Images)
This one carries more caveats than the rest. Tomato foliage contains tomatine and related alkaloids. The old kitchen method steeps two cups (475ml) of chopped leaves in a quart (950ml) of water overnight, then strains and dilutes it before use. Gardeners have used it on aphids and small caterpillars for generations. Hard evidence is thin – the whole practice is anecdotal rather than trial-backed.
Two rules are not optional. Use foliage only from plants that showed no symptoms all season. Tomato mosaic virus survives in dried debris for up to two years and travels by simple contact. A sprayer full of infected leaf water is about the most efficient way to spread it that anyone has invented. Never put it on other nightshades. Keep the finished solution away from pets and children, and run it through a dedicated pump sprayer from Home Depot rather than one that also handles herbicide.
Heavily diseased plants get none of this. Bag them, leave the bag in full sun for a few days so the tissue and whatever lives in it die off, then put it out with household trash. Everything else in that pile is just material nobody has sorted yet.
















 English (US) ·
  French (CA) ·