

The first few days of November bring a familiar sorry sight, as pumpkins start piling up beside the trash cans, a few of them still grinning. Millions end up in landfills every year, where they break down without much air and give off greenhouse gases. That's a poor end for leftover Halloween pumpkins. In a garden, all that soft tissue could be breaking down into organic matter and feeding soil life – and that’s just the start.
If you took the time to grow pumpkins for Halloween, you know how much space, moisture, and fertilizer a single vine demands. All summer long, its leaves absorbed sunlight and pumped nutrients directly into its swollen fruit. Letting those nutrients leave your yard in a trash bag deprives your yard of valuable goodness that could be benefiting vegetable beds, feeding organisms and helping beneficial creatures. Even a carved pumpkin can have a second life as long as it hasn't been painted or coated.
Giving your post-Halloween gourds a productive second act is simple, fun, and satisfying. The only rule is that your fruit needs to be clean and free of contaminants. Any sections coated in craft paints, glitter, chemical sealants, or fake snow must be removed and tossed into the trash. Pull out any burnt candle stubs, melted wax, and battery-powered tea lights, and you are ready to put this fall bounty to work!
Give Your Pumpkins a Second Life
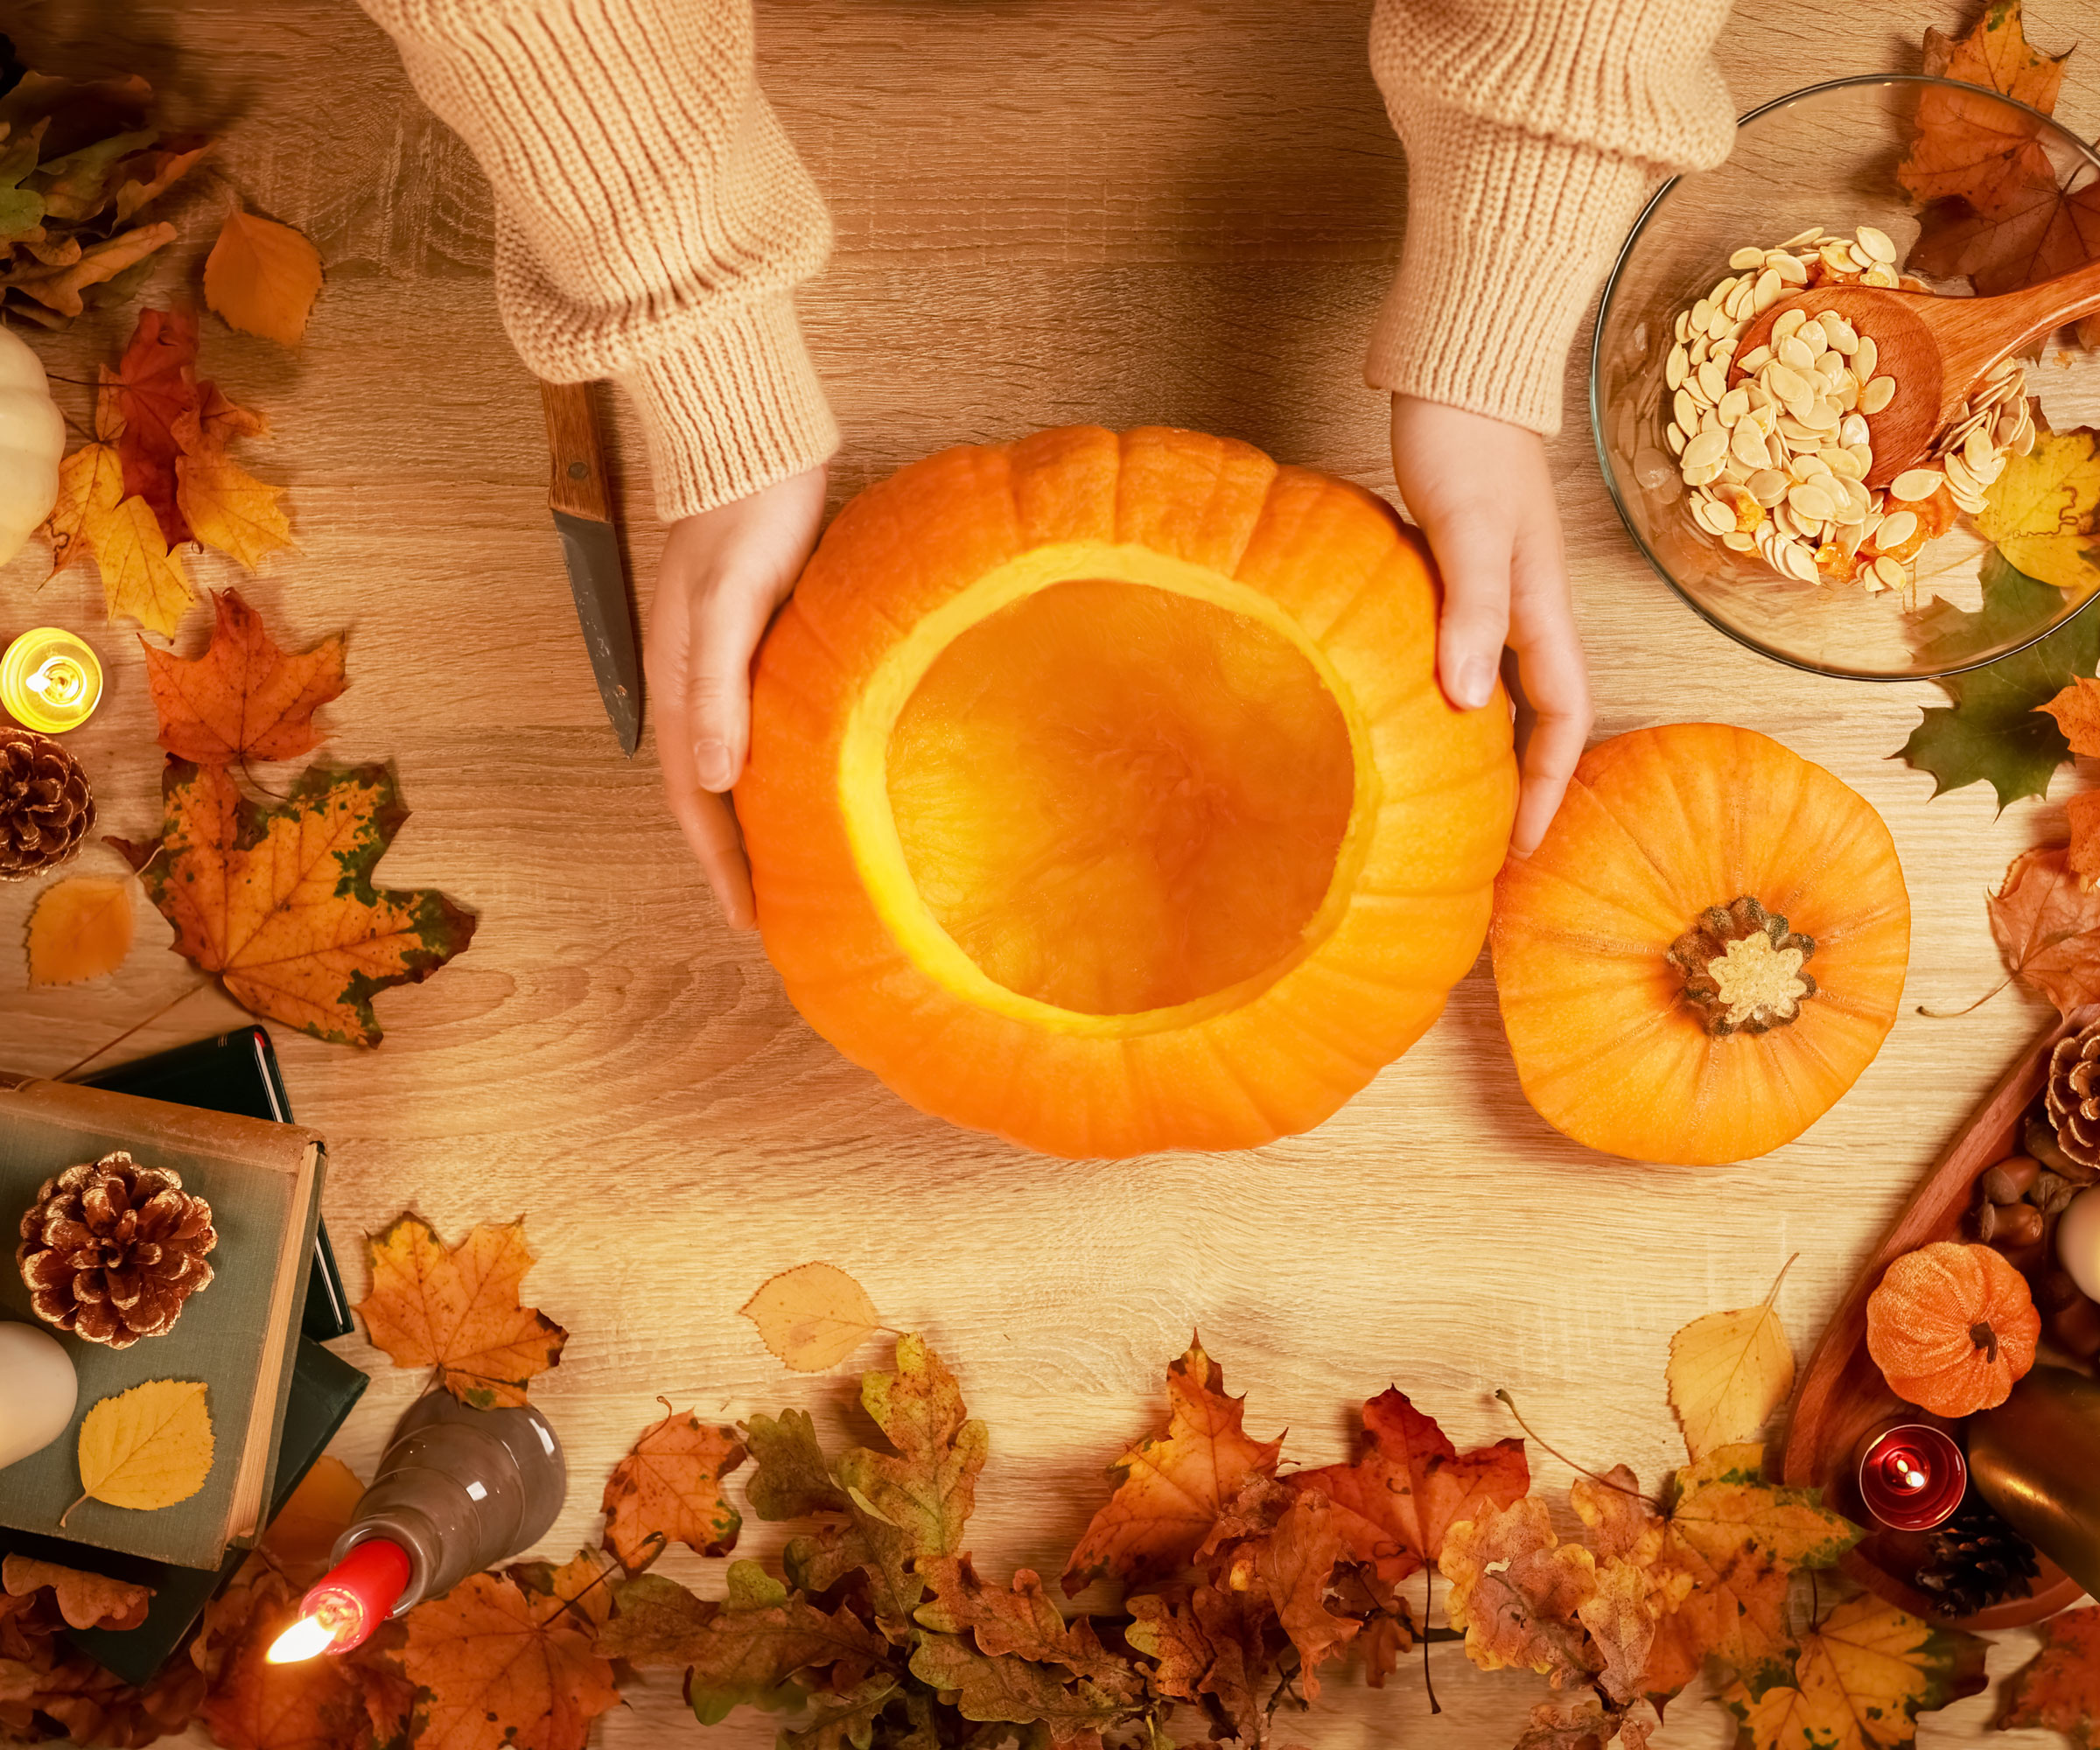
Turning post-holiday pumpkins into garden assets is a real no-brainer. Standard carving pumpkin varieties like Howden and Jack O' Lantern work especially well for the soil, because their flesh is tender and relatively easy to slice. Thicker, denser culinary and heirloom varieties (such as ribbed Cinderella, dusty-blue Jarrahdale, or warty Marina di Chioggia) offer firmer rinds that hold their shape for weeks, making them ideal where shape and rigidity are useful.
(Image credit: Kyrylo Syvun / Getty Images)
These fall projects work across every USDA hardiness zone, though local temperatures will determine how quickly your gourd decomposes. In cold northern regions (zones 3-5), freezing nights preserve carved pumpkins on porches longer, but freeze-thaw cycles eventually cause cell walls to collapse into watery slop, making early November the best time to act. In warm southern places (zones 8-10), elevated daytime temperatures accelerate mold and fruit flies, requiring immediate conversion into ground-based or wildlife-specific benefits.
Before tackling these projects, you need the right hand tools. A heavy-duty hori-hori knife is an excellent investment if you don’t have one, and can be used to simplify all kinds of cutting work. The Nisaku Hori-Hori from Amazon is great value and makes slicing through thick rinds a joy, and levers drainage holes through thick base walls without snapping. So find out exactly why your grinning pumpkin still has lots of goodness to give…
1. Enrich Your Soil with Clever Composting
(Image credit: Andreas Häuslbetz / Getty Images)
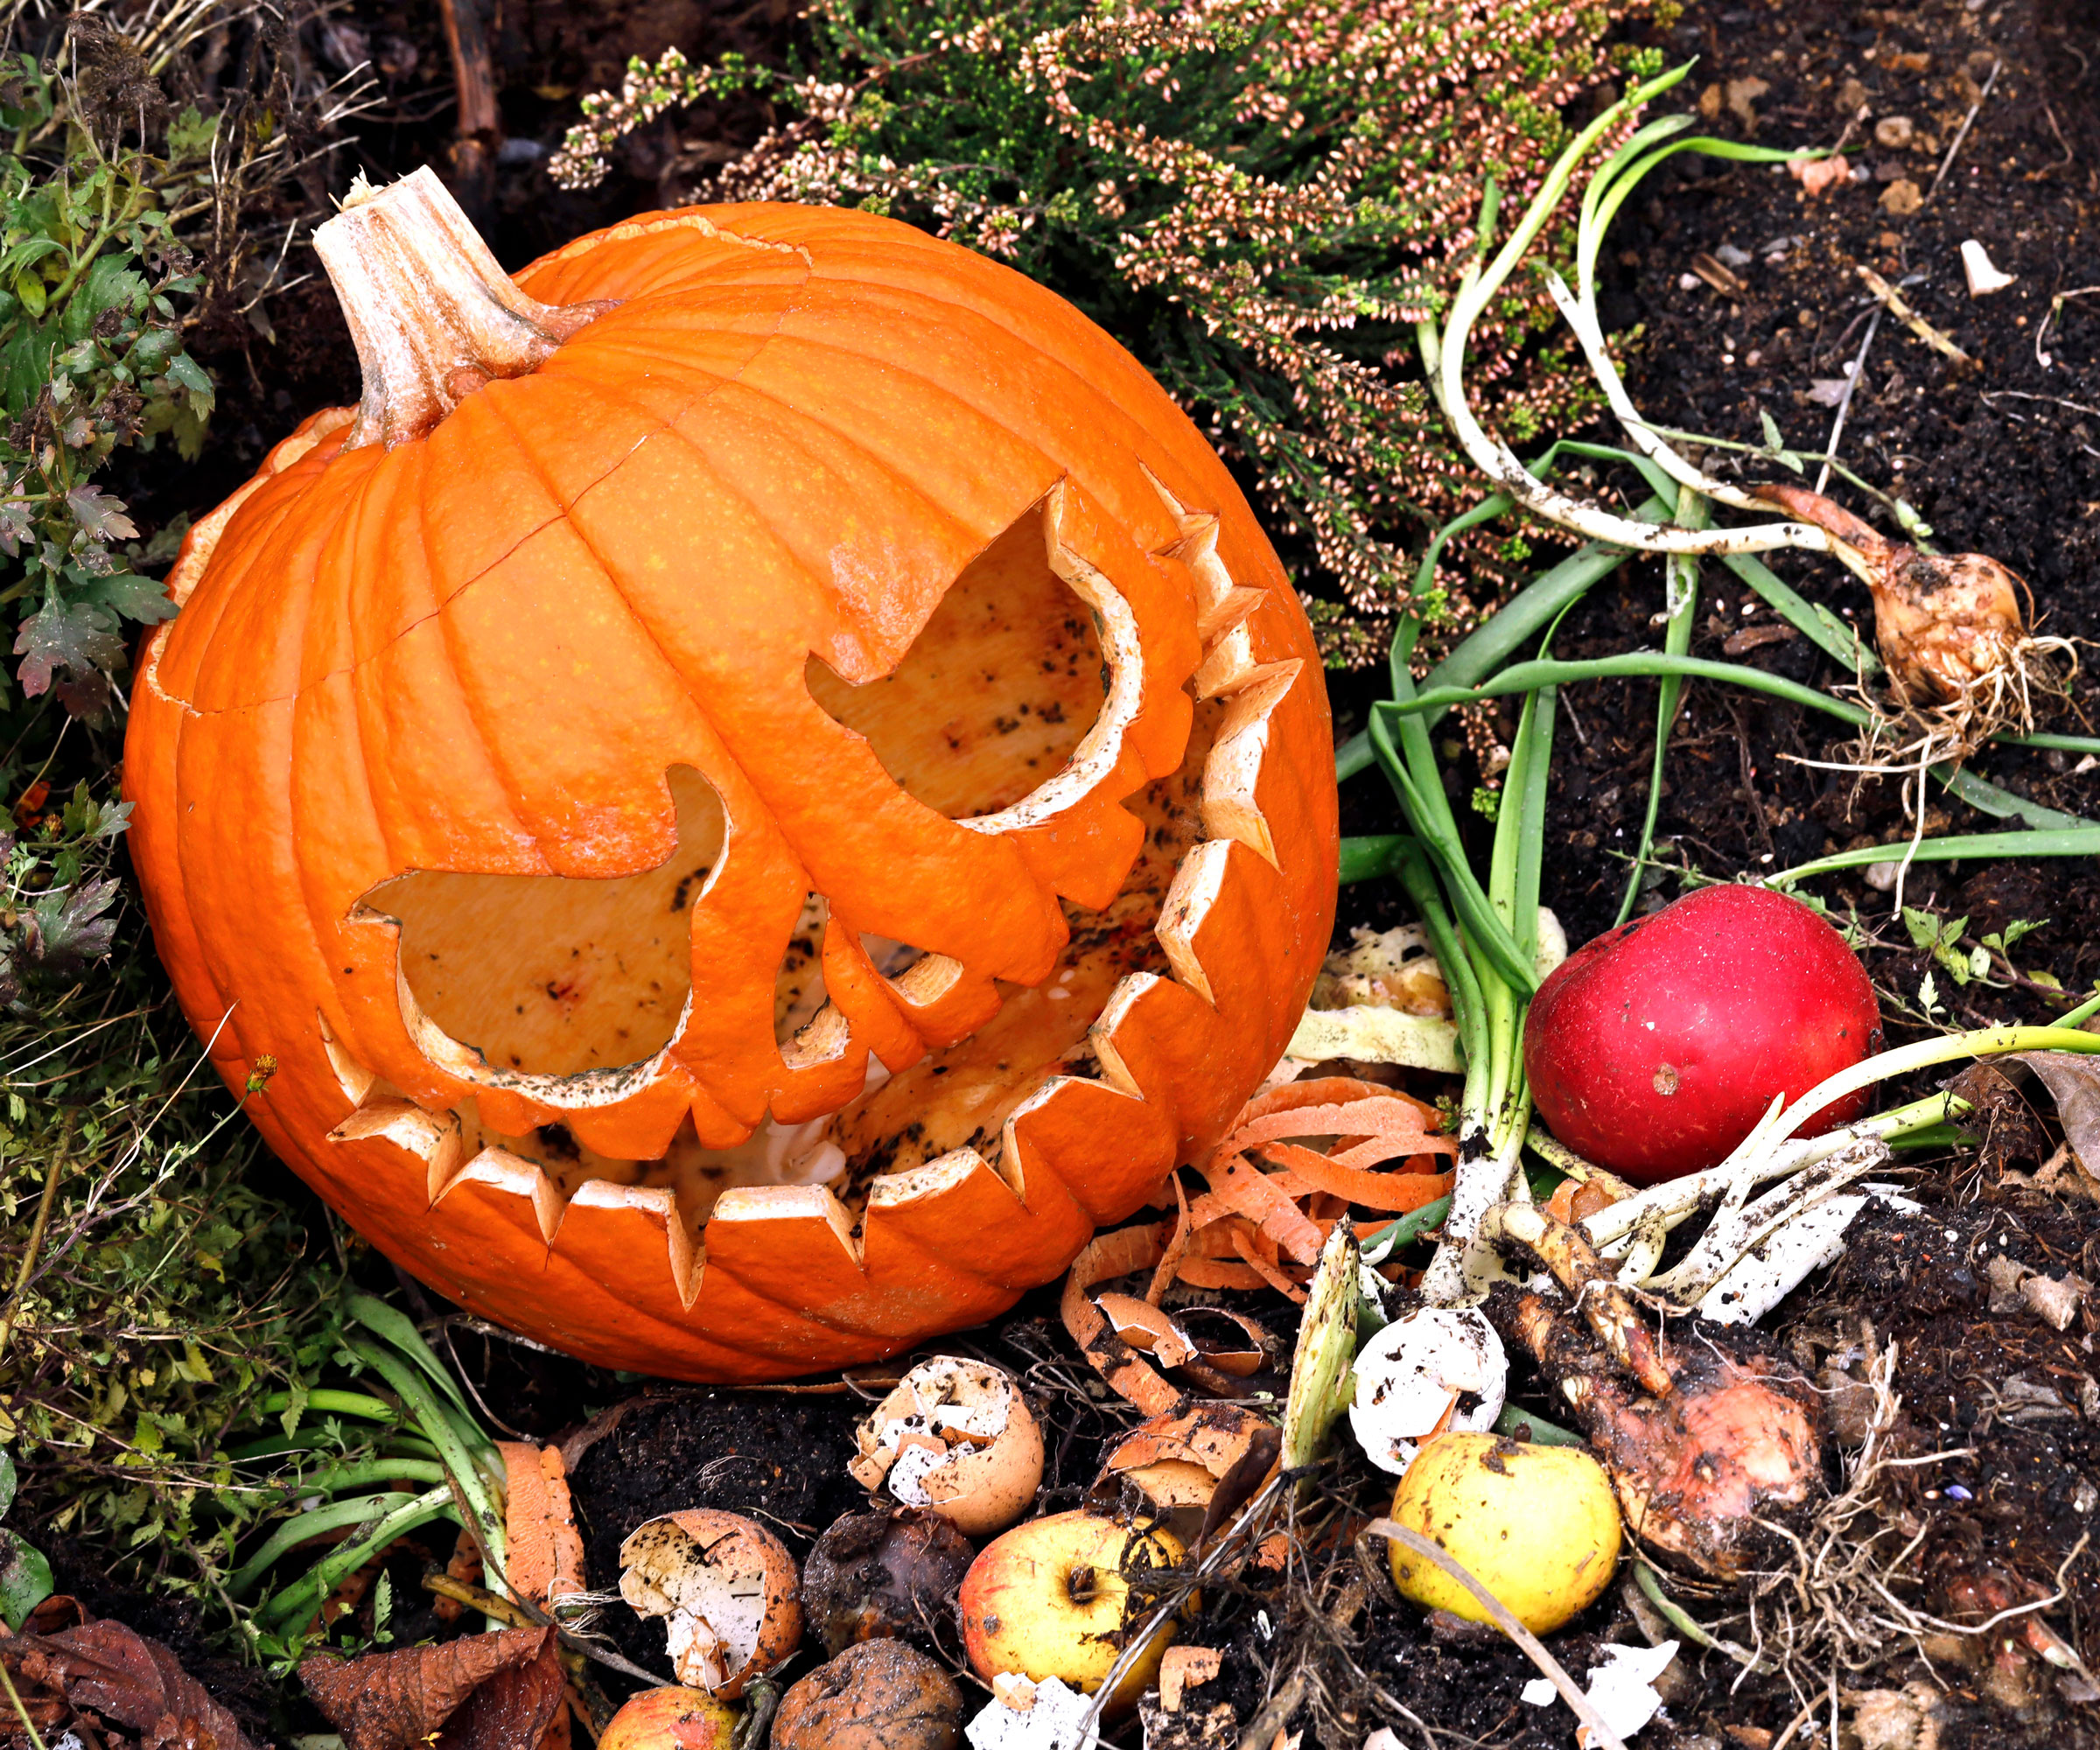
Tossing an intact pumpkin onto your compost heap can lead to disappointment. Its waxy rind acts like a raincoat, and depending on the variety and the weather, it could sit there for a long time with its skin intact. It needs breaking up first. Take a sharp spade or round-point shovel, and break the fruit down into fist-sized chunks to expose the flesh to soil bacteria and fungi.
Because the tissue is roughly 90% water, this green compost source needs plenty of dry browns mixed in. Balance every bucket of chopped pumpkin with two buckets of carbon-rich browns, such as shredded leaves, straw, or torn cardboard to keep the pile aerated. Turn the heap now and then. If space is tight, a single-chamber tumbler like the Vivosun Outdoor Dual Chamber Tumbling Composter, available from Amazon speeds up heat decomposition in a more compact way.
If your compost heap is overflowing, try direct trench composting in an empty veg bed. Dig a trench 18-24 inches (45-61cm) deep, in a bed reserved for heavy-feeding spring crops like sweet corn, squash, or tomatoes. Fill the bottom with chopped chunks and stomp them down. Backfill with 12 inches (30cm) of clean soil. Don’t go shallower, or neighborhood raccoons may smell it and dig it back up. Loose, well-drained soil can break it down in 2-3 months, but if you have heavy clay soil, you may still hit chunks of pumpkin a year from now, so be patient.
2. Harvest the Seeds for Planting
(Image credit: Kelly Sillaste / Getty Images)
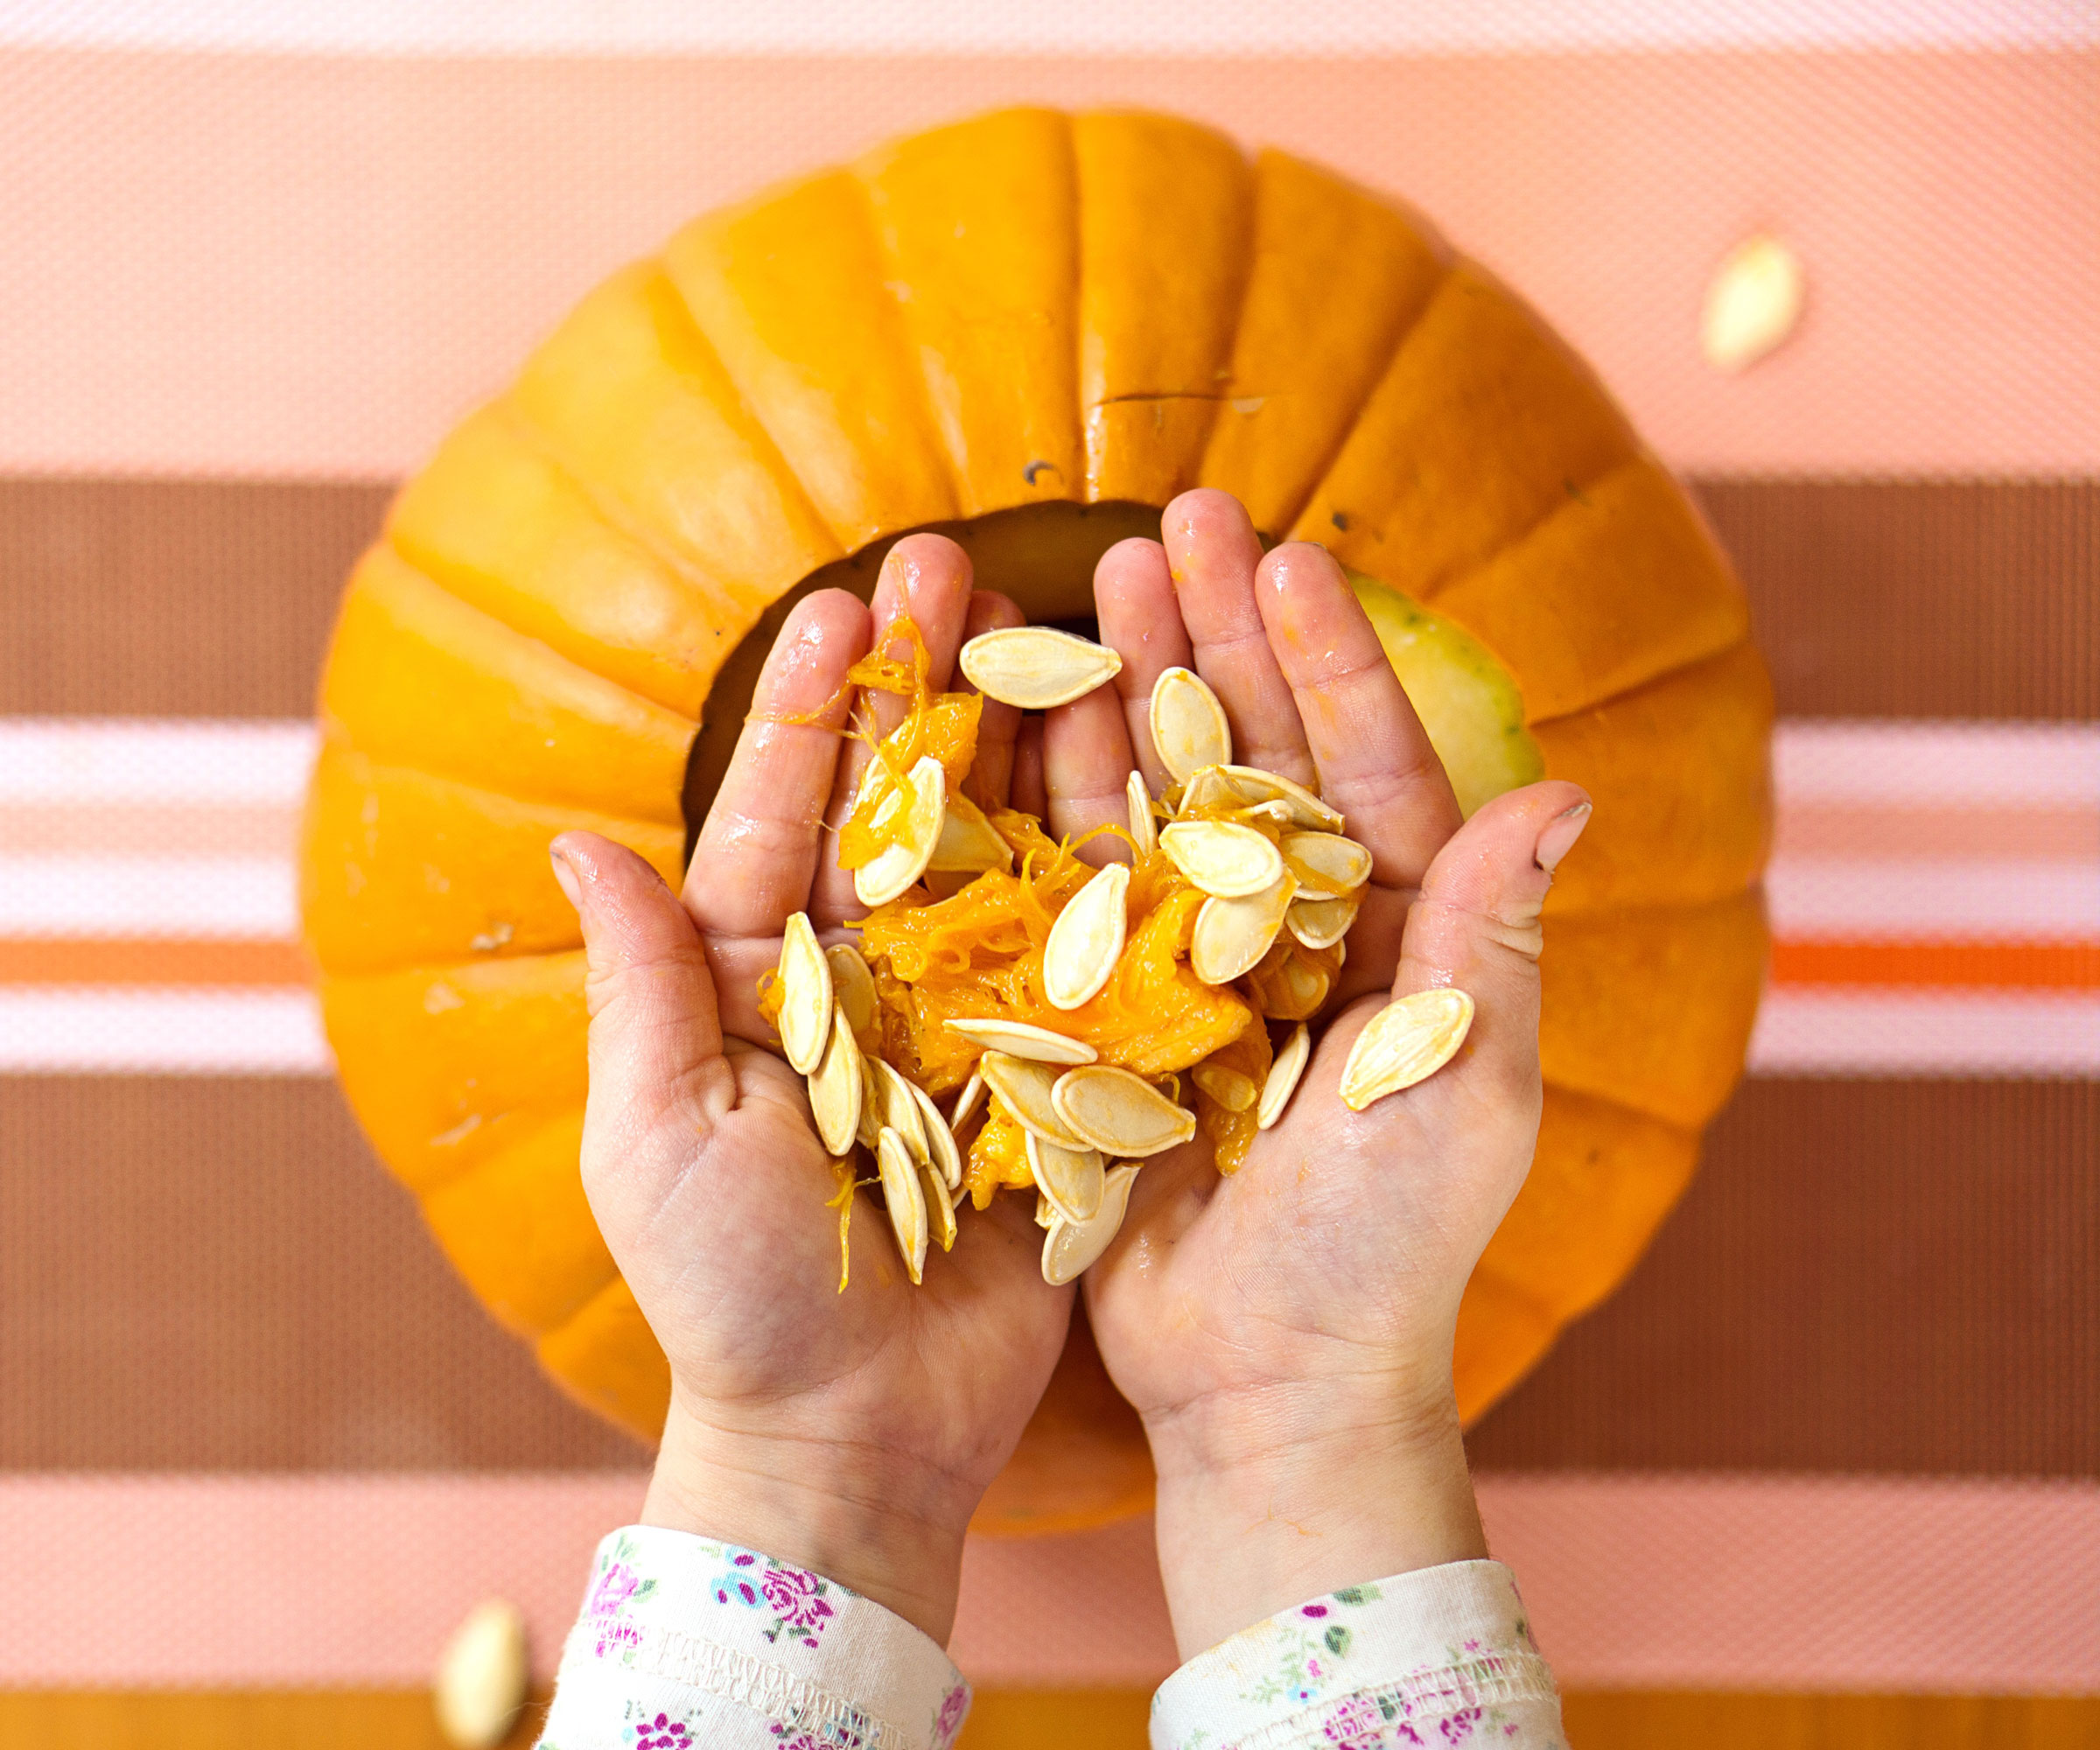
A healthy, mature Halloween pumpkin contains hundreds of plump seeds loaded with goodness. If your pumpkin grew with vibrant color and a firm rind, these seeds are prime candidates for saving for next year. Strain the tangled seed mass in a colander and massage it under a stream of cold running tap water to strip away the pulp. Spread the cleaned seeds in a single layer over non-stick parchment paper, a fine metal screen, or a ceramic plate. Let them dry in a warm, well-ventilated room out of direct sunlight for 2-3 weeks.
To test for dryness, try bending one: if it flexes, it still retains moisture, but if it snaps in half, your seeds are ready to store. Slide your dried seeds into breathable kraft paper seed envelopes. Pour them into paper seed envelopes, like the Seed Packet Kraft Envelopes, available from Walmart in packs of 100. Write the variety and date on the front, and store in a cool, dark drawer. Word to the wise, though: modern carving pumpkins are typically hybrids that won’t go true to type. Also, bees can cross-pollinate squash varieties across neighborhood zucchinis, so next spring’s seedlings may produce some wacky, unpredictable gourds.
3. Turn Your Pumpkin into a Bird Feeder
(Image credit: Anna Richard / Getty Images)
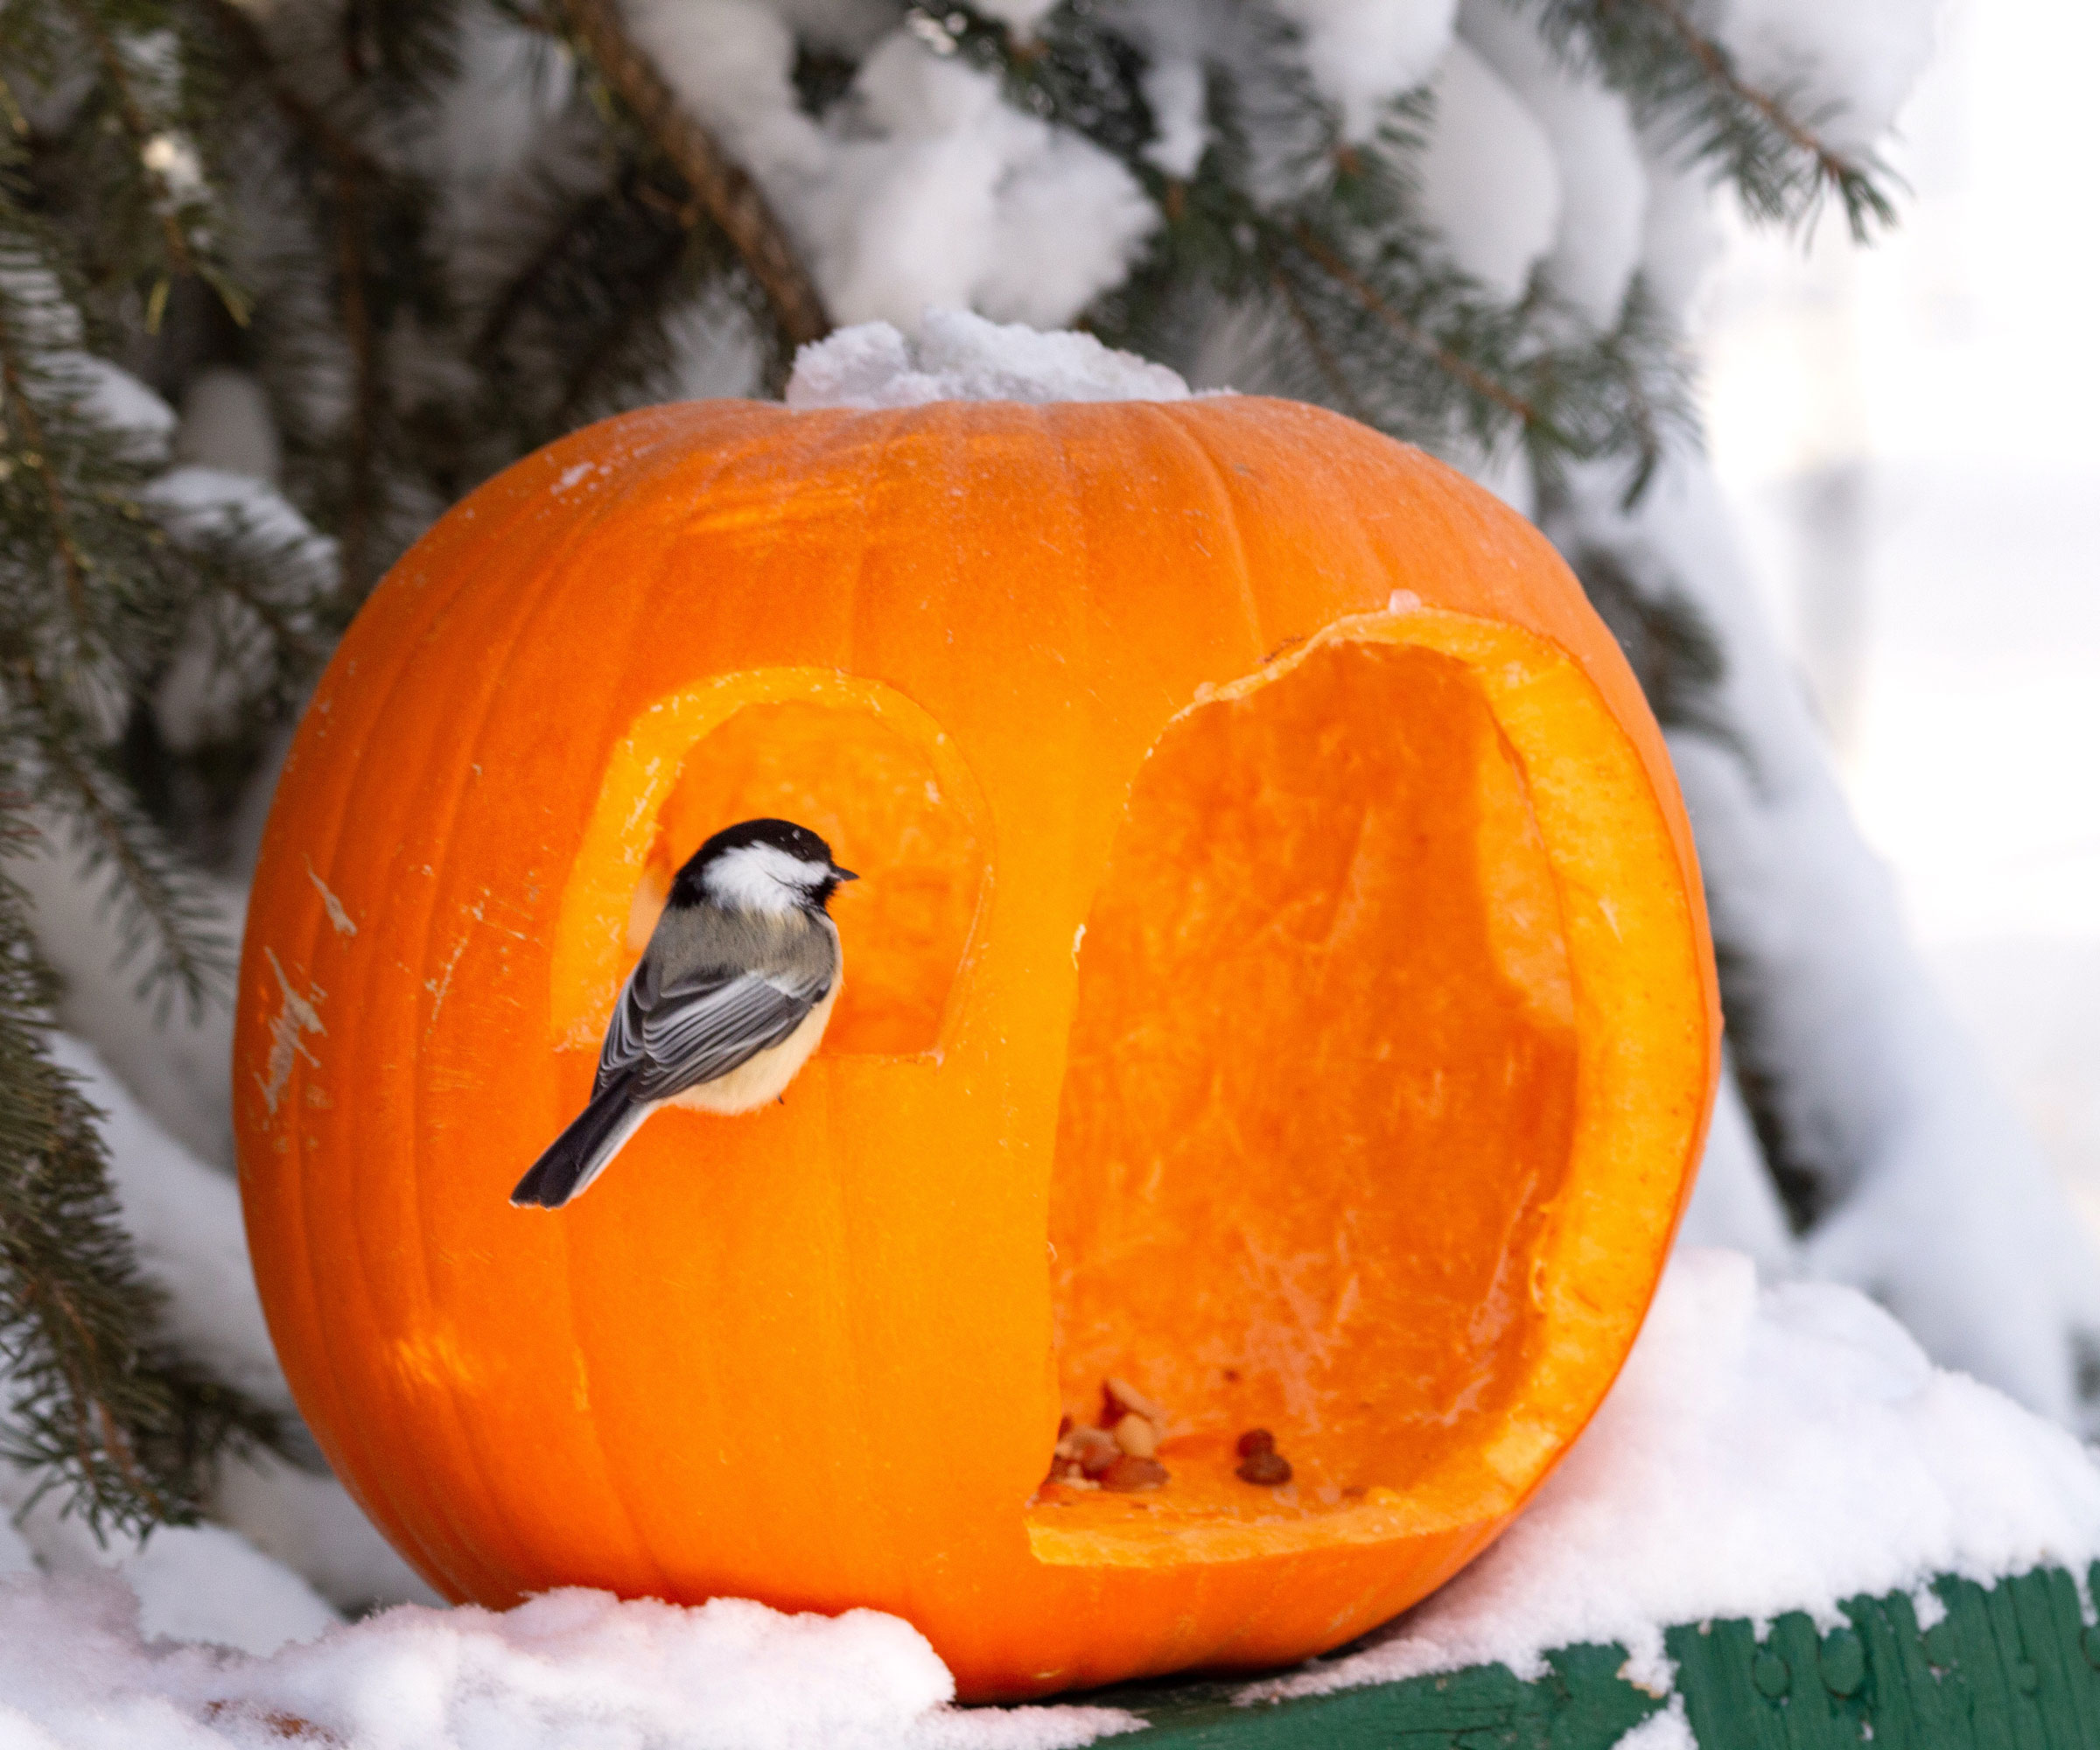
Songbirds burn through vital fat stores as November temperatures drop, and a firm pumpkin makes a wonderful natural feeding bowl (although it’s best to stick to uncarved porch pumpkins for this project). Cut your pumpkin in half across the middle, or slice the top third off. Using a sturdy spoon or hori-hori to scrape out the inner pulp and seeds, until the interior walls are clean. Poke 3-4 half-inch (1.25cm) drainage holes through the base using a large screwdriver.
Punch 3 evenly spaced holes along the thick top rim, thread some sturdy jute twine through, and hang the bowl from a sturdy tree limb or pergola beam. Alternatively, set the flat shell on a low wall, tree stump, or deck railing. Fill with black-oil sunflower seeds or a good seed blend, such as Pennington Wild Bird Food from The Home Depot. You can also use some of your rinsed and dried pumpkin seeds as extra treats. These nutritious kitchen scraps make a nourishing treat for cardinals, blue jays and titmice. Just inspect every few days: when the inner walls turn squishy or develop fuzz, take the feeder down and consign it to the compost heap.
4. Repurpose as a Biodegradable Planter
(Image credit: VICUSCHKA / Getty Images)
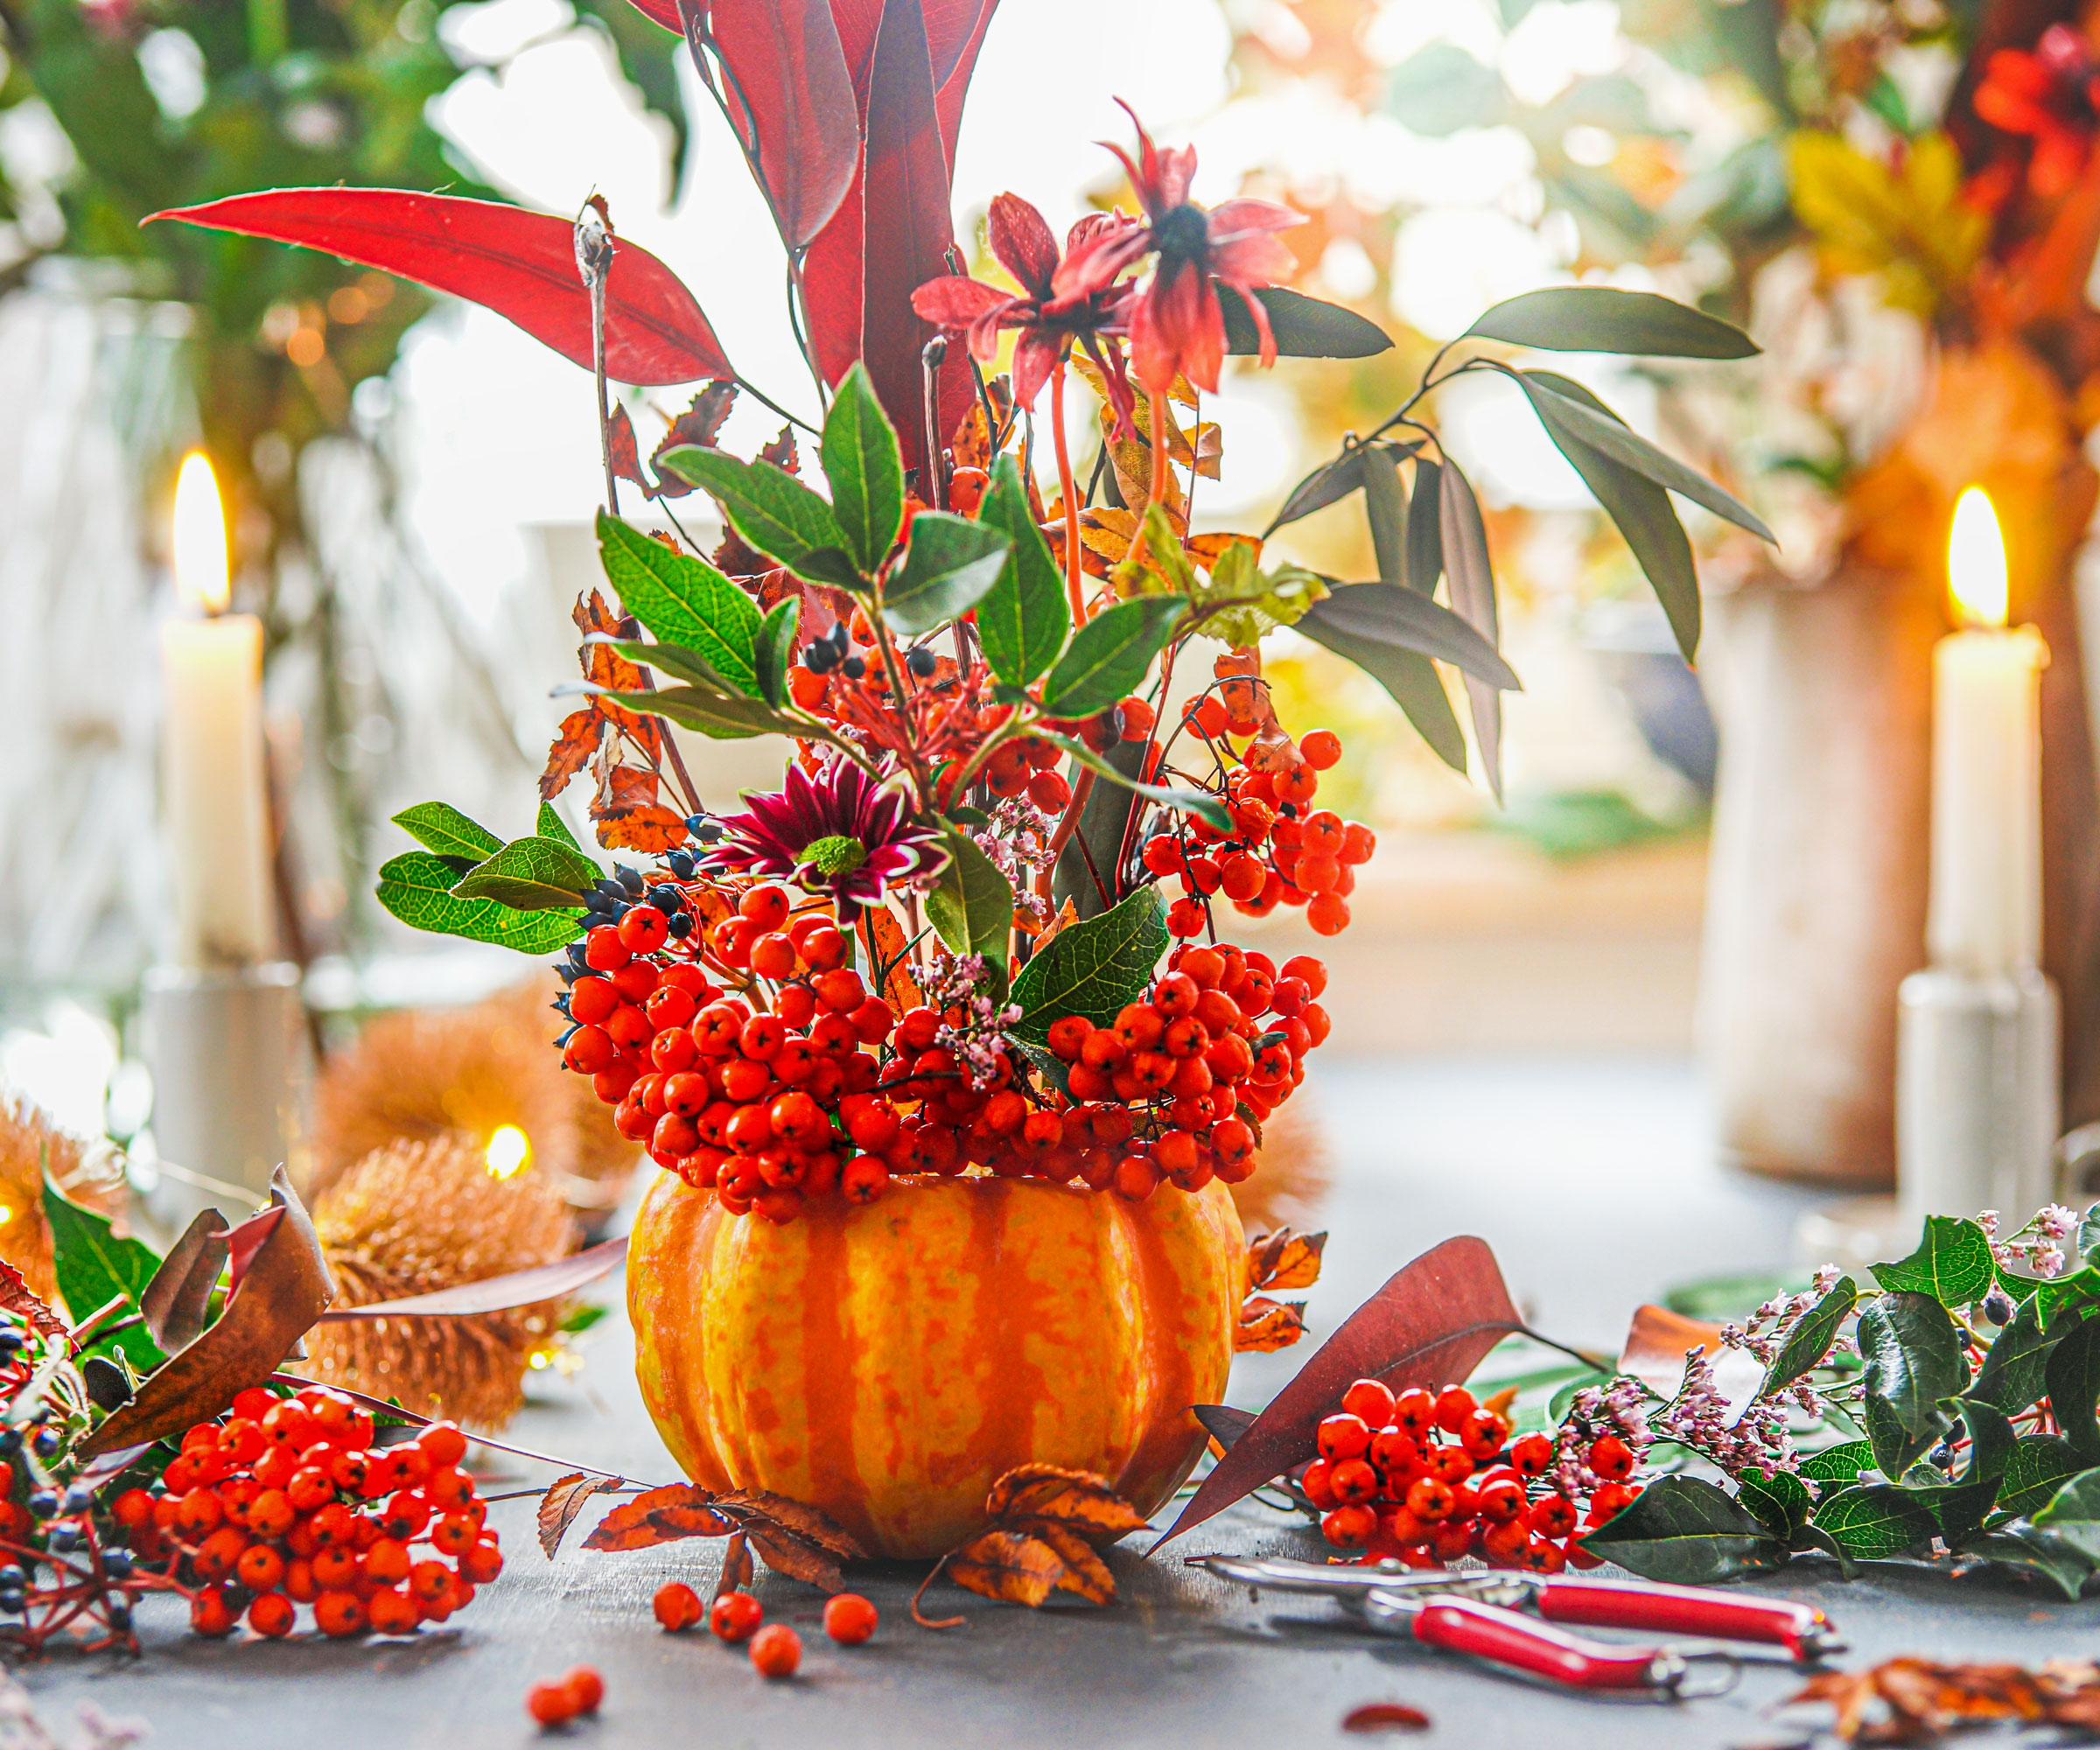
If you have a solid (again, uncarved) ornamental pumpkin on your porch, you can turn it into a temporary planter. Carve a generous opening around the stem and scoop out the pulp and seeds. Using a long screwdriver, puncture 4-5 generous drainage holes through the bottom crust. If you need a good screwdriver, Black Canyon’s Phillips Extended Length Screwdriver with Soft Grip Ergonomic Handle from Walmart is an efficient way to punch through thick rinds. Elevate the pumpkin on some stone or a trivet for drainage, as sitting water will rot the base rapidly.
Fill the lower half of the pumpkin with light, free-draining potting soil, then tuck in your choice of cold-tolerant fall ornamentals. Some great options include dwarf flowering kales, ruffled ornamental cabbages, winter violas, pansies, and trailing English ivy. These cold-hardy choices will look fresh and colorful for 2-4 weeks. With wet soil sitting inside it, the pumpkin starts softening from the inside out, and a few freeze-thaw nights will hurry it along. When yours starts to sag, move the plants to a bed or regular pot, and compost the gourd.
5. Set Out Rinds as a Slug Trap
(Image credit: Szakaly / Getty Images)
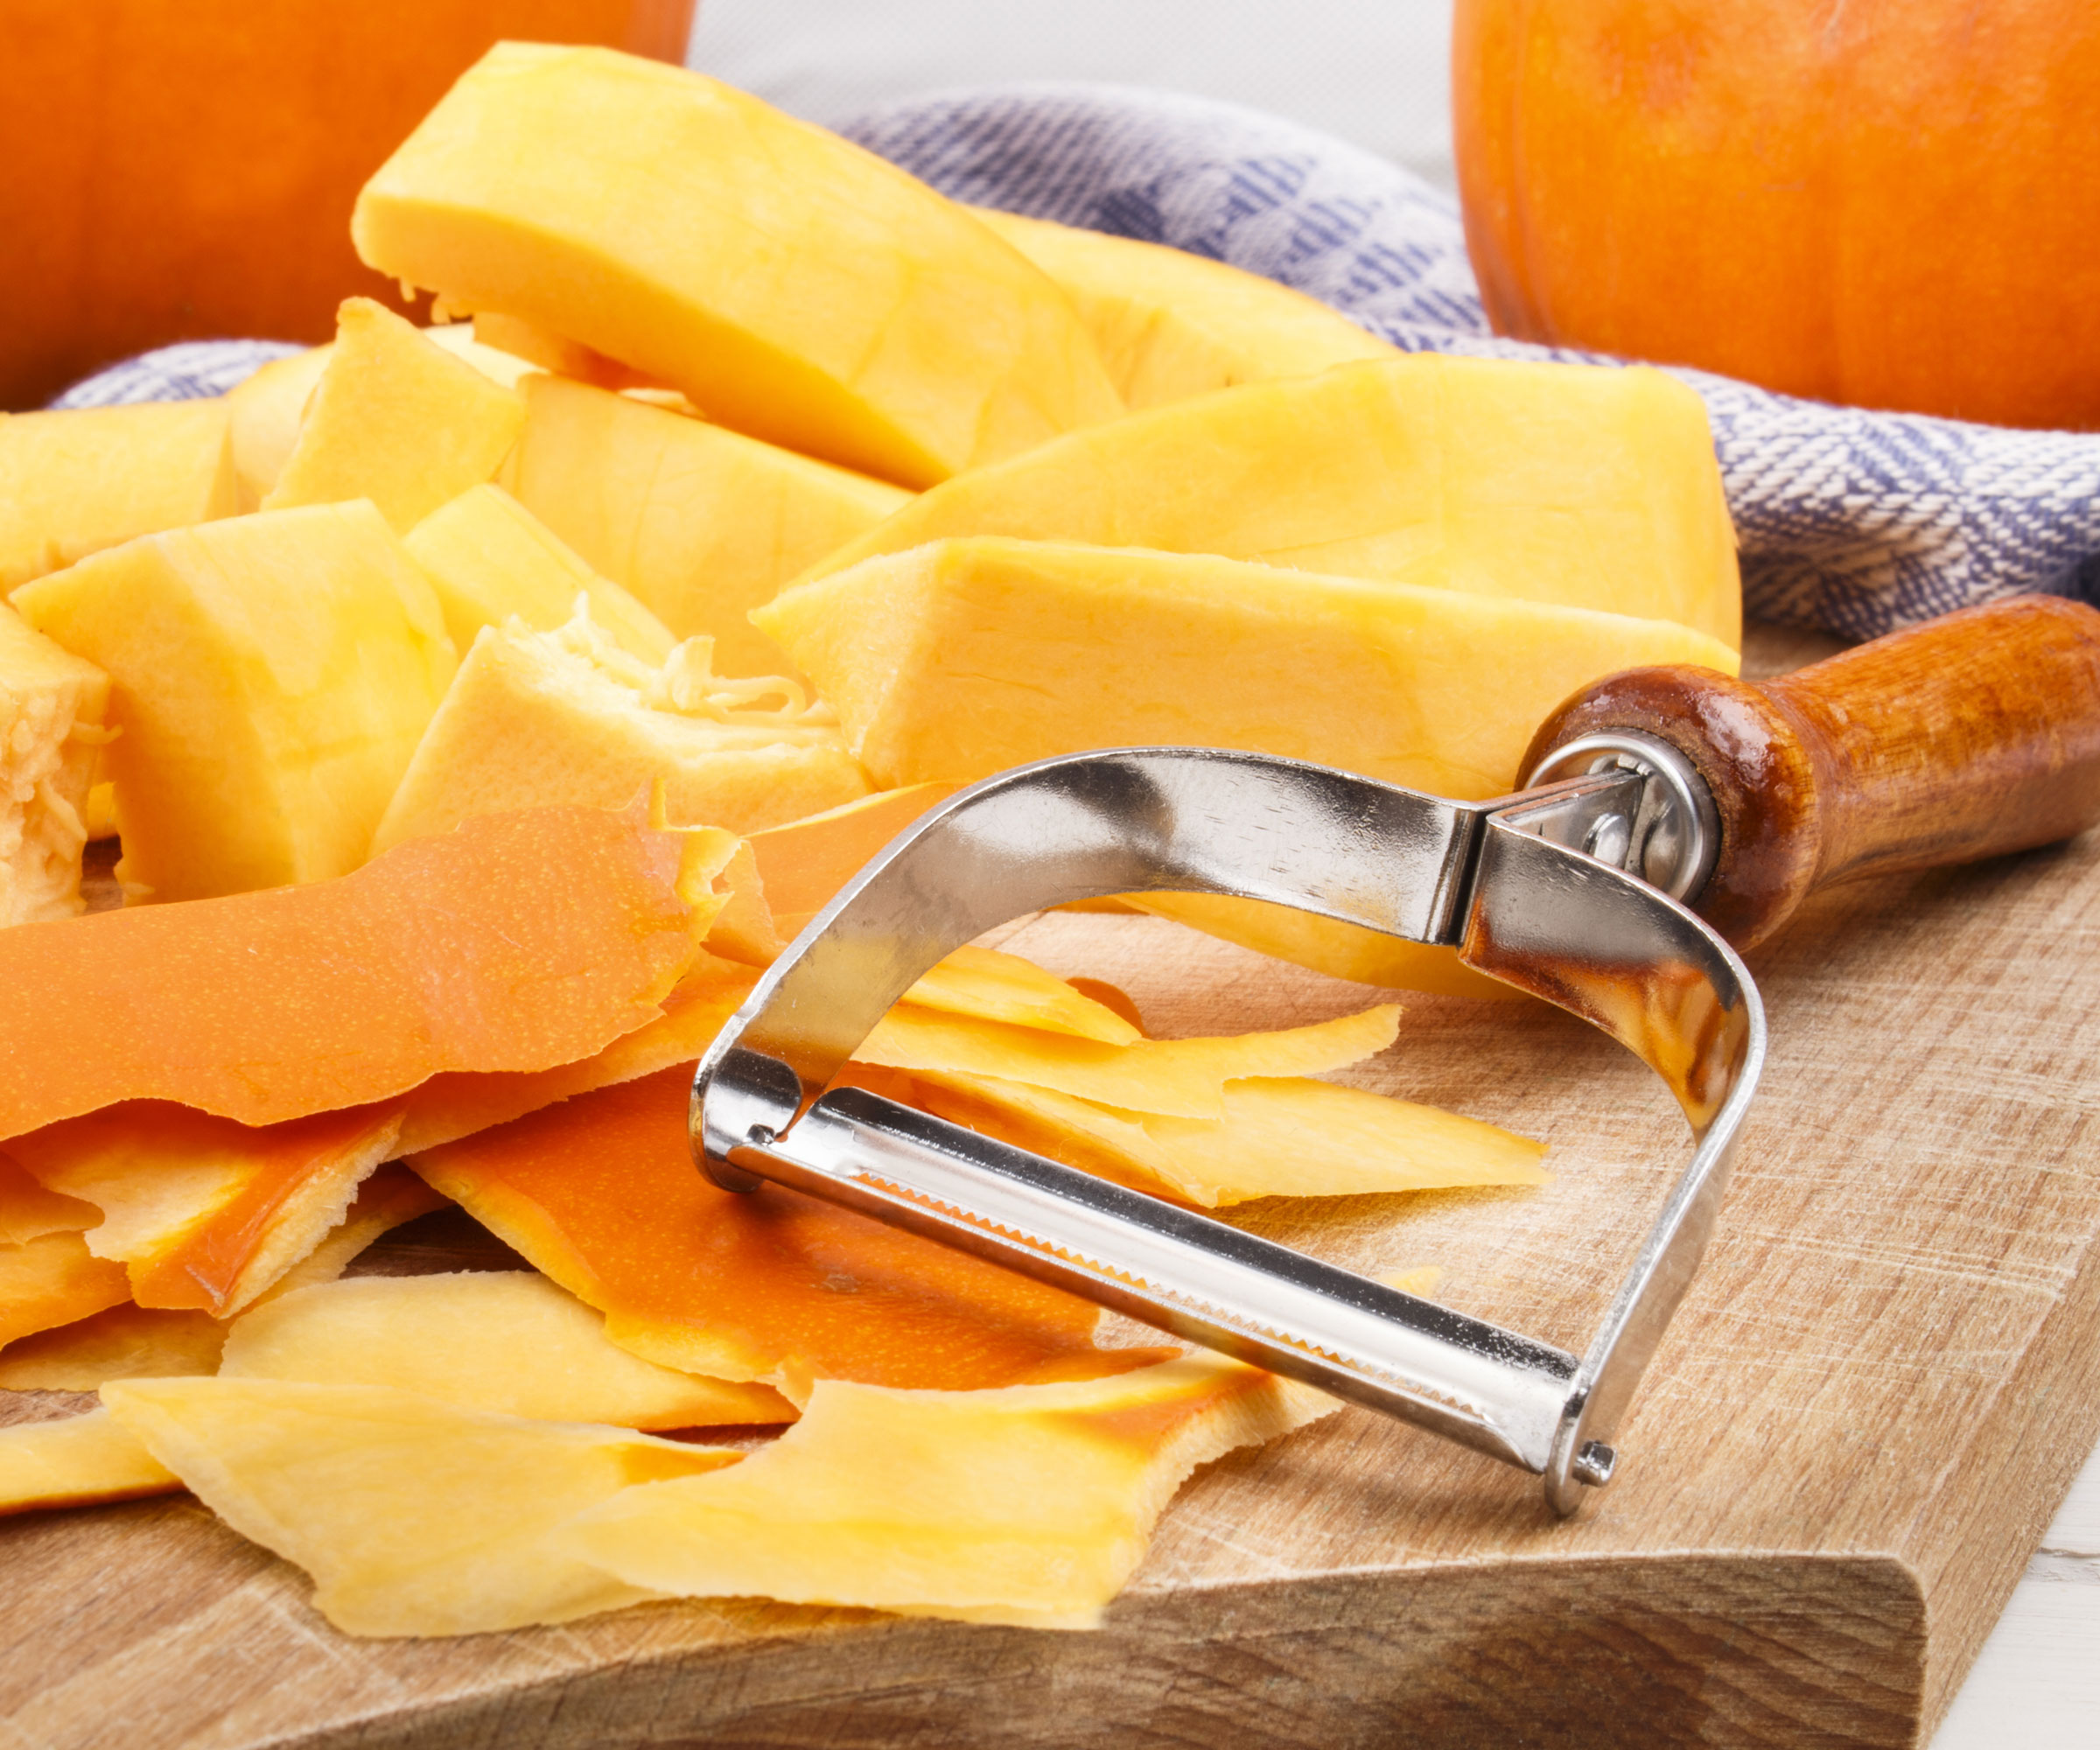
Slugs and garden snails are a persistent menace in fall, but at night they seek shelter in dark, damp, sheltered crevices to conserve moisture. A curved chunk of pumpkin rind provides a perfect natural decoy. Take sections of rind, including leftover pieces from carving or scraps that have softened too much for bird feeders. Place them skin-side up on the soil, beside vulnerable vegetable rows, hosta crowns, or mulched borders. The sweet scent of decaying squash flesh will attract slugs from several feet away, luring them under the hollowed domes.
Early the following morning, flip the rinds over. You should find dozens of slugs, snails, and earwigs clinging to the flesh. Scrape them off into a bucket of warm soapy water, or feed them to backyard chickens. Reset the traps for several nights in a row. Every slug removed now is one fewer laying eggs. Once the rind collapses, compost it. Dust a little Harris Food Grade Diatomaceous Earth Powder, available from Amazon, around your traps to stop slugs escaping back into your beds.
6. Create a Friendly Bug and Beetle Shelter
(Image credit: PH2212 / Getty Images)
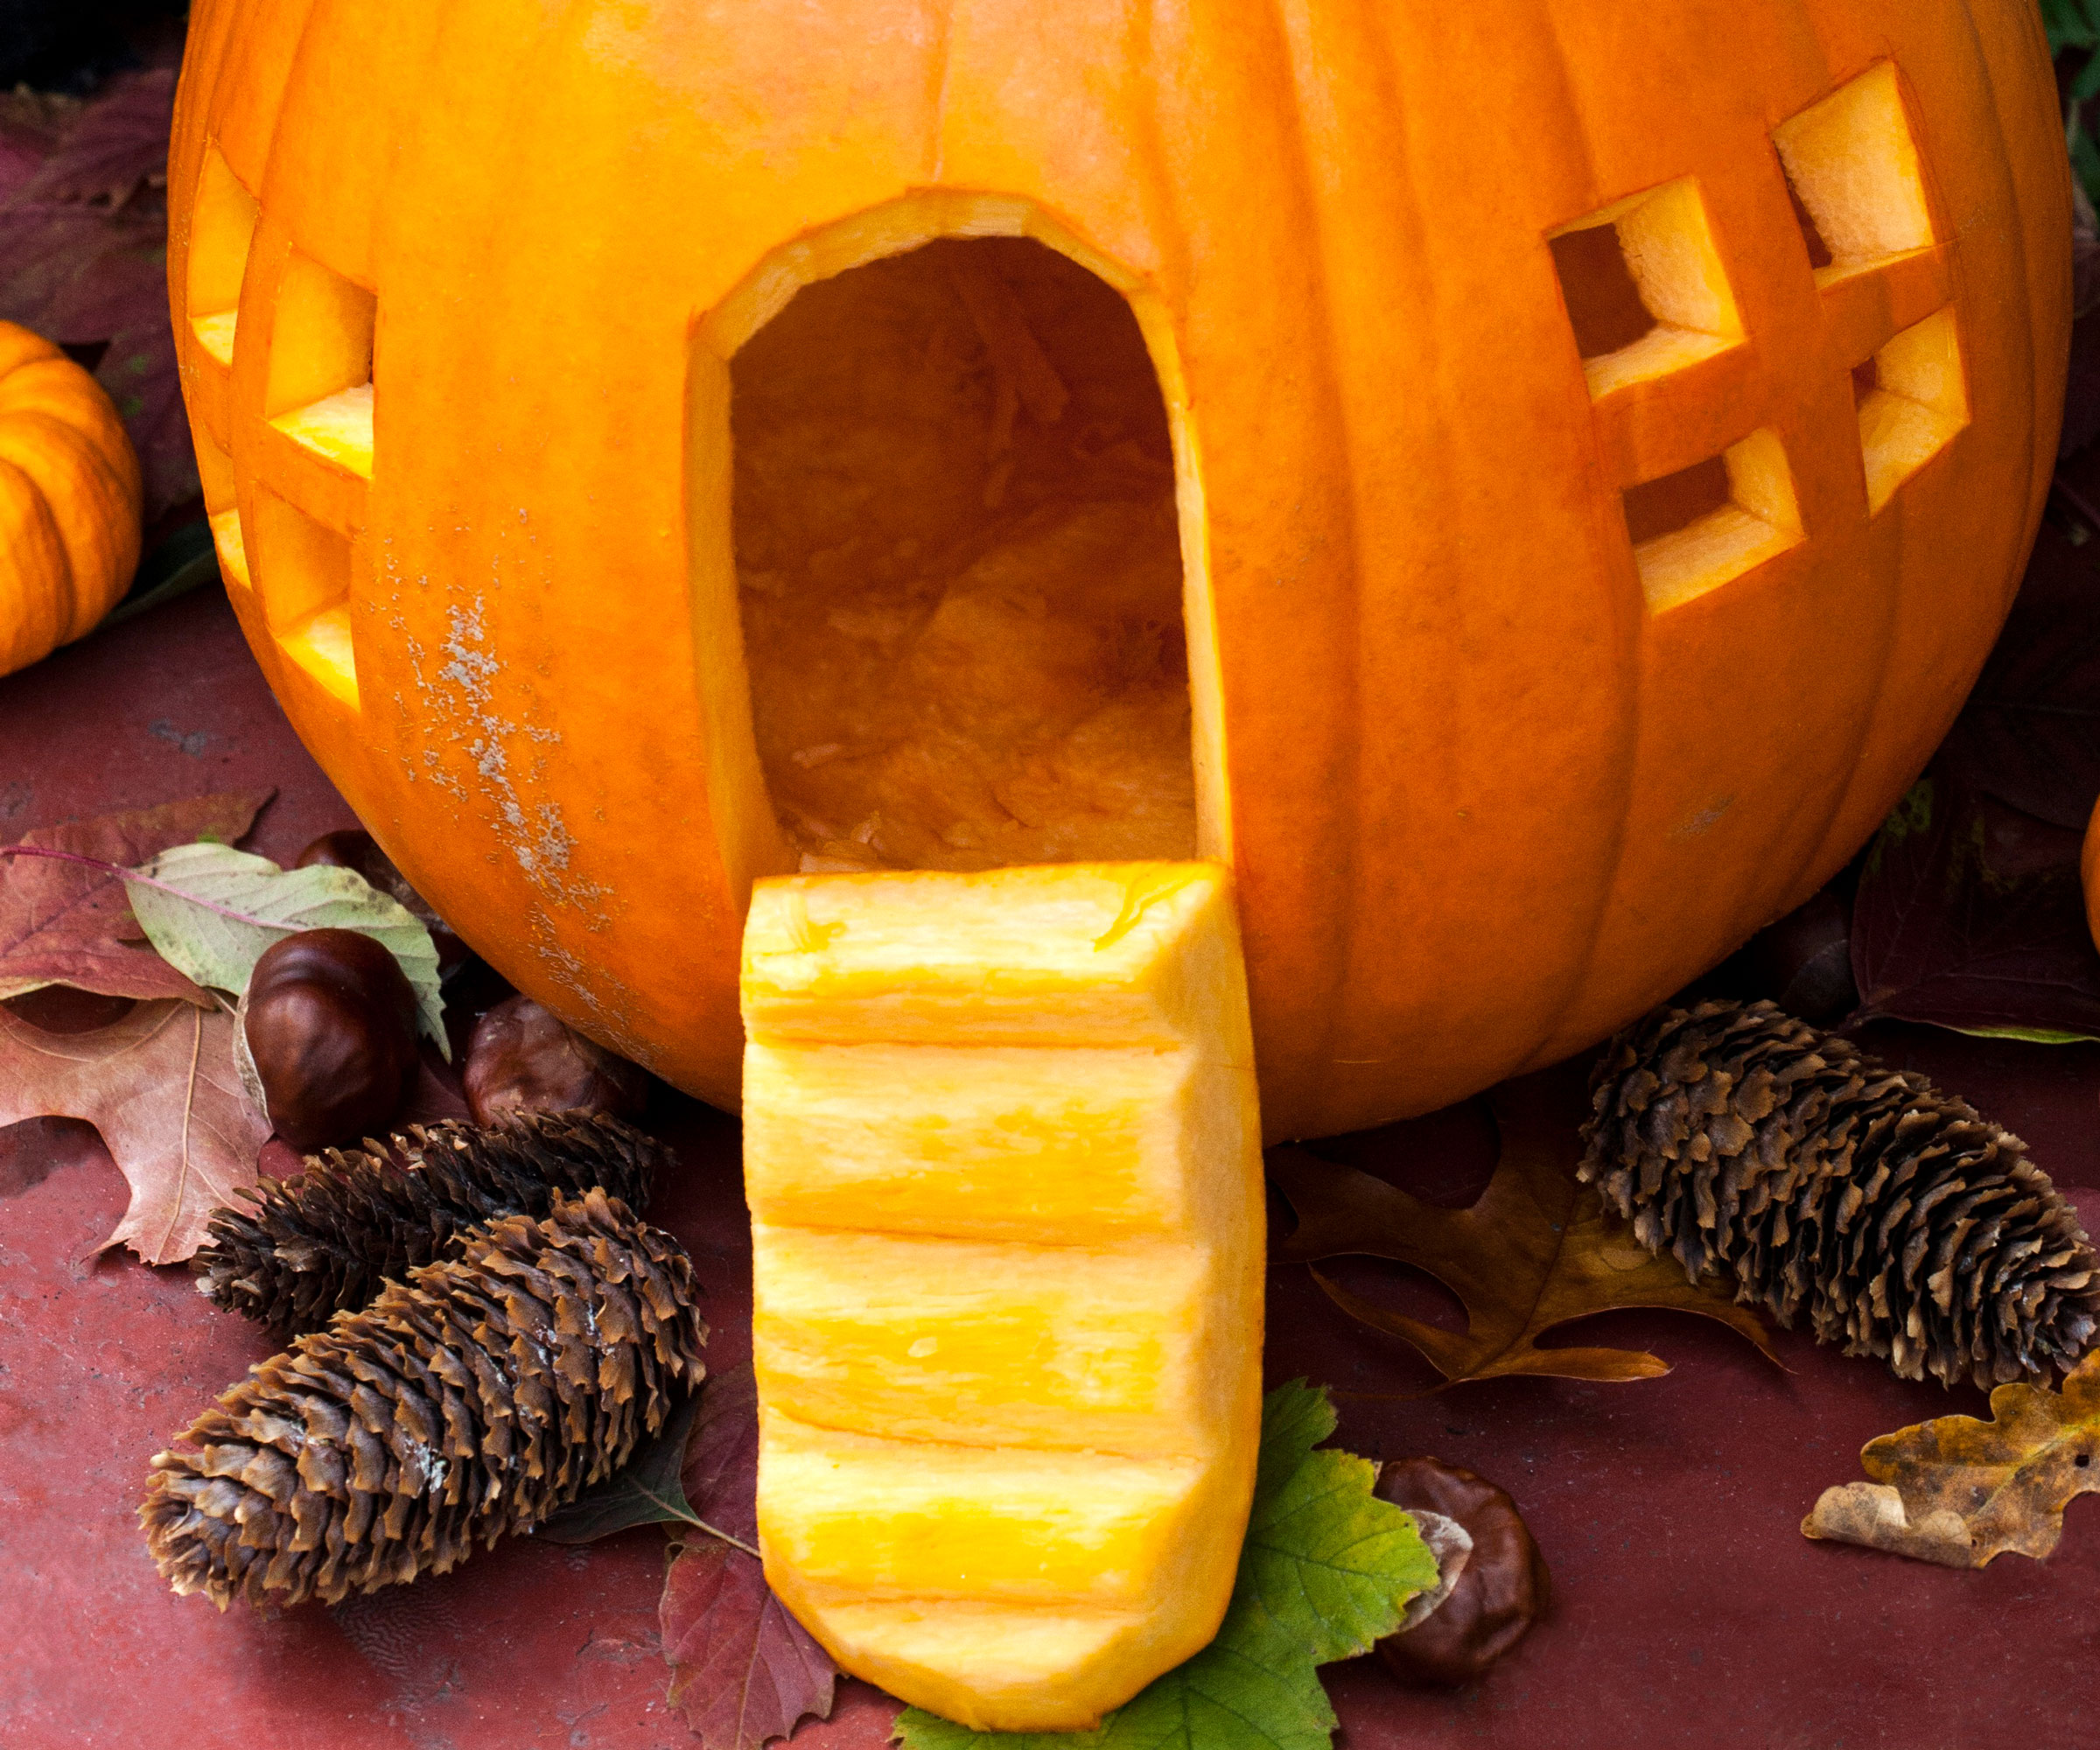
This last one is a lovely eco-friendly bonus for anyone keen to support overwintering beneficial insects in their yard. As fall frosts intensify, beneficial predatory insects and pollinators seek sheltered crevices. Ground beetles, centipedes, roving rove beetles, lacewings, lady bugs, and solitary native bees are valuable allies in the organic garden, consuming thousands of aphids, slug eggs, and weed seeds. You can turn a hollowed pumpkin shell into a cozy winter sanctuary. Take an uncarved or cleanly carved pumpkin. Slice a wide entryway near the base (or prop the shell upside-down on a couple of flat stones to leave an open gap underneath).
Stuff the cavity with natural textural materials that create micro-tunnels and air pockets. Use bundles of dry hollow plant stems, bamboo canes, small pine cones, crumpled dry leaves, and coarse straw. You can buy Bell Nursery Mini Straw Bales from The Home Depot which can also be used as mulch for strawberries and other overwintering plants. Tuck your bug hotel beneath a thick hedge, under a quiet shrub border, or along a perennial bed out of wind and rain. The shell will slowly soften, insulating the center. By spring, it will return harmlessly to the soil, leaving your beneficial guardians safely in the mulch bed, ready to go to work.

(Image credit: MaximFesenko)
Before you drag your hollowed Halloween pumpkins down to the street corner, hopefully these ideas show you that they could be working hard for your yard. These seasonal gourds are far more than short-lived porch decorations. By turning into a rich soil ingredient, feeding wild birds, constructing cozy shelters for beneficial beetles and stocking up on seeds to plant next year’s pumpkins, you keep valuable resources out of landfills and grab a head start on next year's growth. Once winter sets in, those leftover gourds may already be enriching your soil: a true win-win!
Need more ideas for getting the most from your plants, indoors and out, and looking for the best seasonal expert advice delivered straight to your inbox? Sign up for the free Gardening Know How Newsletter!












 English (US) ·
 French (CA) ·