
 10 hours ago
6
10 hours ago
6
PROTECT YOUR DNA WITH QUANTUM TECHNOLOGY
Orgo-Life the new way to the future Advertising by AdpathwayPlanting fall bulbs is a wonderfully rewarding task for gardeners. It sets the stage for a vibrant display of flowers in spring. Bulbs like tulips, daffodils, hyacinths, crocuses, and alliums require a period of cold dormancy to bloom. By planting them in autumn, you have the benefit of an early start and the natural cold stratification of winter.
The warm soil and cooling air encourage root development in the fall. Bulbs will grow some roots before winter and then rest, storing energy for their spectacular spring emergence.
Depending on your climate zone, September through November is the ideal window for fall bulb planting. In colder regions, bulbs should go into the ground by mid-fall to establish roots before the first freeze. Gardeners in warmer climates can wait longer as the ground may not freeze in these areas until later in the winter.
The general rule is to plant bulbs about two to three times as deep as their height, but this varies depending on the type of bulb. Plant with the pointed end facing upward. Planting bulbs in clusters or drifts rather than in straight lines creates a more natural, impactful look. Many of them will colonize over time, contributing to this planting habit.
Adding mulch after planting helps insulate the soil and retain moisture. If you prepare the ground for bulbs, they will reward you with reliable, colorful blooms. These are often the first to brighten the garden after a long winter. Here are some ways to prep your garden ahead of time for your fall bulb planting.
Langbeinite
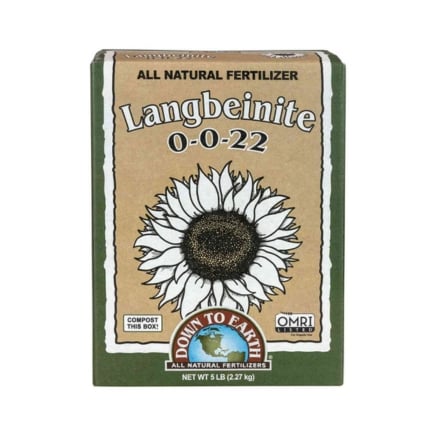
Potassium Boost: Langbeinite
Worm Castings

Urban Worm Company Worm Castings
Power Planter

Power Planter DIY Guru Auger
Tip 1: Choose the Right Location
 Bulbs thrive best with at least six hours of sunlight.
A key to successfully prepare the ground for bulbs is starting with the right location. Choosing the right spot will ensure healthy growth and minimal issues like bulb rot. Most of these plants prefer full sun to partial shade. In warmer climates, give them afternoon shade to extend their bloom time.
Morning exposure is always best, so if you can give them six hours of sun early in the day, that is ideal. Morning sun warms the soil and dries the dew quickly. Since bulbs are prone to fungal diseases, the moisture in your soil is a major factor. Drainage is paramount. Bulbs won’t tolerate overly wet soil or standing water.
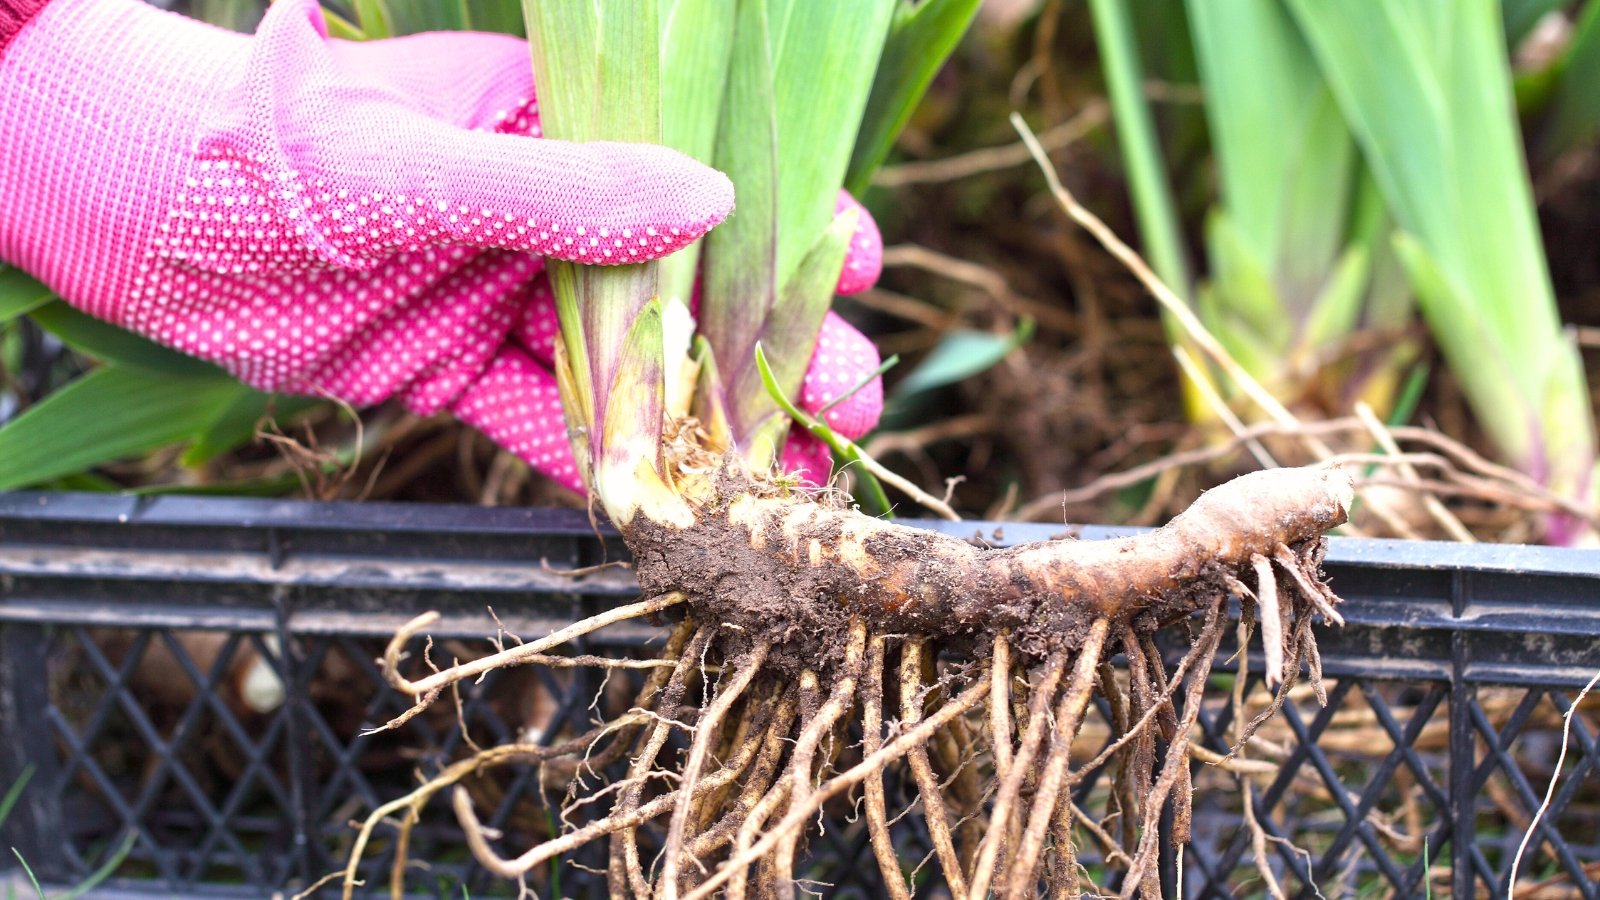
Slopes and borders are great spots to start your bulb garden. They look the nicest planted in groups of odd numbers. Make sure that you create enough space to plant a number of them in one place. Allow space for them to reproduce as well. If you plant a dozen daffodils this year, expect two dozen next year.
Tip 2: Clear Out The Weeds
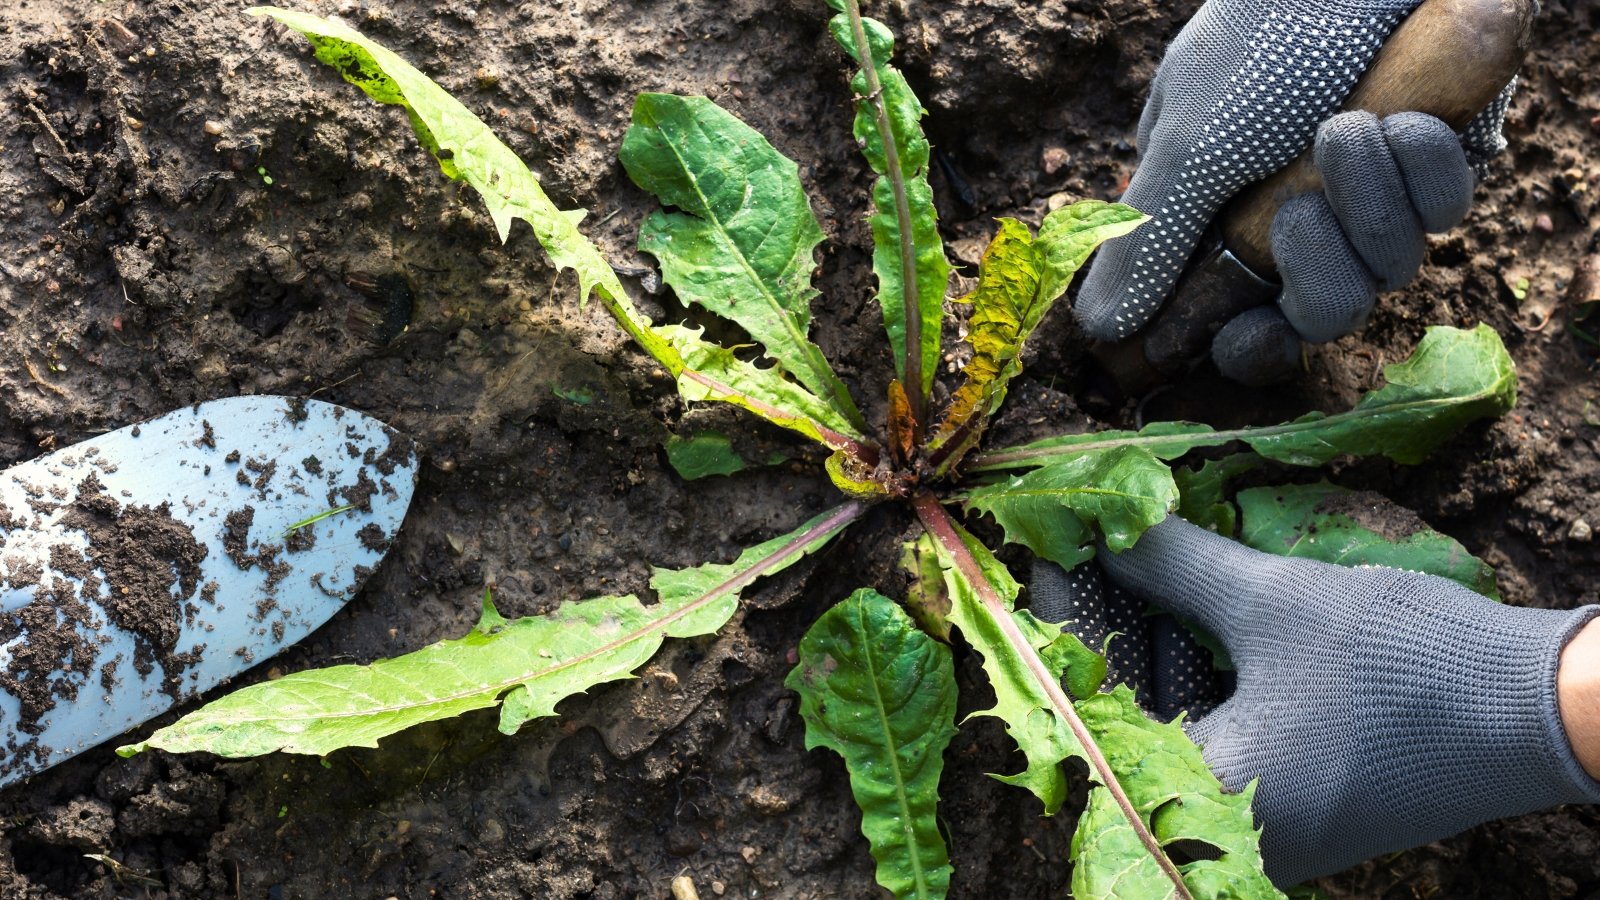 Pulling weeds early saves bulbs from resource competition.
Once you’ve defined your space, it’s important to clear away any weeds that will compete to prepare the ground for bulbs. Weeds are a major drain on natural resources. They compete for the same light, nutrients, and water that your bulbs will need to set down roots.
Start by removing the surface weeds and any other debris from the space. Anything that may get mixed in during the next steps of preparation should go. Hand-pulling is often the best way to get rid of weeds. However, for those with deeper roots, you may need to use a hoe or other weeding tool. Make sure you pull weeds up from the roots, as many can resprout in spring.
After pulling out the surface roots, use a gardening fork or spade to uncover any remaining roots. Remove these as well. You can also loosen the soil to expose weed seeds. Then leave them to sprout so that you can clear them out. This will mean less weeding work next season.

Tip 3: Loosen The Soil
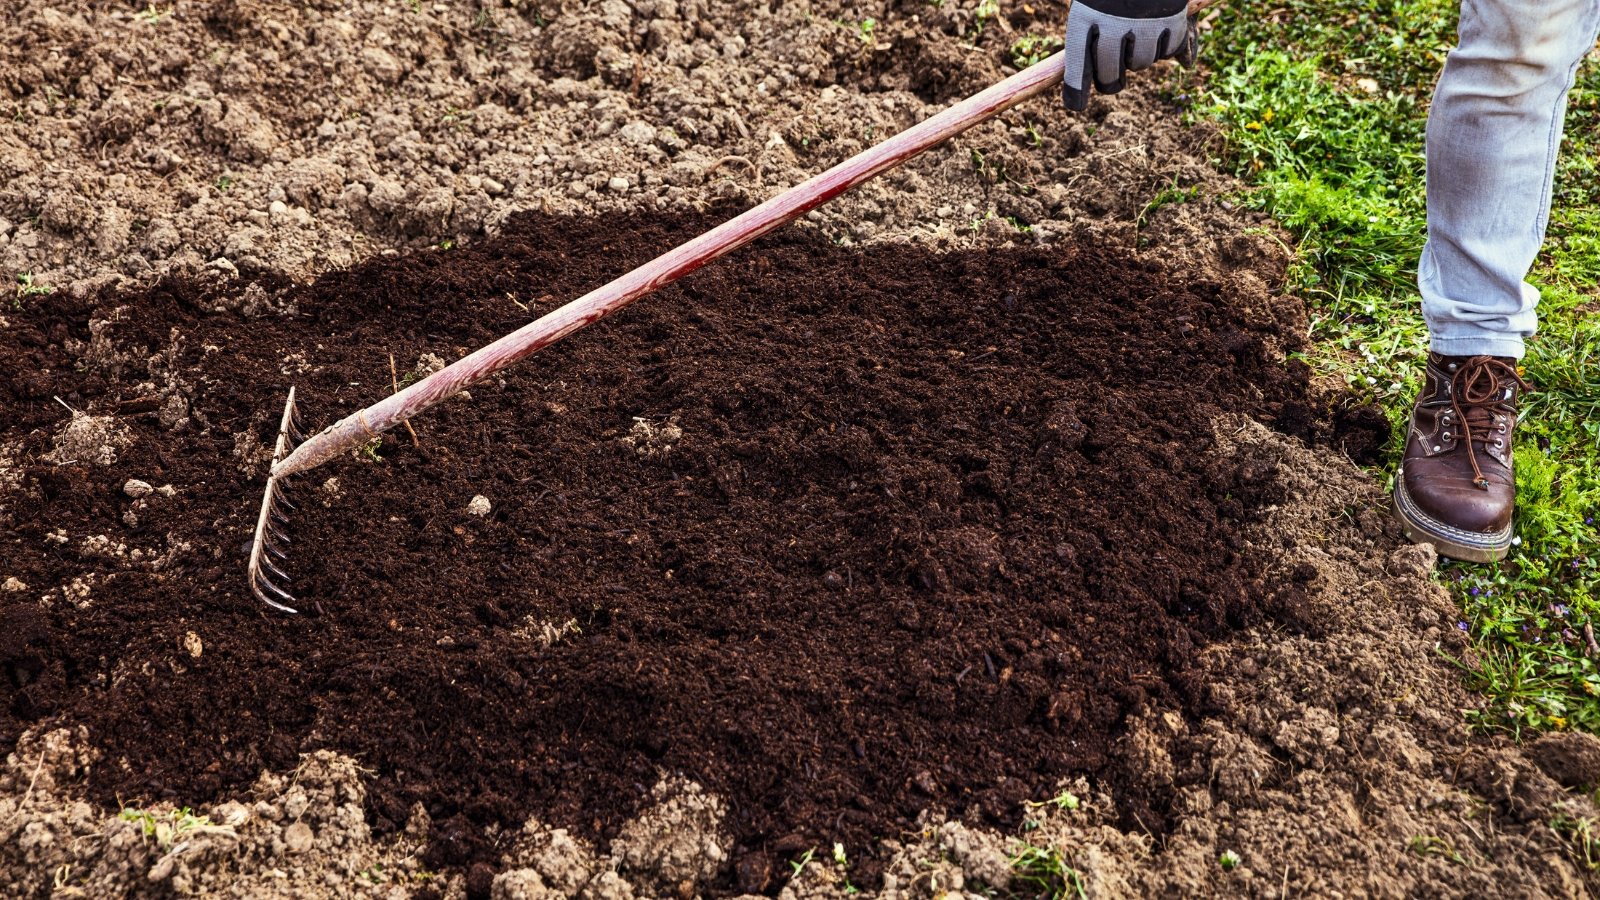
 Deep digging keeps roots strong and water draining well.
Loosening the soil may be the most important task to prepare the ground for bulbs. Loose, fluffy soil allows their roots to spread easily. It also helps to prevent root rot, as loose soil drains faster than compacted soil.
You want your roots to grow deep, anchoring your plants in the ground. The loosened soil is easier for those roots to move through. Just digging down to the level where you are planting won’t do the trick, though.
Make sure that you loosen the soil down to a depth of 8-12 inches. This way, the roots can grow down deep. Compacted soil will derail that root development and can also trap water and rot your bulbs.
As you dig, break up clumps, remove rocks, and remove any other bits of root or debris that may be a hindrance to root growth. If you’re loosening clay soil, make sure that you do it on the same day that you plan to amend the soil.
Tip 4: Amend the Soil
 Amended earth means bigger flowers bursting with spring color.
Amending soil for bulbs is all about creating conditions that are well-drained, fertile, and loose. Bulbs rot in soggy ground, but also need nutrients for strong flowering. Start by testing your soil’s texture: if it’s heavy clay, it holds too much water; if it’s very sandy, it drains too quickly.
You can improve both of these, and other types of soil, with the right amendments. To prepare the ground for bulbs, you’ve already loosened your soil down to about one foot deep. Mix in 2–4 inches of organic matter such as compost, well-rotted manure, or leaf mold. This improves structure, adds nutrients, and helps soil hold the right amount of moisture without staying wet.
For clay-heavy soils, you can also work in coarse sand, fine gravel, or perlite. These will boost drainage and prevent bulbs from sitting in water. For sandy soils, increase organic matter and consider adding a bit of loamy topsoil to hold nutrients. Sandy soil can always use an extra helping of organic material, as it tends to be nutrient-deficient.
Well-amended soil not only helps bulbs survive winter but also ensures bigger, healthier blooms in spring. If your bulbs can form sturdy roots now, in the fall, they won’t need to focus energy on that in the spring. When spring rolls around, they can focus all of their energy on green growth and flowering.
https://www.youtube.com/watch?v=8oytvsKKSJg&t=16s
Tip 5: Give a Nutrient Boost
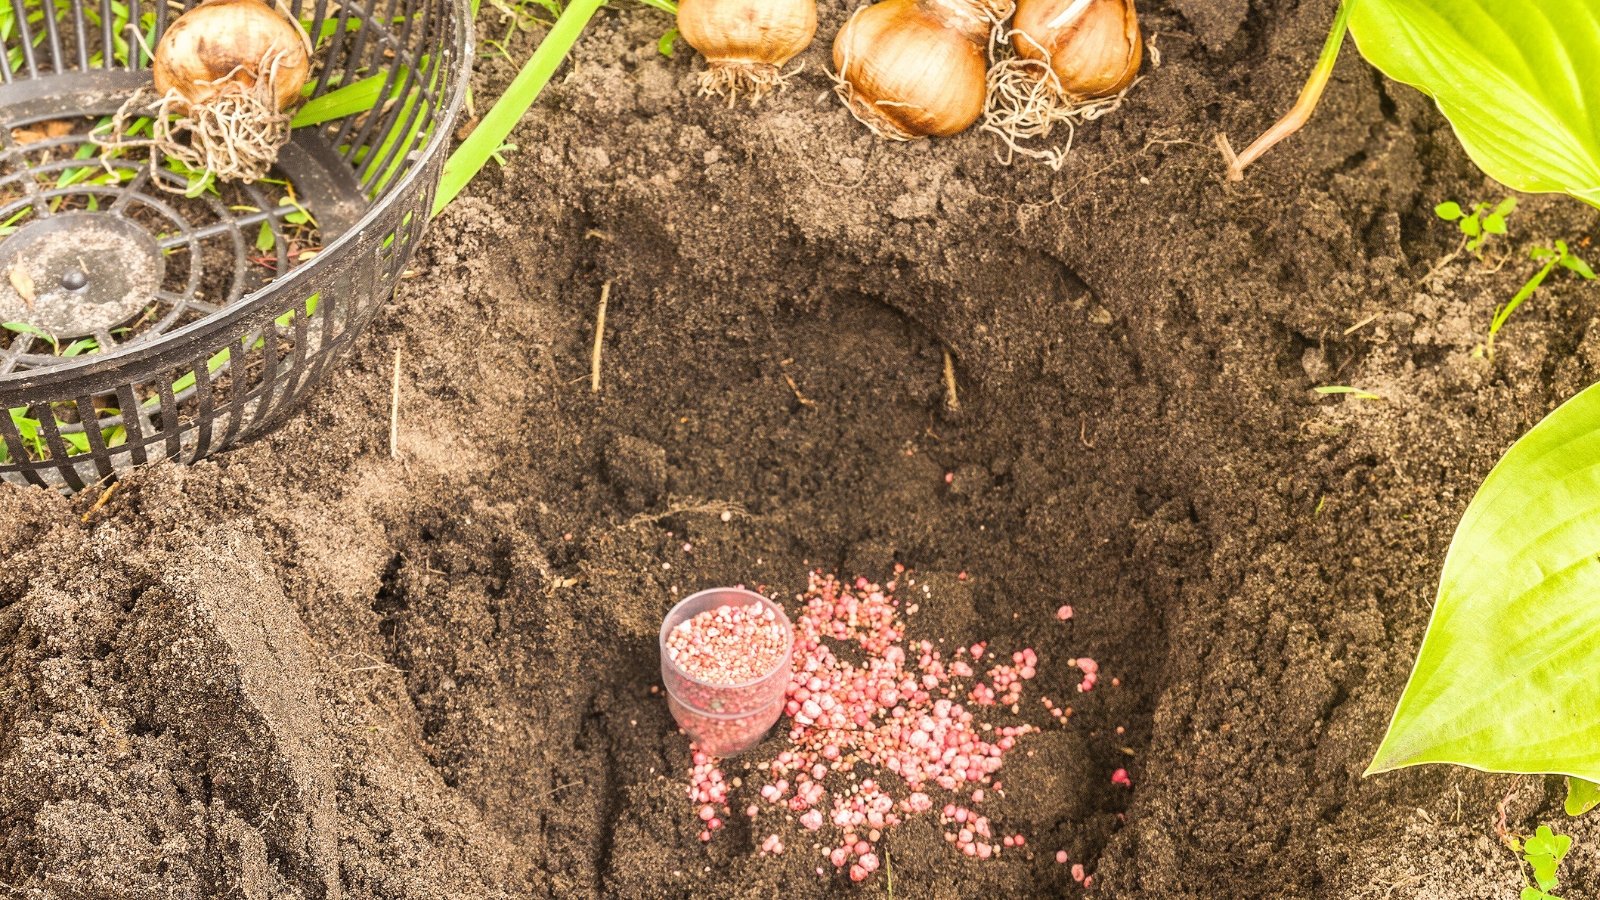 Fertilizer at planting makes spring flowers shine even brighter.
Finally, it’s a good idea to work in some sort of fertilizer at the time of planting to prepare the ground for bulbs. Compost is a wonderful, slow-acting source of nutrients, but an extra boost of fertilizer will help to get those roots growing.
Mix a sprinkle of bone meal, bulb fertilizer, or slow-release balanced fertilizer mix into the planting zone. A formula that is low in nitrogen and higher in phosphorus and potassium will help encourage root development. Too much nitrogen encourages green growth, and you want to hold off on that for now.
After amending to prepare the ground for bulbs, smooth the soil surface. If you can time all of this to take place just ahead of planting, you’re in good shape. The longer you leave the soil uncovered, the greater the chance there is of erosion and weed growth.
Plant bulbs at the proper depth, and cover with a light mulch layer to regulate temperature and moisture. This mulch will also help keep the loosened soil in place and block out light that would encourage weed seed germination.


 English (US) ·
  French (CA) ·