
 3 days ago
26
3 days ago
26
PROTECT YOUR DNA WITH QUANTUM TECHNOLOGY
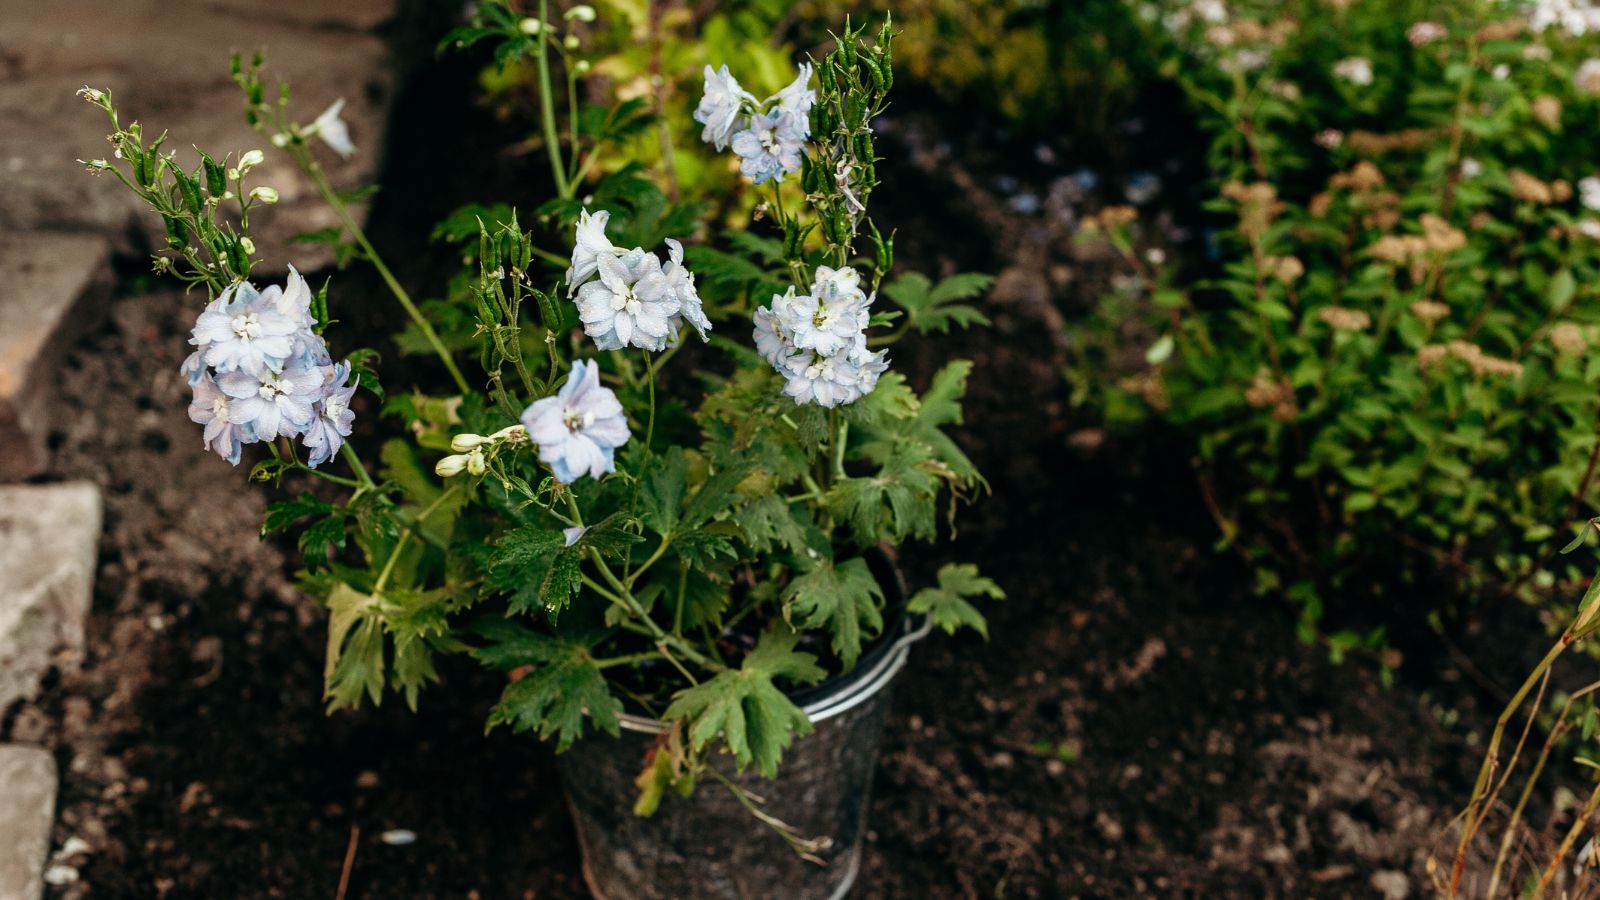
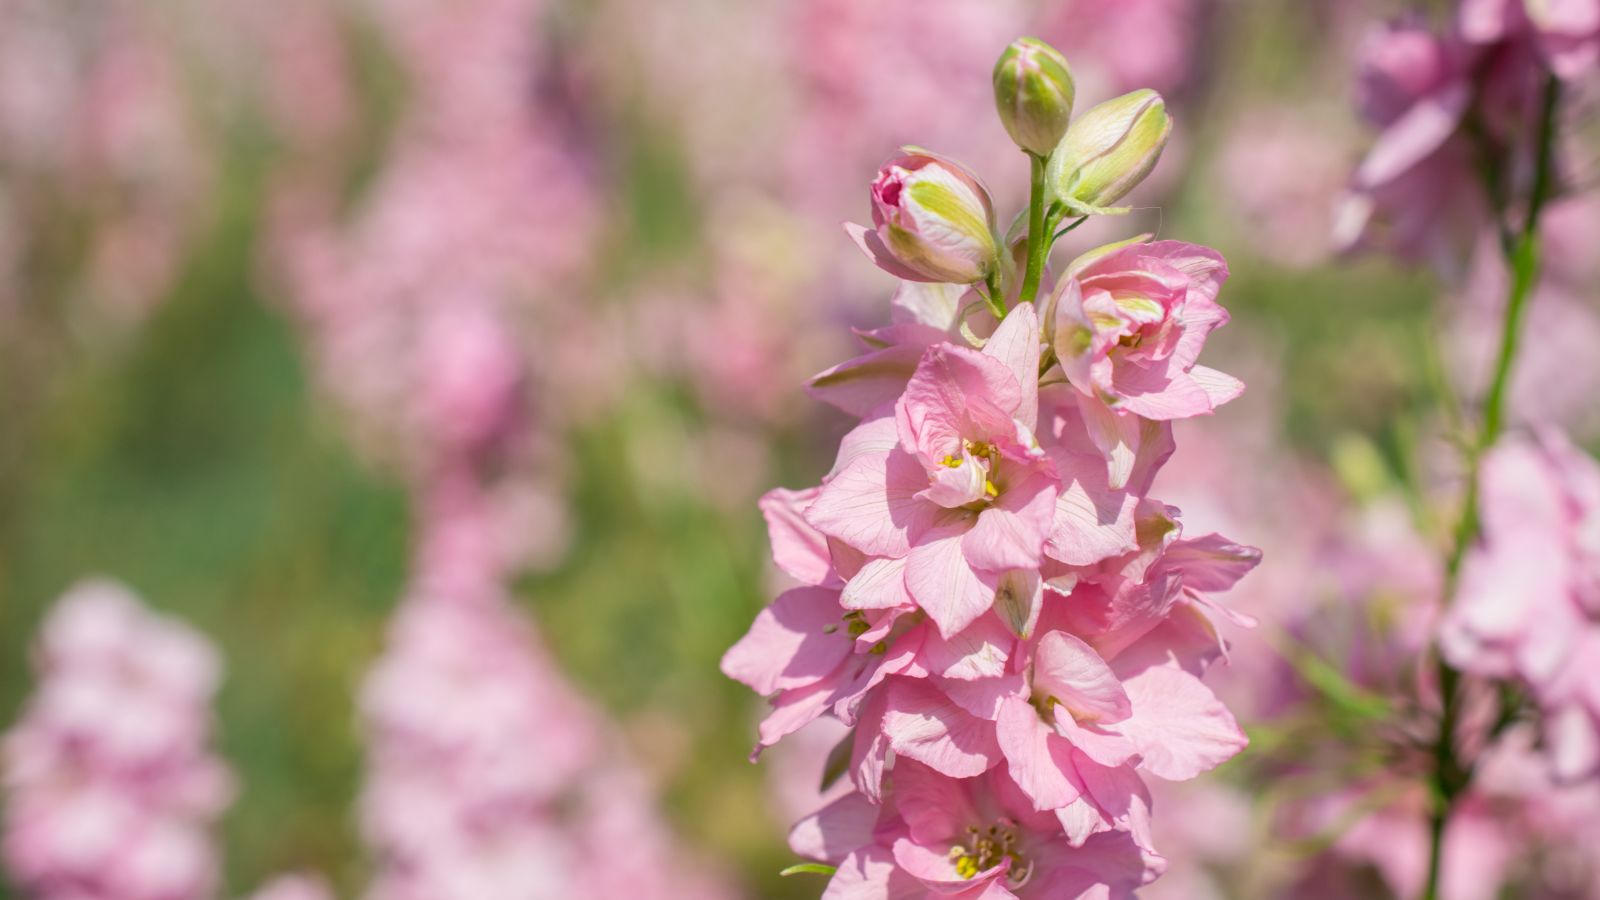
Orgo-Life the new way to the future Advertising by AdpathwayConsidering the size of many delphinium plants, most people think they are strictly for beds with plenty of room to play with. But delphiniums can thrive in pots and containers if you know how to make them happy.
I’m an advocate for growing pretty much anything in a container. Container growing gives you so much more control over soil conditions and allows you to move delphiniums to the best locations throughout the season.
They do have specific needs that become more critical in the confined space of a pot, but as long as you get the basics right (which isn’t too tricky), you’ll have stunning flowers all season long.
Delphiniums in pots and containers also let you enjoy these perennials in areas where soil conditions aren’t ideal. Heavy clay or poor drainage that would stress garden plants becomes irrelevant when you can provide perfect growing conditions in a pot. Here’s how to get it right.
Choosing the Right Variety
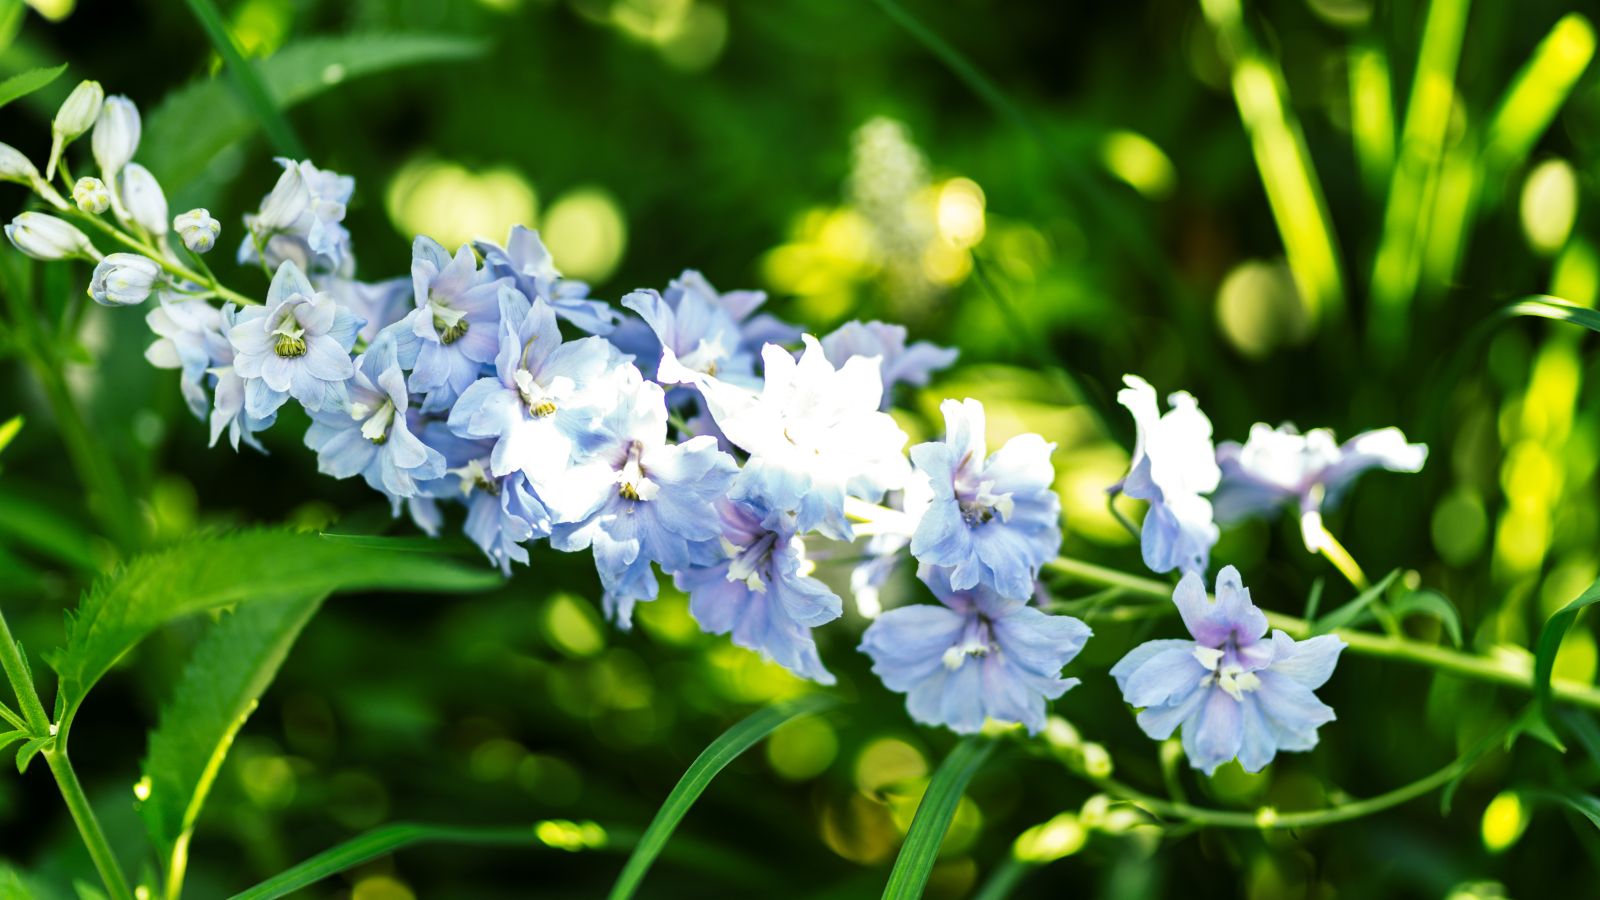
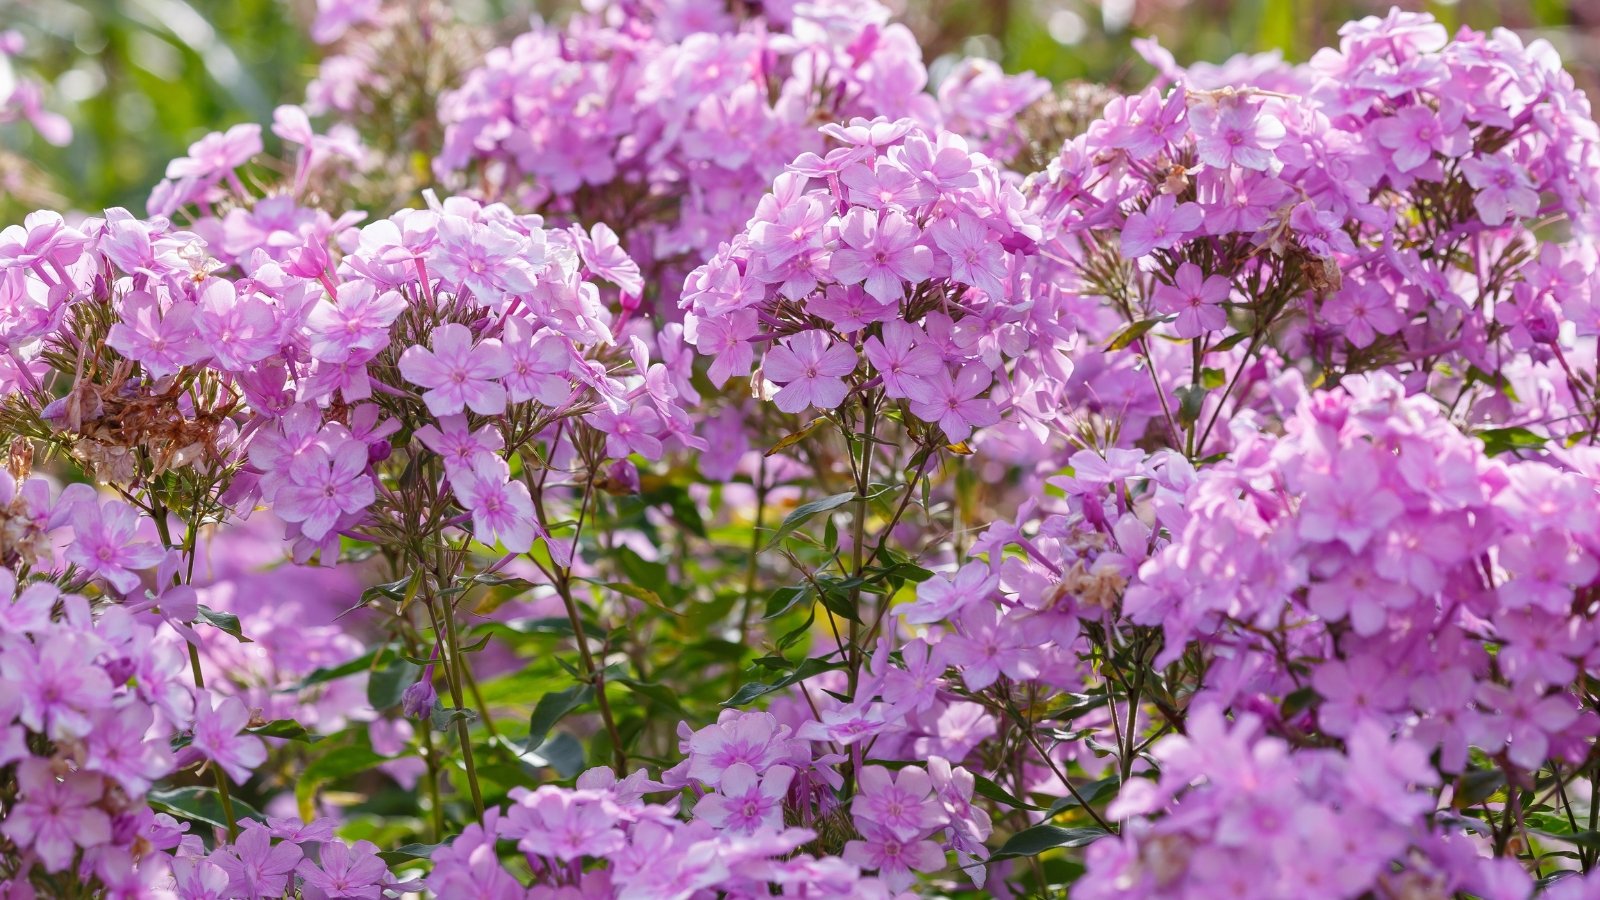
 Compact varieties are better suited to container growth.
 Not all delphiniums are suited for container growing. The massive ‘Pacific Giant’ varieties that can reach 8 feet tall will obviously struggle in small pots and require constant staking to stop them from falling over. You’ll likely spend more time propping them up than enjoying the flowers (if they even appear at all). Instead, look for compact varieties bred specifically for smaller spaces.
Dwarf varieties like ‘Butterfly Blend‘ stay around 15 inches tall. These work well in smaller pots and can even be grown successfully on balconies with limited space. Don’t expect the towering spikes of larger varieties, but they’ll still give you a classic delphinium look that works well in cottage-style gardens.
Planting
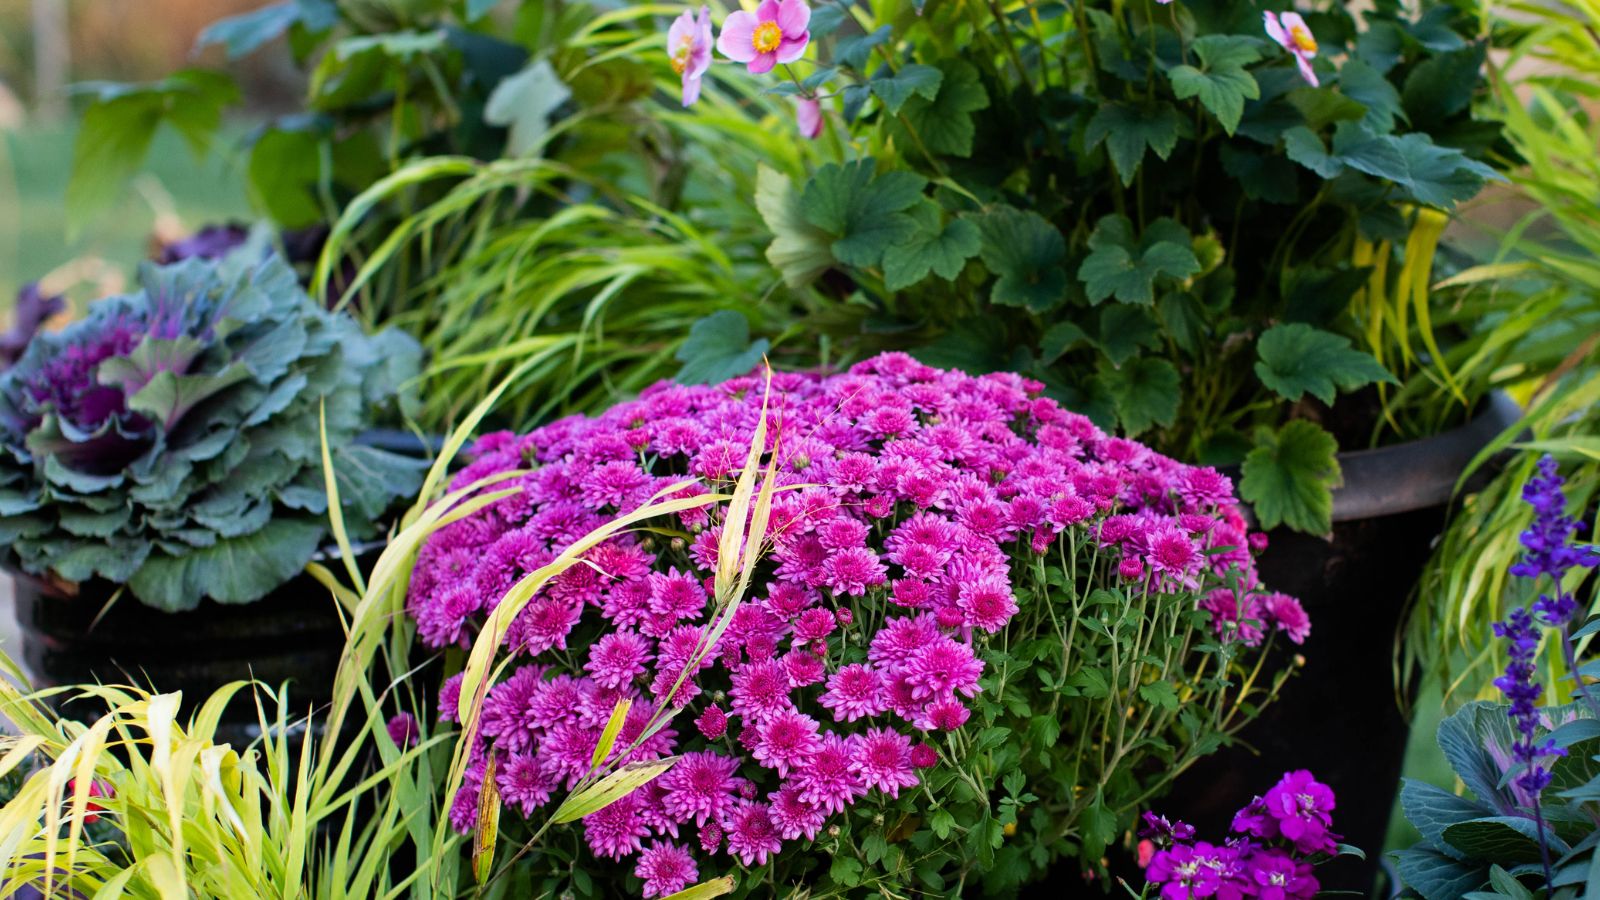
 Plant delphiniums in large pots and containers.
 Growing delphiniums in pots and containers is not complicated once you understand what they need and make a few small adjustments. The benefits of choosing this route are being in control of everything (soil, drainage, space, and the location). This control is actually an advantage, since delphiniums can be picky about their growing conditions. Or at least they are when I try to grow them.
The biggest mistakes people make are choosing containers that are too small and using regular garden soil instead of proper potting mix. Follow these steps when you’re planting to give yourself the best start.
Choosing Containers
 Larger containers are preferred for maximum root space.
 Delphiniums have extensive root systems that need plenty of space to develop properly, even with smaller varieties. Larger is generally better when it comes to pot or container size. You want the container to be proportional to the eventual size of the mature delphinium, not what it starts out as.
Drainage is critical. Choose containers with multiple drainage holes, or drill additional holes if needed in recycled or upcycled containers. Delphiniums will rot quickly in waterlogged soil. Don’t think you can control watering to make up for lack of drainage, because your plants probably won’t last the rest of the season.
The shape of the container matters too. Wide but shallow containers don’t work well for delphiniums since they need depth for their root systems. Look for pots and containers that are at least as deep as they are wide, or even deeper.
Soil
 Make sure your soil mix is well-draining.
 Delphiniums are picky about soil conditions. Luckily, growing delphiniums in pots and containers gives you complete control over what they’re planted in.
Use a high-quality potting mix rather than garden soil, which becomes too dense and poorly draining in containers. Garden soil also brings potential disease and pest problems that you can avoid with fresh potting mix.
Soil pH should be slightly alkaline. Most potting mixes are slightly acidic, so you may need to add lime to raise the pH, although this is not really necessary if you’re growing as annuals. Test your mix and adjust before planting if you prefer.
Ensure excellent drainage by adding perlite or coarse sand if your potting mix seems too moisture-retentive. Standing water around roots will kill delphiniums faster than almost any other problem. The mix should feel moist but not soggy when you squeeze a handful.
Some gardeners add slow-release fertilizer pellets to the soil mix at planting time. This can work well, but be careful not to overdo it. Too much fertilizer creates great foliage but fewer flowers, which defeats the purpose of growing delphiniums. Rather wait until they’ve settled in before starting the feeding process.
Seeds vs Starts
 To grow delphiniums in pots and containers, it’s easiest to plant nursery plants.
 Seeds need cold stratification and can take several weeks to germinate. Most container gardeners find it easier to start with nursery plants, especially if you want flowers the first year.
If you do start from seed, begin indoors about 10 weeks before your last frost date. Cold stratify seeds in the refrigerator for a few weeks before planting. The cold treatment is crucial for good germination.
Nursery starts give you instant gratification and are usually already at a good size for transplanting into containers, but they do give you less choice over variety. Choose plants with strong stems and healthy foliage, avoiding any that look stressed or pot-bound.
Plant in early spring after the last frost but while temperatures are still cool. Delphiniums establish better in cool weather and may struggle if planted during hot summer months.
Care
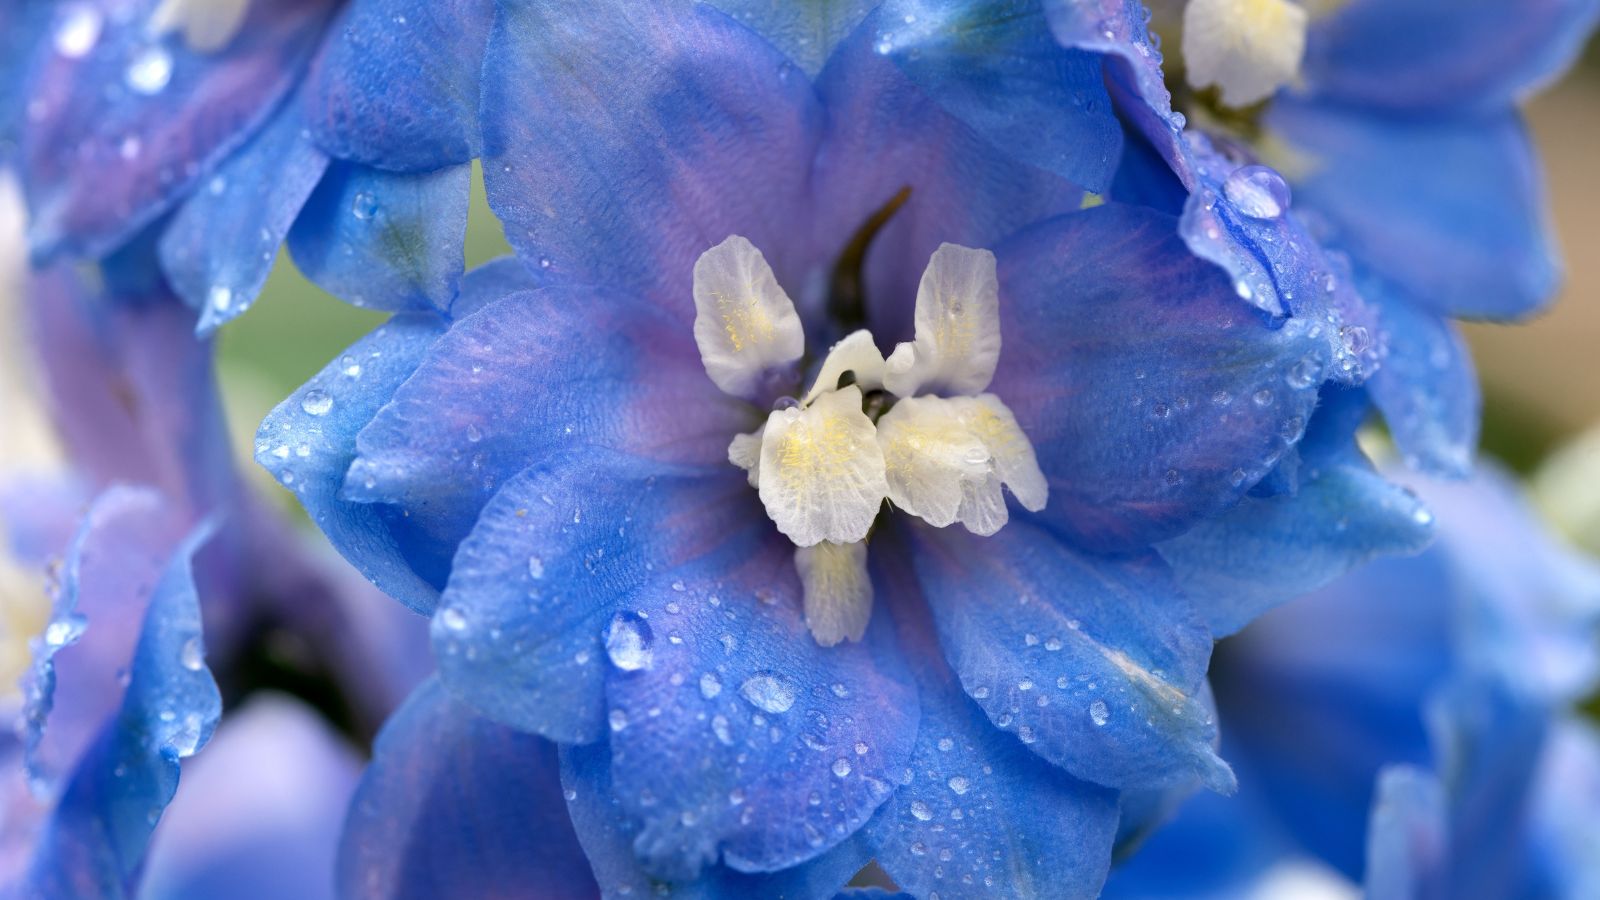
 Keep up with maintenance to encourage blooming.
 Once your delphiniums are planted, the key to success is consistent care. They like routine, but don’t like being fussed over too much.
Container delphiniums need more attention than garden plants since they’re completely dependent on you for water and nutrients. The good news is that you can provide exactly what they need when they need it.
Sunlight
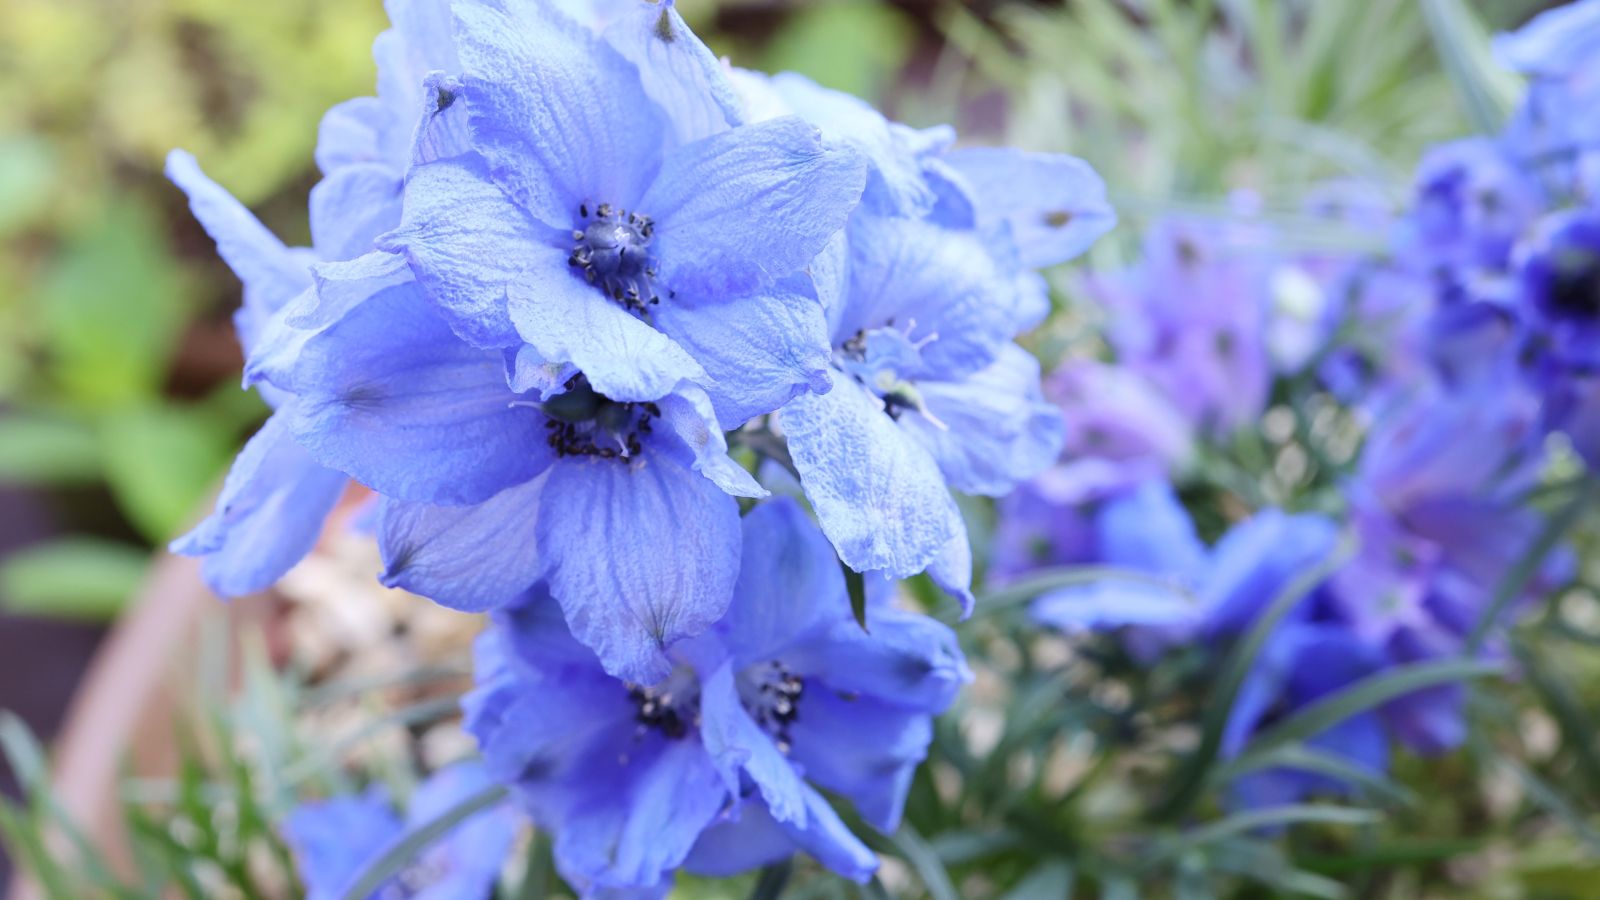
 More sunlight delivers more flowers.
 Delphiniums need plenty of light to produce their sought-after flowers. Aim for at least 6 hours of direct sunlight daily, with morning sun being most important for strong stem development. Plants that don’t get enough light become weak and spindly with fewer flowers.
In hot climates, some afternoon shade can actually benefit container plants. The confined root space (and possible extra heating of container materials, depending on what you choose), makes potted delphiniums more susceptible to heat stress.
Also position containers where they’ll receive good air circulation. Stagnant air and overcrowding can lead to disease problems, especially in humid conditions. Avoid windy spots that might blow over flower spikes or dry out the soil too quickly.
If you’re growing delphiniums on a balcony or patio, watch for reflected heat. This can stress plants even when they’re getting adequate light. Sometimes moving containers a few feet away from heat-reflecting surfaces makes a big difference.
Water
 Potted delphiniums need more regular watering.
 Consistent moisture is crucial for delphiniums, but overwatering is just as problematic as drought. Container plants need more frequent watering than garden ones, especially during hot weather. The trick is finding the right balance.
Check soil moisture daily. Water when the top inch is dry but the soil below is still slightly moist. This usually means watering every three days or so, but could be daily during heat waves or less frequent during cool, cloudy periods.
Water deeply and slowly to saturate the soil. Shallow watering encourages surface roots that are more susceptible to heat stress. Avoid getting water on the foliage, especially in the evening. Wet leaves combined with cool night temperatures create ideal conditions for fungal diseases.
Container size affects watering frequency. Smaller containers dry out faster than larger ones, so you’ll need to water more often. This is another reason to choose the largest container you can manage.
Fertilizing
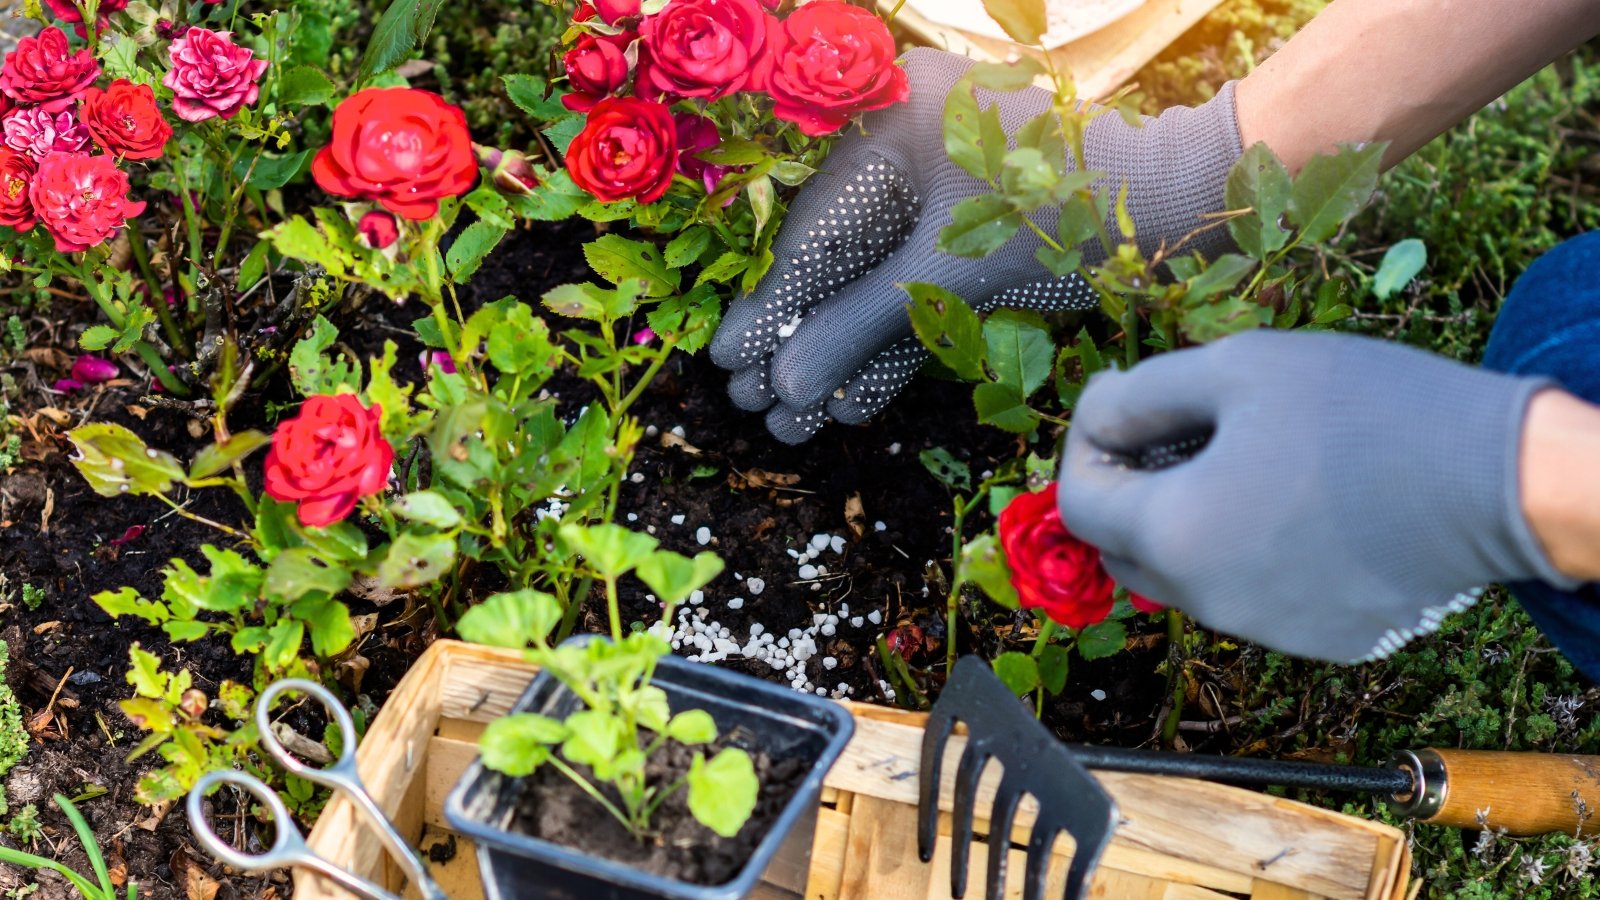
 Feed often to combat lost nutrients.
 Container delphiniums grow better with regular feeding since frequent watering leaches nutrients from the soil. I recommend feeding around once a month during the growing season. A balanced liquid fertilizer works well, or one with slightly lower nitrogen.
Stop fertilizing a month before your first expected frost to allow plants to prepare for dormancy. Late-season feeding can encourage tender growth that’s more susceptible to cold damage. Potted delphiniums need time to slow down before winter.
Maintenance
 Stakes stop potted delphiniums from falling over.
 Staking is usually necessary, even for some compact varieties. Install stakes when planting or when stems reach about 12 inches tall. Waiting until stems are taller risks damaging the root system.
Use supports that are about two-thirds the expected height of the variety. Tie stems loosely with soft materials like garden twine or plant ties. Avoid wire or anything that might cut into the stems as they grow.
Deadhead spent flower spikes throughout the season to encourage additional blooms. Many delphiniums will also produce a second flush of flowers if cut back after the first blooming. This won’t be as tall or dramatic, but still provides good color.
Remove any yellowing or damaged leaves throughout the season. This keeps potted delphiniums looking tidy and prevents disease problems. Don’t worry about removing a few leaves, as delphiniums can handle moderate pruning without struggle.
In areas with strong winds, consider using circular supports instead of single stakes. These provide support from multiple directions, keeping the stems upright.
Troubleshooting
 Watch out for issues with pests and diseases.
 Rot is the most common problem with delphiniums in pots and containers. Symptoms include yellowing leaves, wilting despite moist soil, and blackened stem bases. This is usually caused by overwatering or poor drainage. Once you see these symptoms, the plant is often beyond saving.
If rot develops, remove the plant and check the roots. Healthy roots should be white or light colored. Black, mushy roots indicate rot, and the plant is usually beyond saving. You can try cutting away affected roots and replanting in fresh soil, but success rates are low.
Aphids often attack new growth and flower buds. Regular inspection helps catch infestations early when they’re easier to control. A strong spray of water can dislodge small populations. For heavier infestations, use insecticidal soap or neem oil.
Powdery mildew appears as white, powdery spots on leaves. This fungal disease thrives in humid conditions with poor air circulation. Improve airflow and avoid overhead watering to prevent further issues. Prune away mildewed leaves as they crop up.
If plants become too tall and floppy despite staking, they may not be getting enough light. Insufficient light causes weak growth that can’t support the weight of the flower spikes. Move pots and containers to a brighter location if possible to resolve the problem.


 English (US) ·
  French (CA) ·