
 9 months ago
160
9 months ago
160
PROTECT YOUR DNA WITH QUANTUM TECHNOLOGY
Orgo-Life the new way to the future Advertising by AdpathwayYou’re standing in the produce aisle, looking at garlic bulbs and thinking, “Why not just plant these instead of ordering seed garlic online?” It’s a reasonable question, but one with some nuances.
Grocery store garlic has usually been treated to prevent sprouting during storage and shipping. Some of it comes from climates completely different from yours, which means it won’t perform well even if it does grow. And you have no idea what variety you’re getting, so you can’t predict whether it’ll form proper bulbs in your garden.
However, sometimes it works anyway. The success rate depends on factors you can’t control when you’re buying from the grocery store. But it does make for a fun gardening experiment.
If you’re thinking about planting grocery store garlic, you should know what you’re getting into and what can go wrong. Here’s the reality of growing garlic from grocery store cloves.
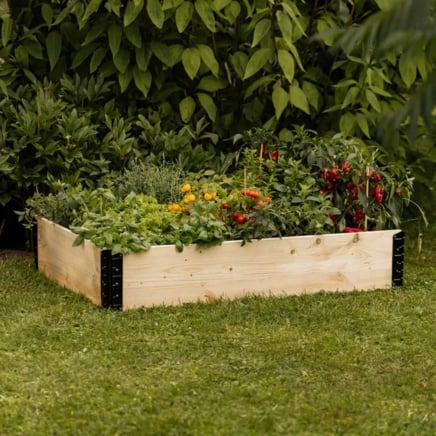
3-Minute Raised Bed and Extension Kit

3-Minute Raised Bed and Extension Kit
Modern Raised Garden Bed – 12″ Tall
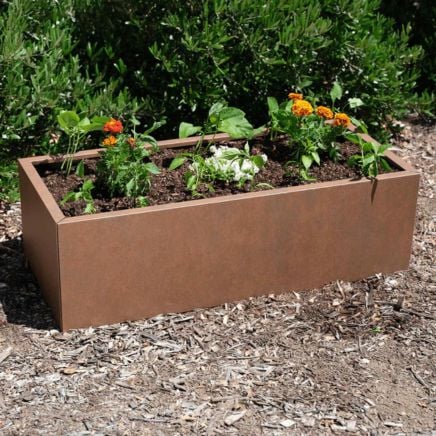
Modern Raised Garden Bed – 12″ Tall
Can You Plant Grocery Store Garlic?
Growers often treat their bulbs with chemicals to prevent them from sprouting. In addition, stores may keep the bulbs in dry, cold storage for many months. These conditions help the cloves last a long time in the store, but they make it harder for them to sprout when you plant them.
It Might Not Sprout
 Grocery store garlic is treated to survive transportation.
 Growth inhibitors are chemicals that growers spray onto the cloves. If a clove sprouts at the grocery store, it’s unfit for sale. That’s why the inhibitors are common tools of the trade.
If you buy treated bulbs, they likely won’t sprout when you plant them. They’ll rot before they sprout leaves and roots.
Growth inhibitors typically consist of synthetic substances, and they’re not legal for use on organic crops. If you buy organic garlic, it’ll likely be free of the inhibitors, and it’s okay to plant it in your home garden.
It’s Softneck Garlic
 If you want to grow garlic from the grocery store, it will probably be a softneck variety.
 This crop has two separate forms: hardneck and softneck. Hardneck varieties grow scapes and bulbils, and they’re cold-hardy in northern states. Softneck types lack a strong scape, and they perform well in warm regions where hardneck types struggle.
Common garlic at the grocery store is typically a mix of softneck varieties. This means the cloves will struggle to grow if you plant them in areas with frigid winters. For best results, plant the store-bought cloves if you live in USDA hardiness zones 7 through 10.
If you have local farmers’ markets near you, ask the farmers if they have hardneck garlic. The cloves will be free of growth inhibitors, and they’ll fare well in the coldest regions of the U.S.
Grow Bulbs
After sourcing the bulbs and preparing the garden, it’s time to grow garlic from the grocery store. Garlic grows best in a site with full sun, regular airflow, and well-drained soil that’s rich in nutrients.
Prepare the Site
 Amend the soil to give cloves the best chance of establishing.
 Prepare the planting area by removing any debris or growing weeds. Pull up the weeds, and rake leftover stems and leaves from the dirt. Make the surface level, then inspect the soil and its quality.
If the soil is excessively sandy or dense with clay, amend it ahead of time with compost or leaf mold. Soil amendments like these break down where they are, improving the soil with microbial life and nutrients. The layer also insulates the ground, protecting it from erosion and excess water loss.
If the soil is of poor quality and you can’t wait to plant, consider growing the bulbs in raised beds or containers. It’s easy to fill planters with good soil, rather than waiting for soil amendments to improve the dirt in in-ground beds.
Separate Cloves
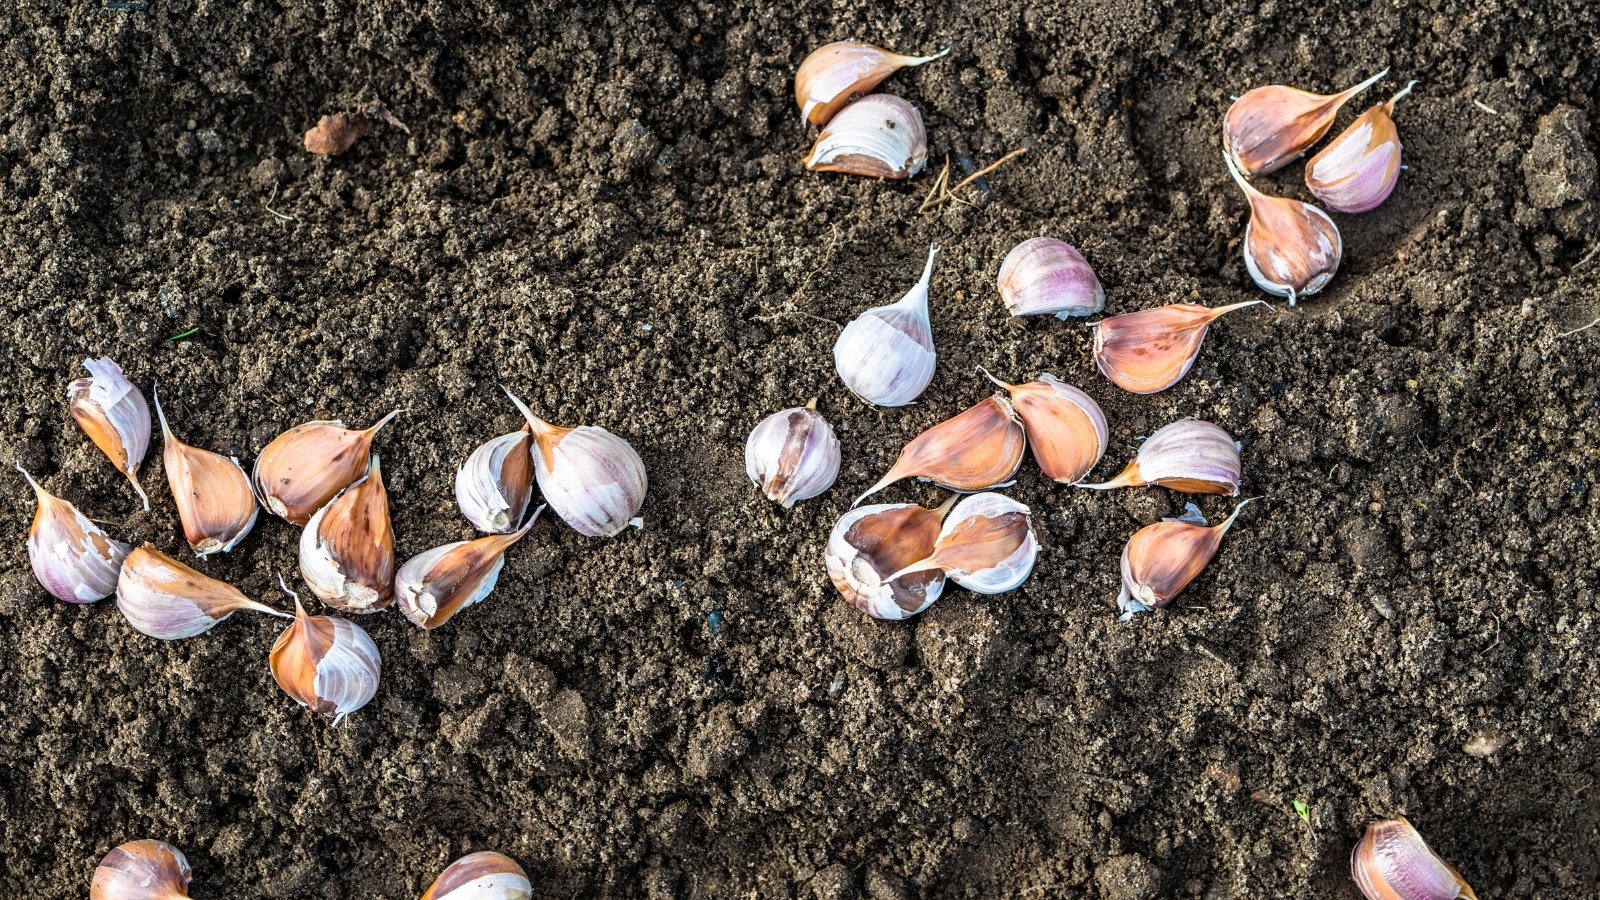
 Don’t peel gloves before you plant them.
 Each clove grows into a large, divided bulb in summer. This is why you must plant the cloves separately in the garden, giving space between each one.
Start by separating each clove from the others in the bulbs. Don’t peel them; they use their protective skin to stay hardy underground.
Throw out any mushy, rotten, or spotted cloves. Also trash any sprouting pieces, as they’ll rot when winter frosts arrive. Watch for signs of mold, like black or fuzzy growth. Only plant whole, intact cloves that are healthy and firm.
Plant Cloves
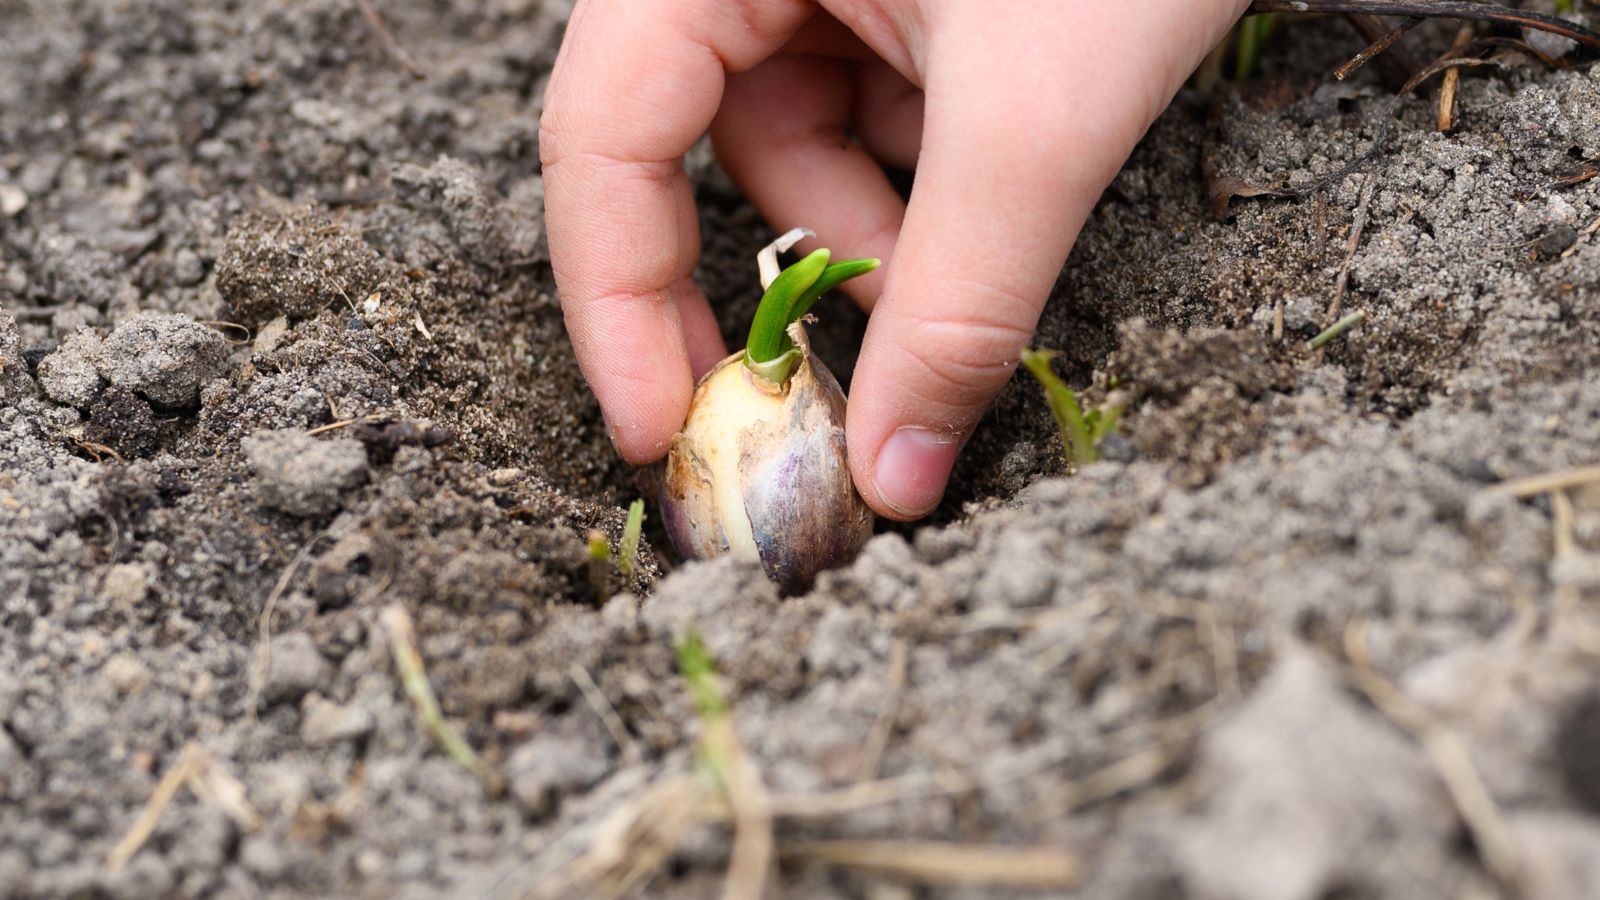
 Grow garlic from the grocery store in fall before frost.
 The best time to plant is in the fall. This crop requires both cold and warm temperatures to thrive, and it won’t bulb up properly if you plant it late in spring or summer. For most growers, the planting time falls between October and November.
Garlic benefits from a deep planting. The bulbs stay warm and protected deep below ground, where cold temperatures and pests struggle to reach them. Dig holes an inch to an inch and a half deep, and space them three to six inches apart in rows 15 inches apart.
Then, place cloves in each hole with their pointed ends reaching upwards. Bury each clove, and set a layer of compost two to three inches thick on top of the ground. Water the site well to help everything settle.
Aftercare
 A layer of mulch keeps the bulbs insulated.
 The most important step of aftercare is adding mulch. Mulch protects and insulates the bulbs while they mature. It also feeds them with nutrients as the mulch decays.
Compost is the best mulch for garlic, as it’s nutrient-rich and well-draining. You may also use straw, leaf mold, or fallen leaves. Garlic is a light feeder, and compost or rich soil is sufficient for its growth.
Sprouts will appear in spring when the days lengthen and temperatures warm. Help your plants thrive in the growing season by giving them regular water when their soil dries. Wait to harvest them until their lower leaves turn yellow in the summer.
Grow Greens
Growing garlic greens is much easier than cultivating bulbs if you want to grow garlic from the grocery store. You may grow them any time of year, and they’re quick to sprout indoors or outside. Simply gather some bulbs from the store to start the process.
Peel Cloves
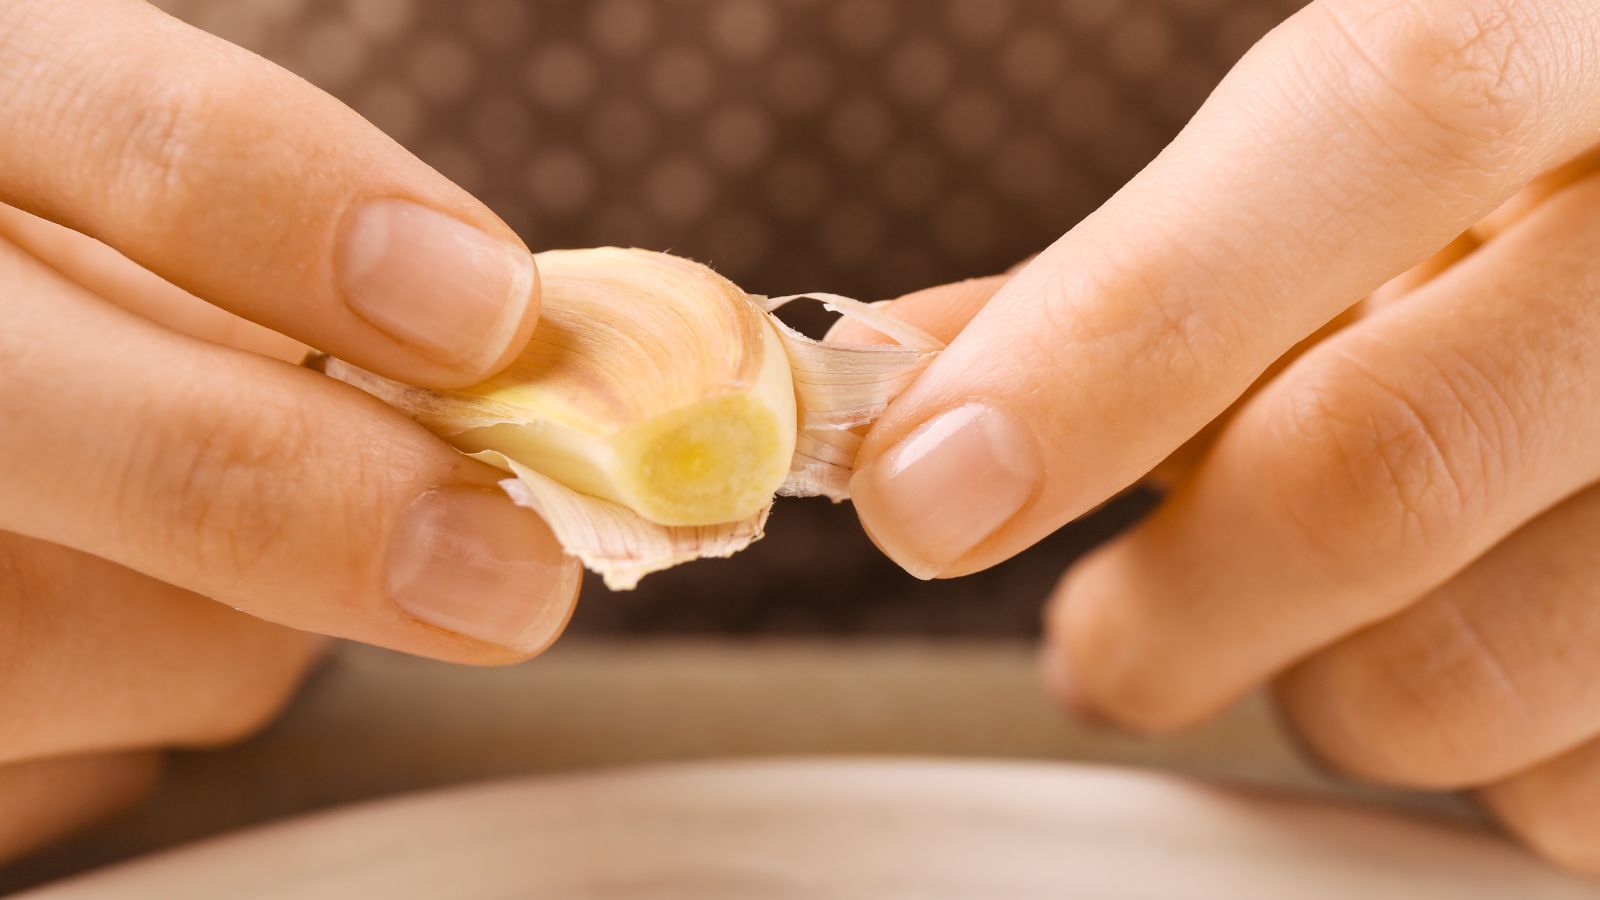 Try not to damage the bulbs too much while you’re peeling.
 Start by peeling each clove. Unlike the previous method of bulb cultivation, growing greens requires you to peel the skin. Take care when peeling, and be sure not to nick or damage the garlic during the process.
After peeling, don’t throw the skins away! Toast them and grind them into a powder to make homemade garlic powder. Combine them with onion skins for an onion-garlic powder blend.
Suspend Cloves
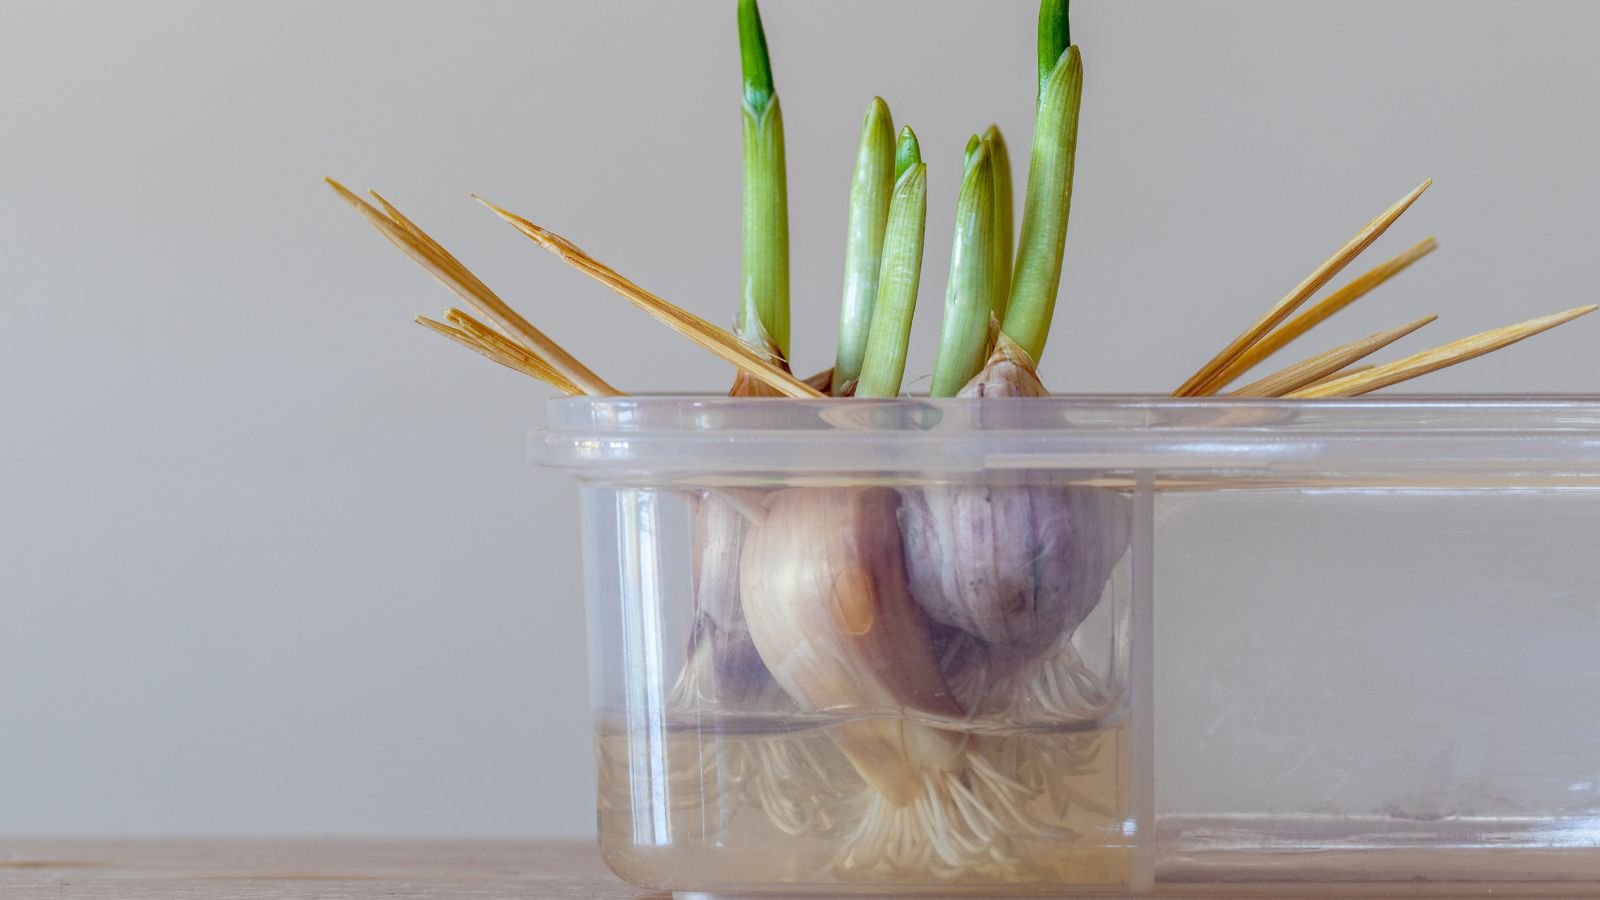 Leave the bottom end of the clove in water, as you would to grow onion greens.
 Here comes the fun part! The clove will begin growing when it receives sunlight and moisture. To help it, you’ll suspend it over a glass of water using toothpicks.
Grab some toothpicks and stick three into every clove, placing them equidistant from each other. Don’t stab the toothpicks all the way through. Simply stick them in far enough so they’ll stay stuck.
Gather small glass jars full of water, then set a clove atop each one. Situate the garlic so that the lower portion sits in the water while the upper half pokes in the air.
Aftercare
 You can plant sprouts outdoors or pot them in containers.
 Roots will begin growing in a few days, after which you’ll notice green shoots poking out of the tops. Keep the jars near a bright, sunny window indoors and rotate them daily for even growth.
Ensure the jars stay full of water, and never let the roots dry out. As the tops reach a few inches or taller, you may snip them off for use in the kitchen. The greens have a soft flavor that’s milder than that of the bulbs. Add them to sandwiches, spruce up salads, or cook them in stir-frys.
Each clove will produce a few leaves before withering away, as garlic needs soil to continue growing. Plant the sprouted cloves outdoors, or pot them up in containers to encourage more leafy growth.
Key Takeaways
- Not all grocery store garlic will grow. Buy organic bulbs for the best sprouting results.
- Decide whether you’d like greens or cloves, as you can produce either from store-bought garlic.
- This root crop needs well-drained soil, regular watering, and nutrient-rich compost to thrive.
- If you find poor yields with store-bought cloves, try purchasing certified disease-free sprouting garlic from a reputable source.


 English (US) ·
  French (CA) ·