
 4 hours ago
3
4 hours ago
3
PROTECT YOUR DNA WITH QUANTUM TECHNOLOGY
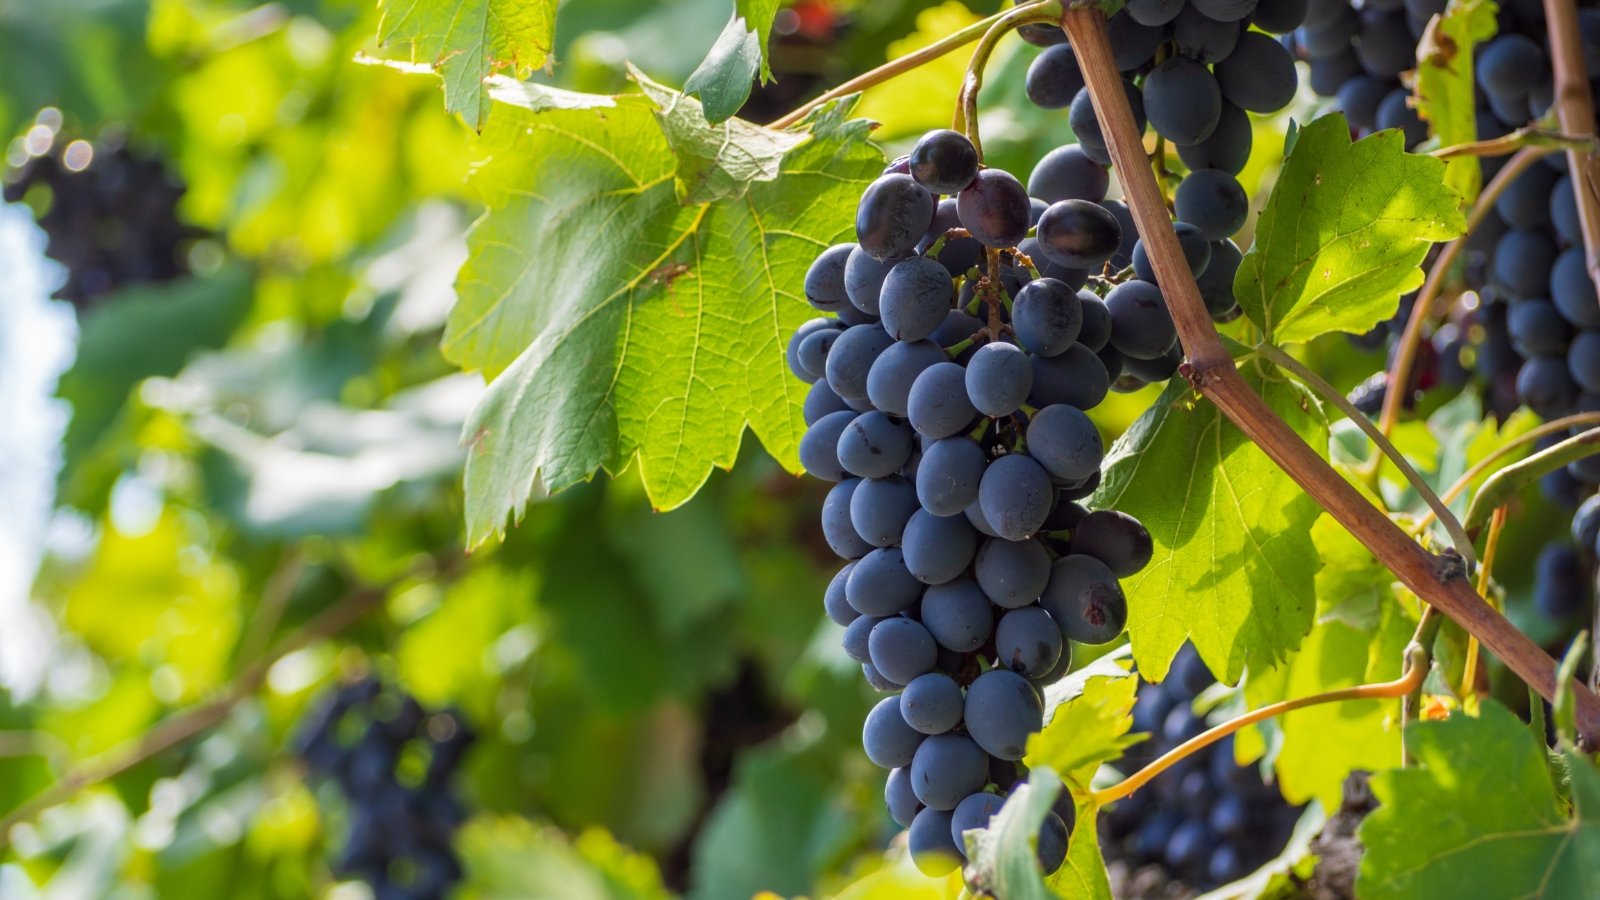
Orgo-Life the new way to the future Advertising by AdpathwayThere’s nothing quite like a fresh-harvested cluster of grapes. Table grapes are superb for fresh eating, while seeded grapes make tasty wines, juices, and preserves. Harvest them on time, and they’ll have the best flavor possible.
Most grapes ripen at the end of summer when fall begins. You’ll feel cool temperatures, and you’ll notice the days shortening in length. These changing factors act as signals for grapevines, causing them to ripen their fruit.
The best way to catch ripe grapes is to check on them daily in the fall. Take garden walks, and make notes of the changing qualities. After a year or two of grape growing, you’ll know exactly when to start looking for ripe grapes to harvest.
Flame Red Seedless Grape

Flame Red Seedless Grape: The Sweet Treat for Your Garden
Get ready to savor the delightful burst of flavor with our Flame Red Seedless Grape. These vibrant, ruby-red grapes are not only a feast for the eyes but also a deliciously sweet and juicy addition to your garden. Perfect for snacking, adding to salads, or even making your own homemade raisins!
When to Harvest
 Timing depends on your local climate.
 Though late summer and fall are when grapes ripen, there are many other factors that influence when to harvest. Your garden’s microclimates can push them to mature sooner or later than they normally would. In addition, some varieties ripen more quickly than others.
These tests will help you determine when to harvest. Use your eyes, hands, and taste buds to see if your grapes are ready or not.
Taste Test
 Tasting is the easiest way to determine ripeness.
 Unlike apples and pears, grapes do not ripen after picking. It’s better to leave them on the vines until they mature than it is to pick them early. Because they’re fully ripe on the vine, you may use a simple taste test to see if they’re ready to harvest.
Take a ripe grape and eat it. Does it taste good? Is it mushy and sweet, or firm and acidic? Firm, acidic ones need more time on the vine to mellow out their flavor.
If it tastes good, it’s good to pick. The last ones to ripen are at the bottom of the clusters. Once they’re ready, you may harvest the entire cluster they sit on.
Take care when trying seeded grapes, as the seeds are hard! They’ll hurt your teeth. Chew gently, and spit out the seeds to enjoy the flesh.
Inspect the Color
 Make sure you know the ripe color of your chosen variety.
Grapes turn different colors depending on their variety. Most classic wine and table varieties are dark purple, like ‘Concord.’ Others are green, and some are bright pink or red. Some have tiny fruit, like champagne grapes.
Once you know the color of your grape variety, you can inspect the crop to determine if it’s ready to harvest. All of the berries will turn their final color, and some may have a soft white sheen on the skin.
Green grape cultivars are difficult to monitor, as they’re green when ripe and unripe! Taste the green types if you’re unsure how ready they are, and use the following tests to help determine ripeness.
Check the Stems
 Stems will change color from green to brown.
 Above each grape cluster lies a stem that attaches it to the vine. This stem starts green as it first grows. Then, as each grape ripens, it shifts from green to brown.
Once this stem is brown, it’s a good indicator of ripeness. Check the stem alongside the color of the fruit and how good they taste. You may need to use a few different tests to know if your grape harvest is ripe for picking.
Find the Seeds
 Seeds also change color when grapes are ripe.
Seeded cultivars have another ripe-testing trick. Their seeds change colors as the grapes ripen! This means you may use the seeds as a ripeness indicator.
To check, start by peeling a grape’s skin. Poke through the flesh to find the seeds. Or, eat it and spit the seeds out!
Seeds are light gray or yellow when they’re unripe. As the fruit matures, the seeds darken in color. They should be dark brown and hard when the fruit is ripe.
Use a Device
 Farmers growing grapes have devices to measure ripeness.
 A device is handy for regular growers who have lots of grapes to harvest. Instead of relying on simple tests, your device will measure the sugar content in the fruit. The devices aren’t cheap, but they’re reliable, long-lasting, and easy to use.
The most common device is a hand-held refractometer. This tool measures the sugar content of each grape, known as the Brix content. Grape, hemp, and apple growers know the importance of Brix. A high content means the crop is sweet, while a low concentration implies a bitter or tart harvest.
How to Harvest
How to harvest grapes depends on what you’re trying to do. Hand-picking works well for a few individuals, while snipping is best for entire clusters. Grab a harvest basket, some gloves, and your pruners, and get ready for the harvesting season!
Pick Grapes
 For fresh eating, pick a few grapes off a cluster.
 Use your hands to pick grapes if you’d like to snack on a few. Simply snap them off the clusters and pop them in your mouth. It’s one of the best ways to enjoy your homegrown harvest.
You may try to pick whole clusters, though they may not detach easily from the branch. Avoid pulling on them, as you’ll squeeze the fruit in the process.
Snip Whole Clusters
 Avoid stacking grapes as you harvest.
 For whole clusters, use snips instead. Prune off entire clusters from the vines, and hold them with your other hand. Set them on a metal tray or inside a basket until the vessel is full.
For large harvests, you may need to take multiple trips or have multiple trays to hold all the fruit. Avoid stacking them, as they may squish each other when their weight builds up.
If you’re preserving or processing, squishing them is of no concern. Stack them as you wish in barrels, trays, or containers.
Preserve the Harvest
After the harvest, it’s best to store the grapes properly so they last as long as possible. How to store them depends on what you want to do with them. Use grape harvests for fresh eating, freezing, or making preserves.
Immediate Storage
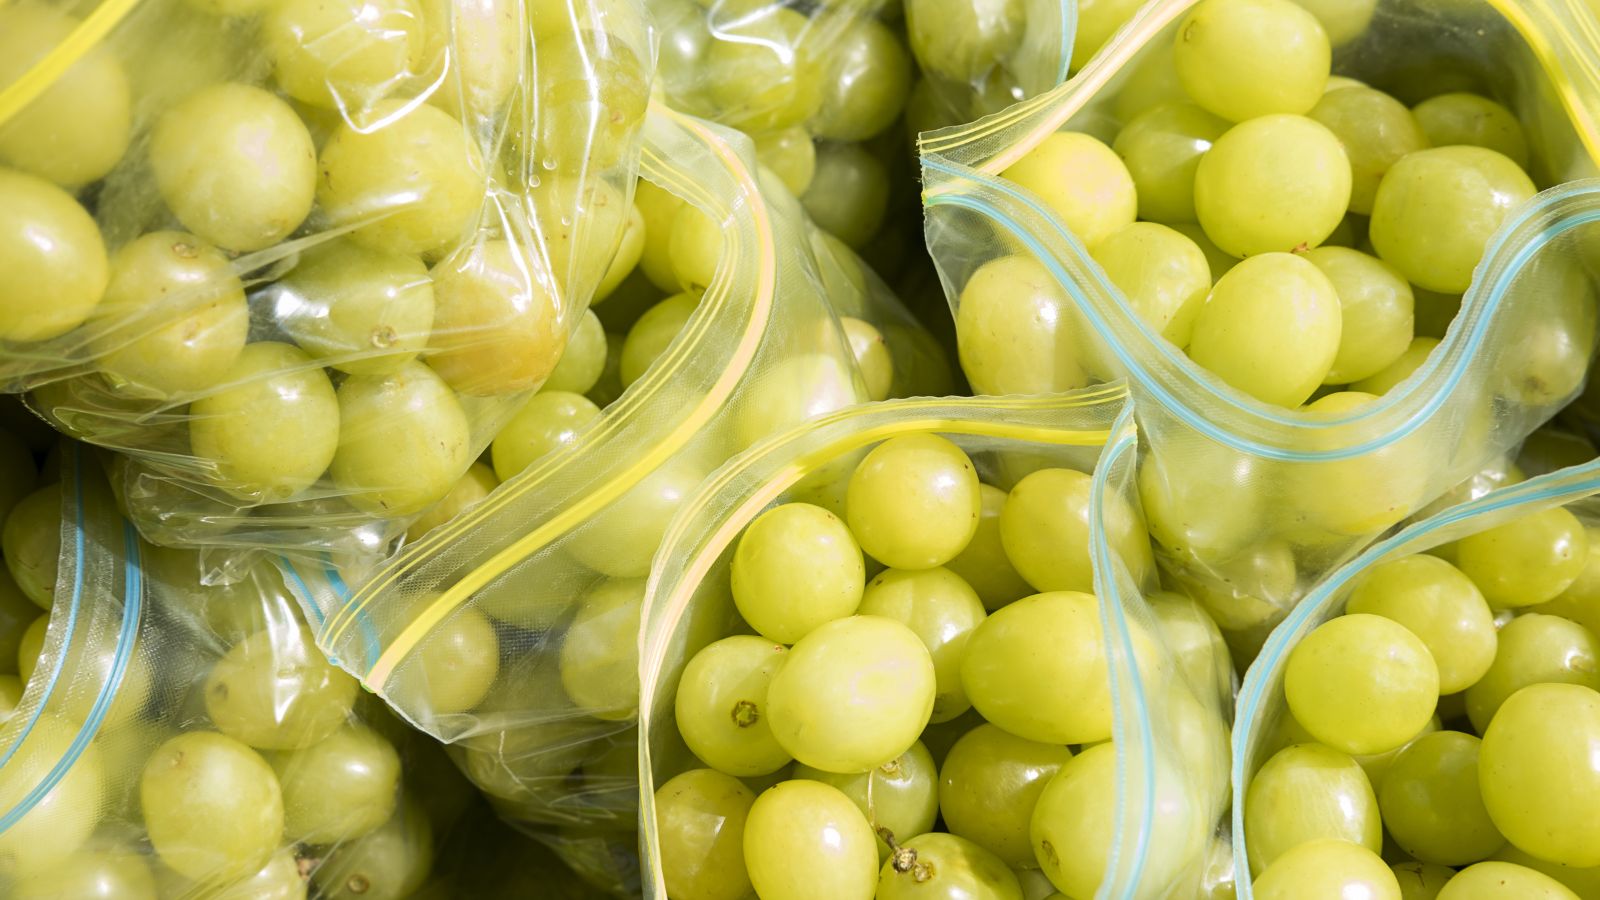 Place grapes in the fridge immediately.
 Post-harvest refrigeration helps the grapes last for fresh eating. Store the clusters in bags with holes in them, and set them on the shelves of your refrigerator.
Avoid keeping the fruit in closed containers, as they may spoil or rot in cold storage without ventilation. A bag with holes is best, though you may use vented containers or partially opened jars.
Don’t rinse the clusters before storage, as this creates wet conditions that encourage spoilage. Harvest and store them, then rinse them before eating.
Long-Term Storage
 Dry your harvested grapes to make raisins.
 Long-term storage in the freezer works well for seedless grapes that you’d like to process at a later date. Instead of cooking and preserving them now, you may keep them in the freezer for a year until you’re ready to use them.
You may freeze seeded grape varieties, though you’ll need to thaw them before using them. They’ll turn mushy after freezing, which is why this method is best for preserving at a later date, not for fresh eating.
Instead of freezing, you can try drying the fruit to make raisins. Slice each grape in half, set the halves on trays, and move them to a food dehydrator. They’ll need 15 to 24 hours or more to dry, though the wait is well worth the reward! Homegrown raisins are delicious and nutritious.
Preserves
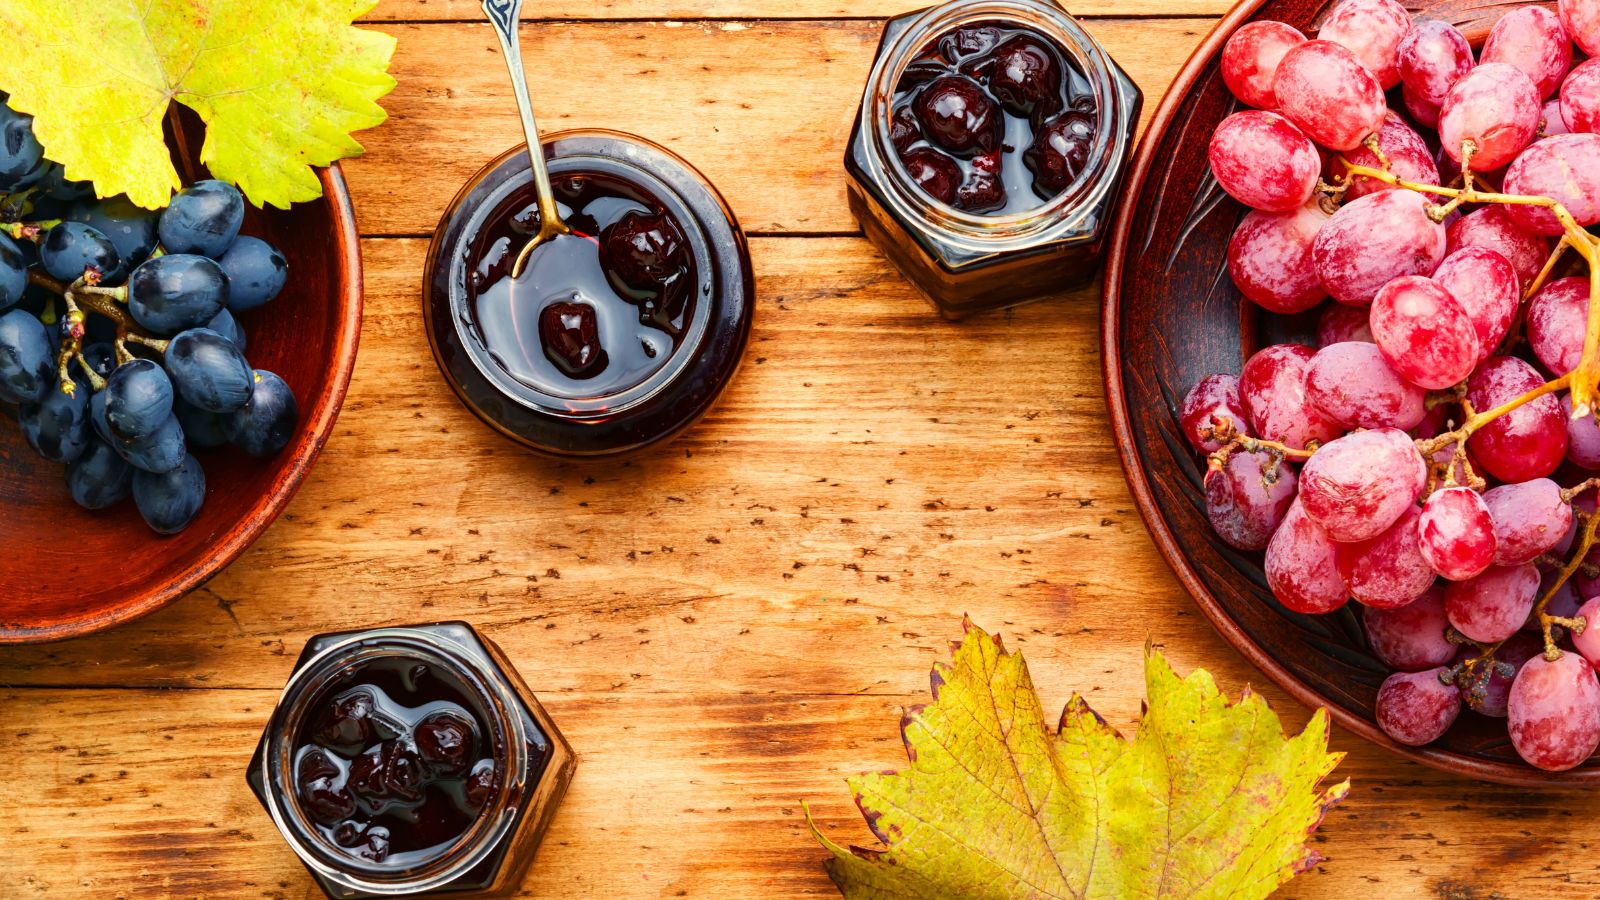 Making jam is a great way to preserve your harvest.
 I like to make preserves with my fruit harvests. Instead of having to eat a ton of apples, grapes, and pears all at once, I make jams and jellies to enjoy year-round. Preserving is a wonderful way to store your grapes, and there is a wide variety of recipes to choose from.
Preserving relies on water-bath or pressure canning. The canning process kills diseases and seals the jars to ensure the goods last for a year.
All you need are mason jars, sealing metal lids, and a water-bath canning pot. Instead of water-bath canning jams and jellies, you may also make syrups and candies.
Key Takeaways
- Grape harvests are ready when the fruit tastes good.
- Look to the color of the grapes’ skins, and check the stems of the clusters to verify ripeness.
- If you have a seeded grape variety, check the seeds. Light yellow seeds need more time, while dark brown ones indicate ripeness.
- Harvest whole clusters by snipping their stems with pruners or snips.
- Store the fruit in the fridge or freezer, or preserve it for long-term storage.
Frequently Asked Questions
Harvest them when they’re ready! You’ll likely be able to pick them as summer turns into fall at the end of the growing season.
September is ideal, though some growers may harvest earlier or later depending on their region and the cultivar they’re growing.
Sure, as long as you don’t mind getting wet! Let the grapes dry a bit before storing them to ensure the excess moisture doesn’t cause them to rot.


 English (US) ·
  French (CA) ·