
 8 months ago
151
8 months ago
151
PROTECT YOUR DNA WITH QUANTUM TECHNOLOGY
Orgo-Life the new way to the future Advertising by AdpathwayWhen cooler weather arrives in the fall, I’m usually preparing a place indoors for my tropical plants. Among my philodendron, pothos, and some cacti, it’s time to bring Boston fern inside. There’s a regimen I follow to ensure the conditions inside are ripe for a happy dormancy, though.
The process of getting your fern ready for a transfer from outdoor to indoor conditions can start as soon as the summer weather dips. Ideally, you’ve prepared the plant and the indoor location by the time temperatures consistently dip below 50°F (10°C).
It can be as simple as bringing the plant indoors as soon as nighttime temperatures are in that range. However, you’ll make the transition and the winter sojourn much smoother by taking care of a few things ahead of that time. Many of the tasks that make for the best transition are good practices for all plants that come inside for winter.

Marly’s Self-Watering Planter

Mercury Trigger Sprayer

Mercury 1L Trigger Sprayer
Caring for Boston Ferns
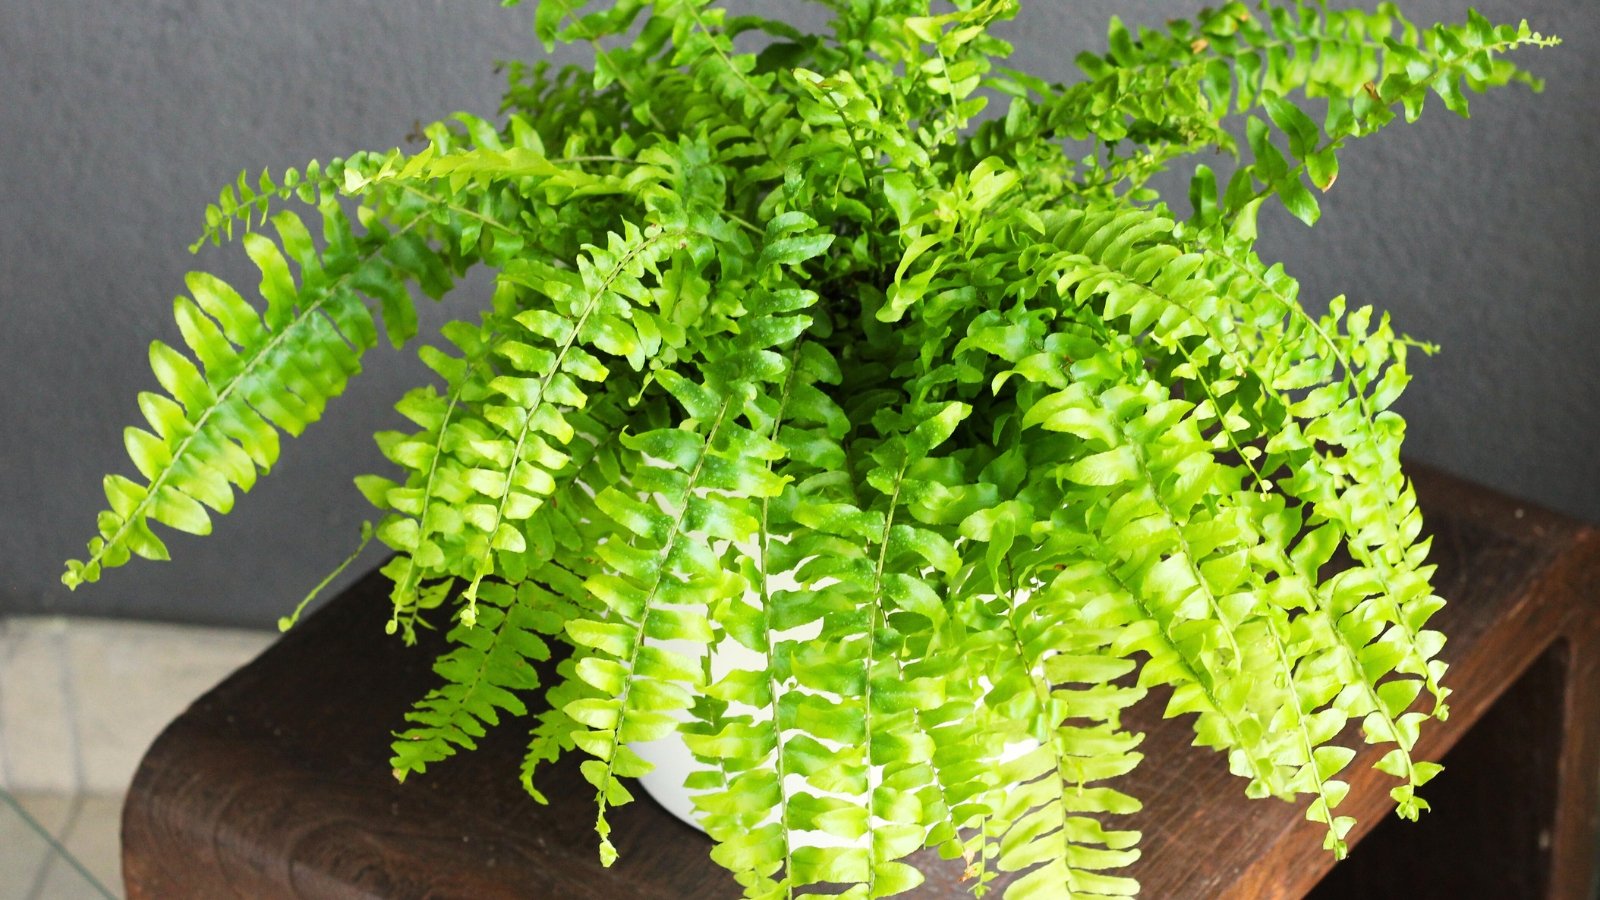
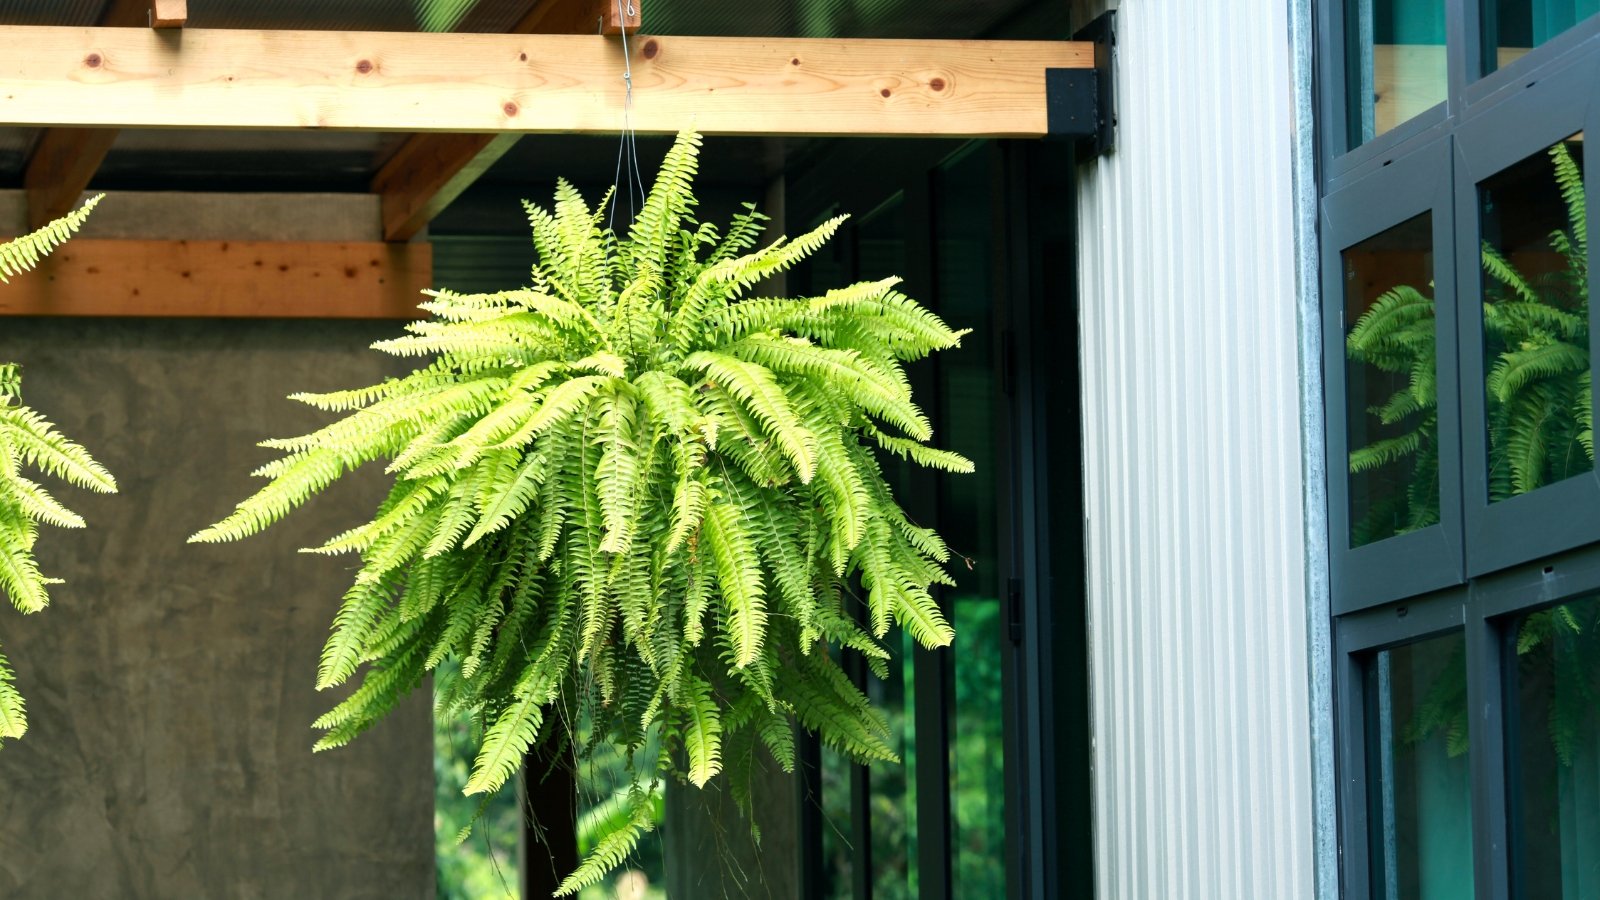 Long arching fronds make such a graceful display.
Nephrolepis exaltata ‘Bostoniensis’ is a spore-producing fern that comes from South America, the Caribbean, and Central America. There, it subsists on a consistently moist soil and bright indirect light on the humid forest floor. It’s a large fern that reaches up to seven feet tall, making it a stately specimen for home gardens and indoor ones alike.
Outside its native range, this fern is commonly planted in the ground in frost-free areas, or situated in hanging baskets or large planters elsewhere. The ideal temperature range for this plant is between 65 and 75°F (18-24°C), with a heat tolerance up to 95°F (35°C). Indoors, the fern is one of the best for good air quality.
Its cold tolerance is limited, and when temperatures are consistently in the 50s (around 10°C), it’s close to time to bring Boston fern inside. As the 40s (about 4°C) arrive, the fern won’t tolerate the chill. Thankfully, indoor temperatures are right in the ideal range for this beauty. And it’s not that hard in many homes to find a spot with the bright, indirect light it needs.
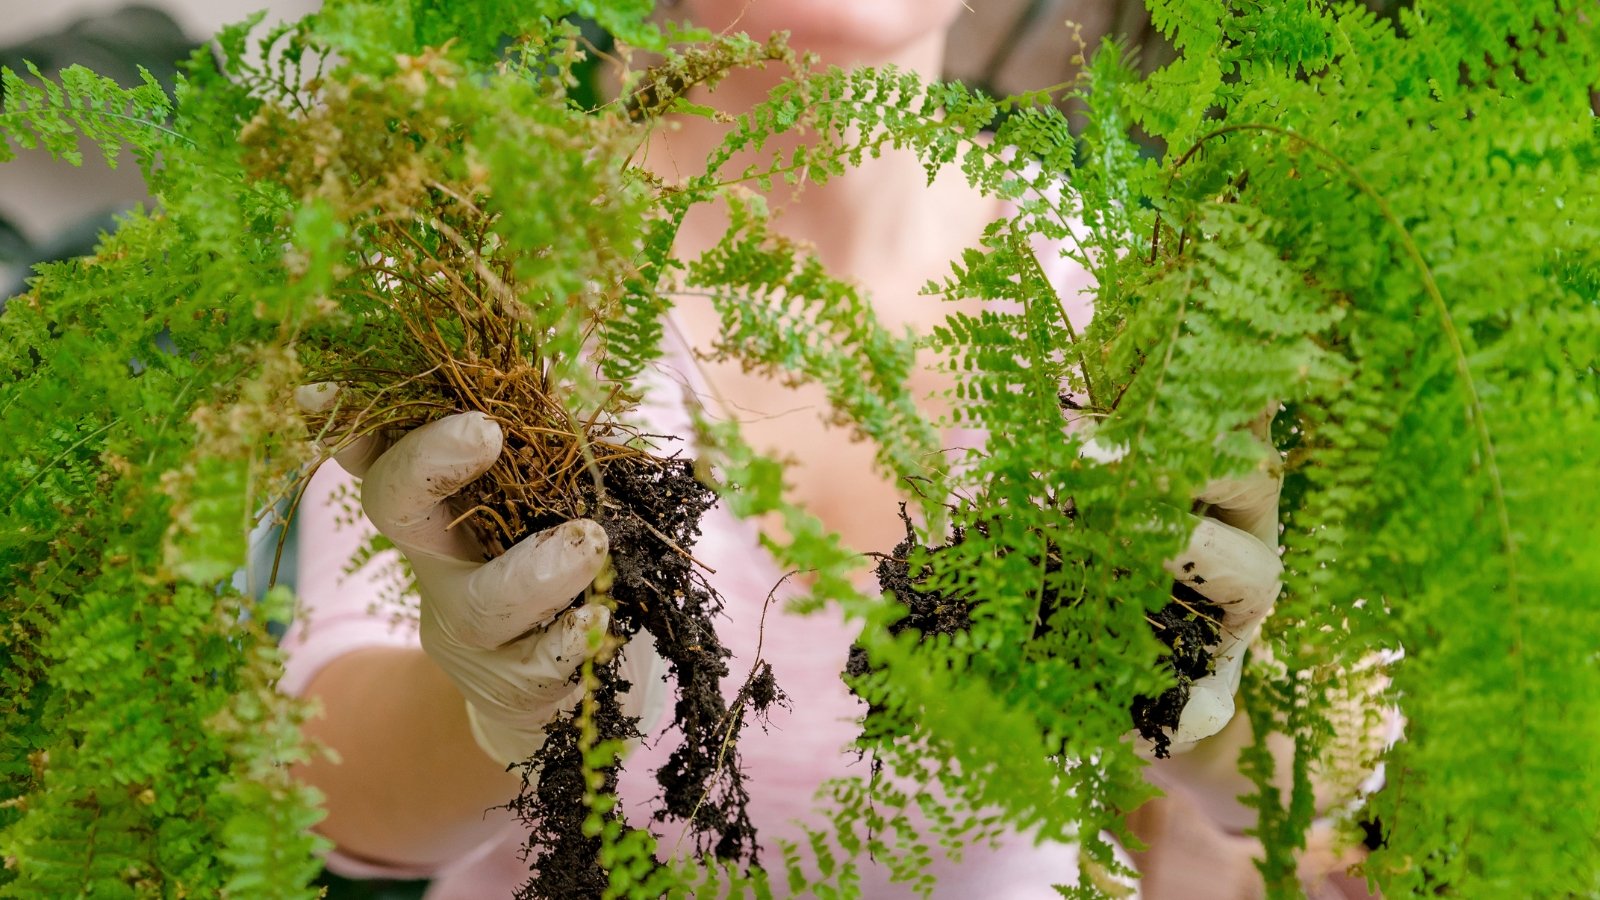
Check for Pests
 Always check the fronds carefully for hidden pests.
The first thing to do before you bring Boston fern inside is to check its long fronds for insect pests and diseases. Easy-to-spot insects include cutworms, which curl into a C-shape when disturbed. Hand-pick these and throw them on a nearby host weed, or in a container of soapy water.
Mealybugs and other scale insects are avid pests of plants both in and outdoors. It’s vital to remove them before placing them in an area where your fern will be, especially if other plants are around.
Fungus gnats are a common indoor problem. Since it’s unlikely you’ll bring them in, set up traps indoors to ensure they don’t land on your Boston fern’s soil and lay eggs. Yellow sticky traps or vinegar traps are both effective.
Finally, check the base of your fern for any browning and mushiness. If you see signs of root rot, like a mushy crown or waxy, browned, and drooping fronds, repot your fern in fresh potting media, removing any rotted roots.
Clean Your Fern
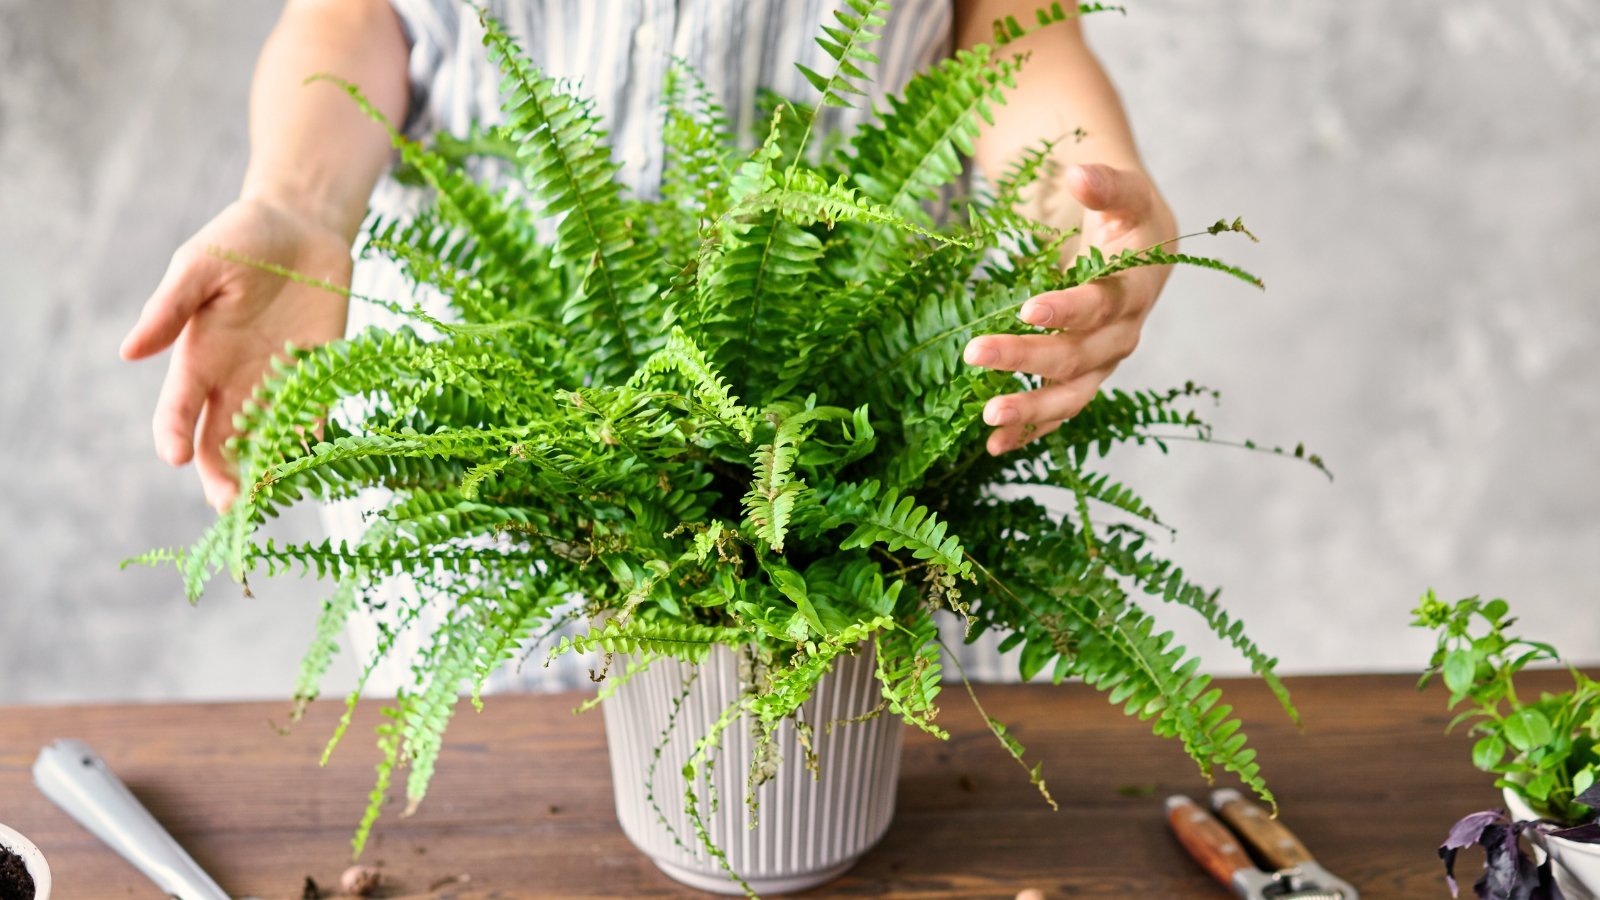
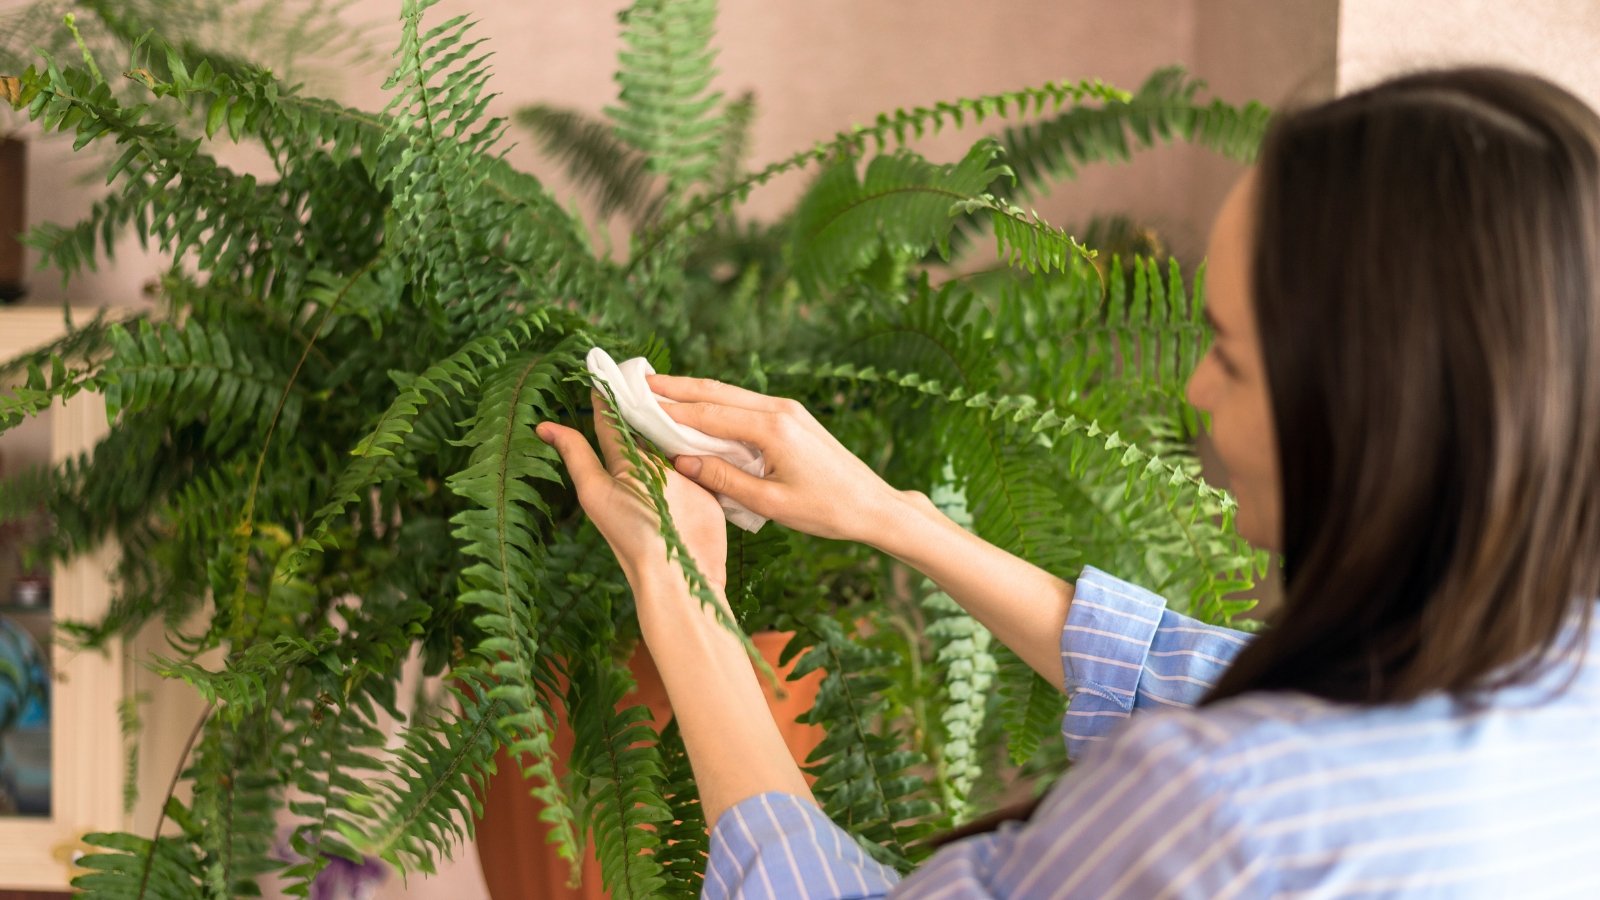 A clean pot and fronds keep growth strong.
When your fern is outdoors, its fronds take on dust and some decline as they age. Before you bring Boston fern inside, wipe down the plant with a cotton swab soaked in 70% or less alcohol. Ensure you wipe the entire plant, including leaves and stems.
Prune any yellowed fronds, but don’t prune away any healthy, green ones. While some pruning is fine for your fern, excessive pruning can cause problems. After you wipe it down and prune it, ensure the pot you’re moving is clean as well. Wipe off its sides and bottom.
This part isn’t completely necessary, but it will ensure any pests you missed are taken care of, and it keeps the plant clean through the winter.
Find a Good Location
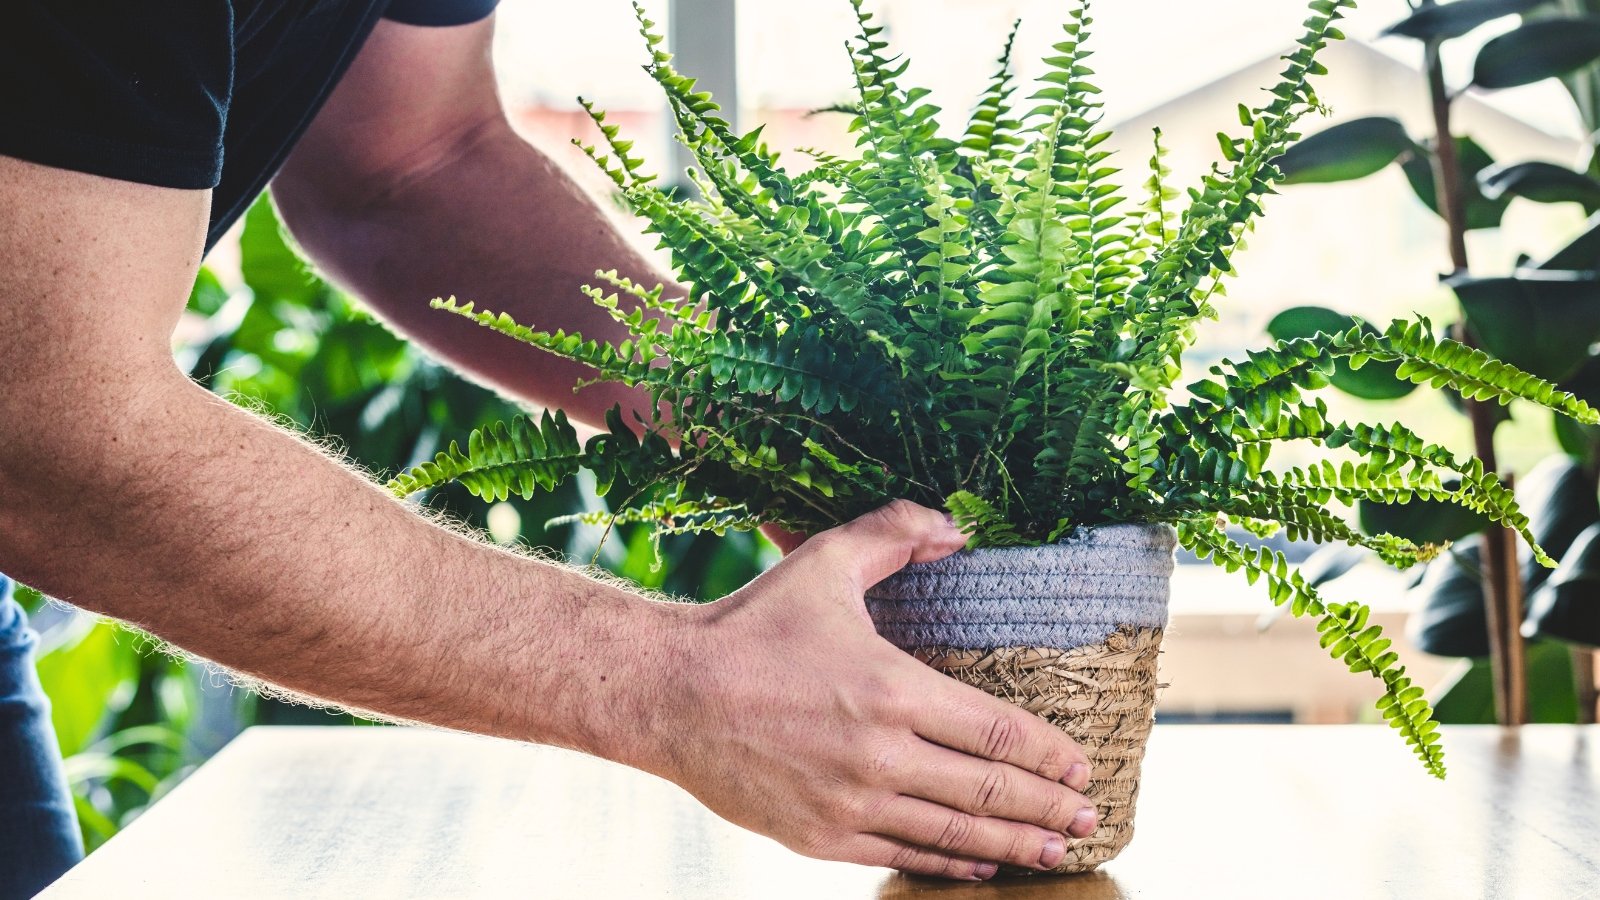 Place your fern where light and humidity balance perfectly.
Before you bring Boston fern inside, you need the best possible location for it to nestle in through winter. Find an area offset from a window by at least a foot. You want a spot that has bright, indirect light. Direct sunlight will scorch the fern’s delicate fronds.
Boston ferns love humidity. If you have room in your bathroom, and there’s enough light, find a place for it there. A room where a humidifier is present also works. You want your indoor location to be easily accessible, as you will still need to care for your fern through winter, even though it will be dormant.
If you’re bringing it into your house, rather than a greenhouse or garage, find a rolling base to place your fern on. One that doesn’t have perforations in the base ensures the water is caught within rather than running out of the bottom when you irrigate.
Avoid areas where heating and cooling vents are nearby. These are drying and can cause the soil to dry out quickly, causing brittle and browned fronds.
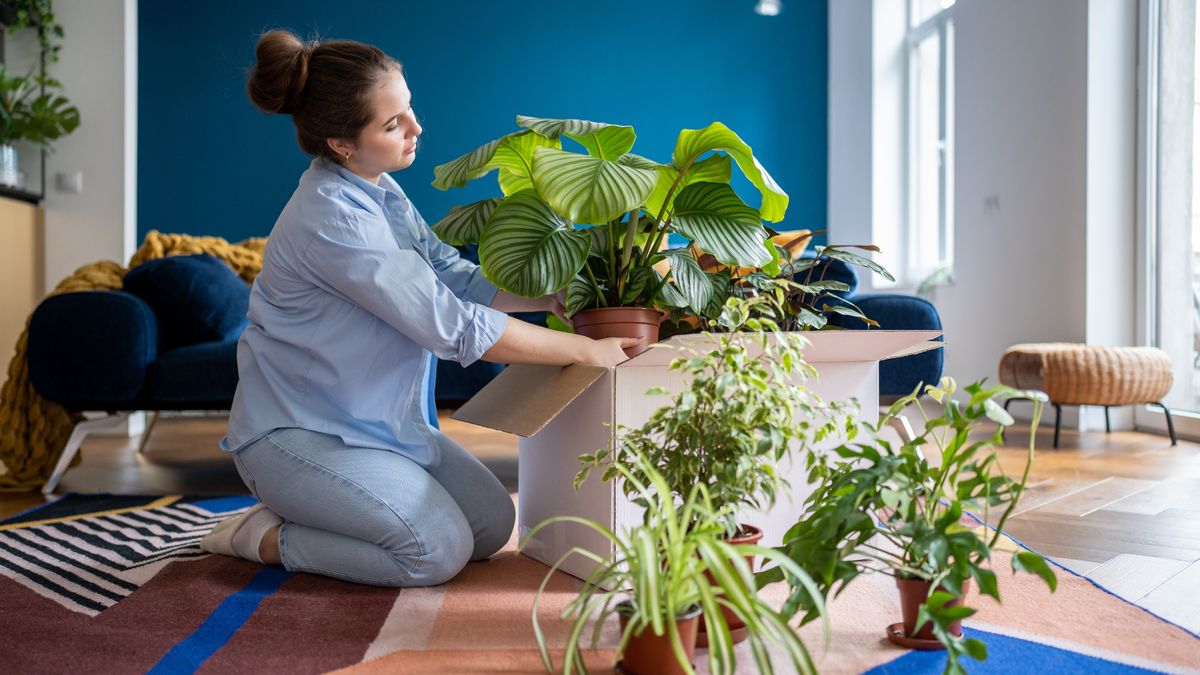
Harden It Off
 Move the plant gradually to prevent shock from the cold.
Just as you have to harden off your seedlings before you plant them out, give your fern a little time to adjust to conditions indoors. Move it toward the house as temperatures start to drop. Then move it indoors a couple of weeks before the 40s arrive.
If you’re moving it in before it’s completely dormant, be prepared to care for it just as you would outdoors. Give it the normal amount of water, but don’t fertilize, as soon the fern will be unable to absorb the nutrients the fertilizer provides.
Before you bring Boston fern inside, give it a gradual transition.
Keep It Healthy
 Check topsoil moisture regularly during the dormancy period.
Even though your fern will be dormant during winter, that doesn’t mean you can completely set it and forget it. After you bring Boston fern inside, keep watering and caring for it. Your regimen won’t be as demanding, and you won’t need to fertilize.
Instead, focus on keeping the top layer of soil moist. Don’t overwater, but ensure the soil is moist down to your second knuckle. Keep an eye on any potential indoor pests. If you missed any, treat them with insecticidal soap and wipe them off.
Winter isn’t the best time to repot your fern, but if it shows signs of root rot, repot it in fresh media. Remove damaged roots in the process. If it takes on a grey coloration, you need to water more. If fronds are droopy, move it closer to a light source.
Keep humidity up by using a humidifier or spritzing the fronds with distilled water every day. Unless it’s in a bathroom or a room with a humidifier, this is a necessity.

Propagate New Ferns
 Share newly divided plants as gifts with friends.
Once spring hits, you can plant more ferns! Once the daytime temperature reaches at least 65°F (18°C), you can divide your fern, repotting the sections into new containers. These are great gifts for other areas of the garden or for friends.
Of course, this task occurs well after you bring Boston fern inside, and after winter has passed. You don’t want to divide the fern and repot it when it’s dormant. Instead, wait for the warmth of spring.


 English (US) ·
  French (CA) ·