
 8 months ago
181
8 months ago
181
PROTECT YOUR DNA WITH QUANTUM TECHNOLOGY
Orgo-Life the new way to the future Advertising by AdpathwayPotatoes are one of our favorite crops to eat, and they’re not so difficult to grow in the home landscape, either. With their lengthy development time, the key is knowing when to harvest and how to cure potatoes for long-term storage. Hearty spuds bring lasting yields for enjoying through the cool season.
After lifting a big crop, curing the tubers helps prepare them for long-term storage. It supports thick skin and heals any cuts and bruises for successful storing. Good prep means the ability to reach for potatoes to warm up chilly nights with baking, frying, roasting, mashing, and adding to soups and more. Enjoy the rewards of a homegrown harvest.
Growing Storage Potatoes
 Slightly acidic soil encourages healthy, filling potato tubers.
Potatoes, Solanum tuberosum, are an ancient crop linked to the Peruvian highlands some 6,000 years ago. Some potato varieties store better than others. Red (“new” potatoes) and thin-skinned varieties often develop earlier and store for a shorter length of time. These are best for fresh eating or short-term storing.
Later-season, long-maturing storage types are big and filling. Versatile in cuisine, they go a long way on the plate and have a long storage life. They grow well in the ground, containers, and raised beds.
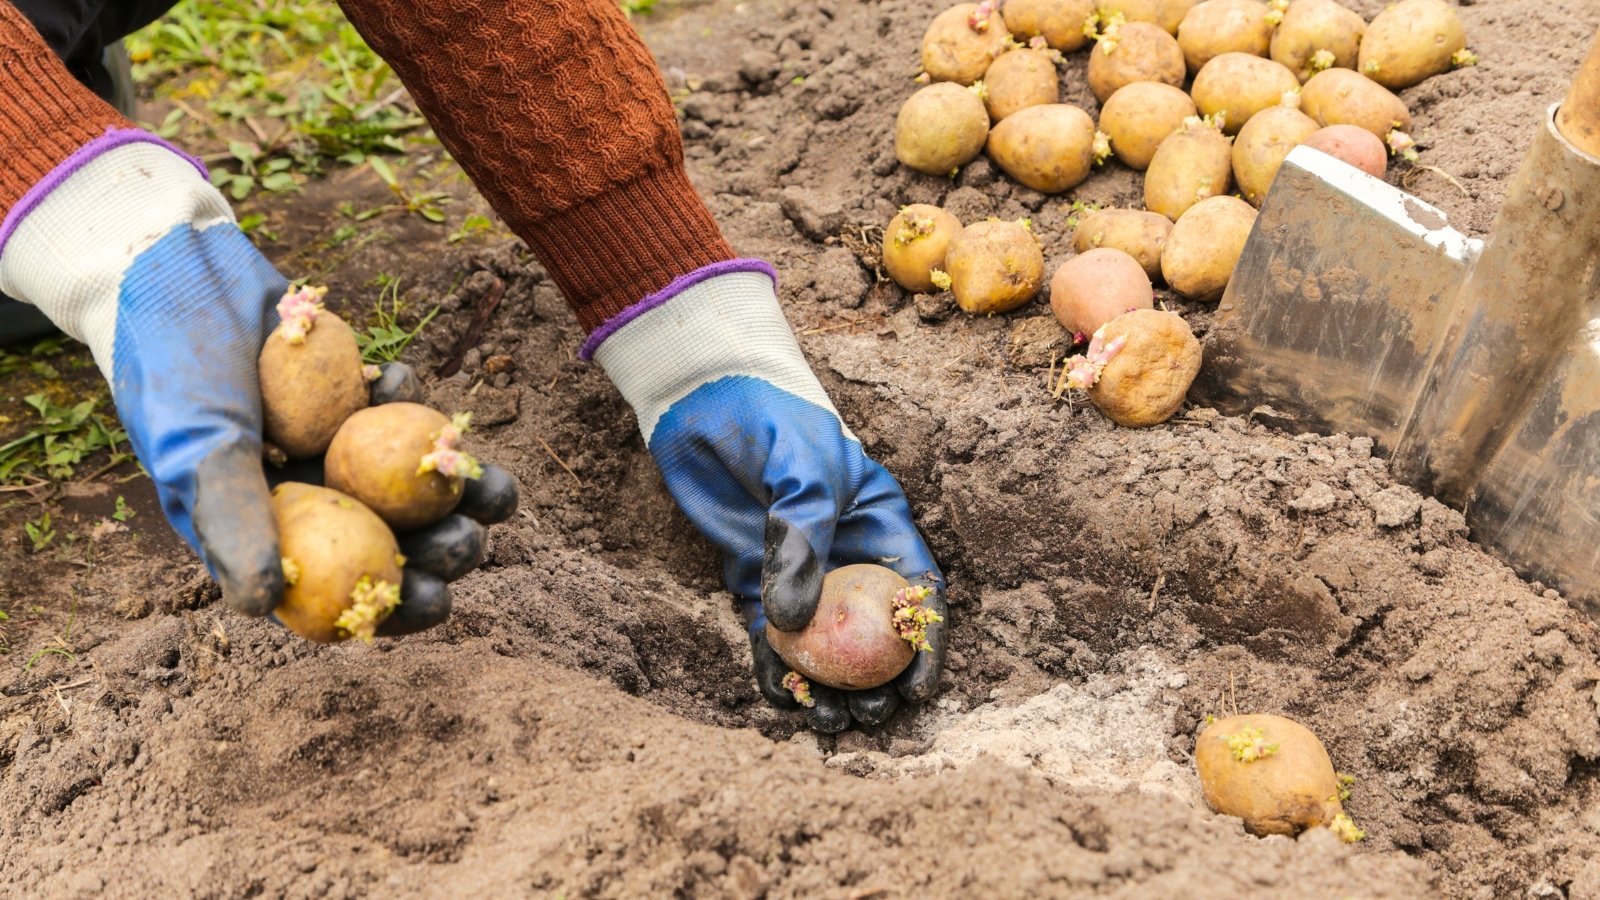
Potatoes sprout from “slips” or eyes from the main root, planted in spring or summer. Source slips (seed potatoes) from a reputable source to avoid undetectable diseases. Skip holding over homegrown potatoes for the same reason. It’s possible to sprout grocery store potatoes, but they may have been treated to prevent sprouting.
Plant potatoes in cold climates as soon as the soil is workable in spring, about four weeks before the first frost. Soils above 45°F (7°C) are best. In warm growing areas with hot summers, grow them in fall or winter for a spring yield.
Optimal growing conditions for potatoes include:
- Full sun with six or more hours daily
- About one inch of water per week with consistent moisture, holding off close to harvest
- Loose, loamy, sandy, slightly acidic, and well-draining soil
- Plant in hills or ridges for ample root space, drainage, and easy harvesting
- Weed-free beds to reduce competition
Harvesting
 Seasonal variations may shift harvest times slightly later.
Potatoes take time to develop their dense, sizeable tuberous roots. Depending on the variety, they mature in about 90 to 120 days. Knowing the days to maturity is the first guideline for when to harvest the spuds, or at least when to begin checking for readiness.
The days to maturity on the seed packet are a gauge based on optimal conditions. Buffer in several days to a week to the days estimate to account for seasonal variations.
Harvest the rounds at eating size before a heavy freeze. They tolerate light frost at 30 to 32°F (-1 to 0°C), but a hard freeze shortens their storage life and can cause damage that leads to decay. A cold-damaged root will be gray or black.
Pull the crop to store, even if immature, if a hard freeze is forecast. If you can’t harvest right away, cut away the vines and cover the crop with soil or compost for insulation.
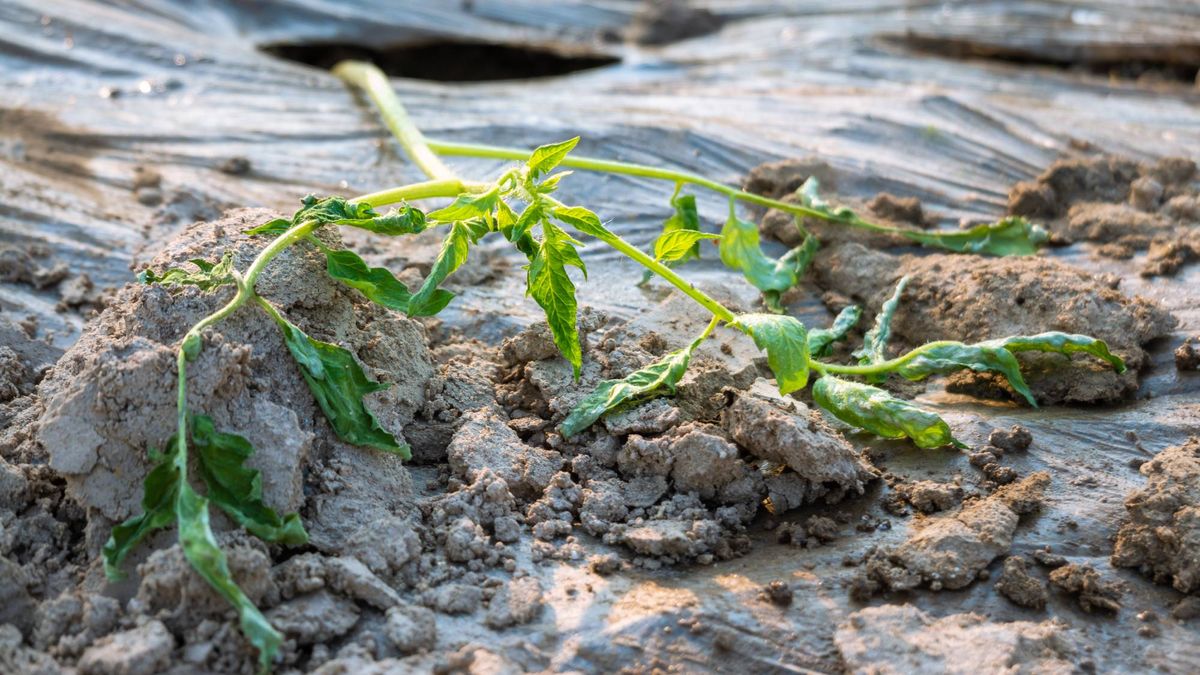
Vine Dieback
 Brown leaves often show that the roots are mature.
As the growing season ends, the leafy vines turn yellow, brown, and die. This is a sign that the tuberous roots are no longer drawing nutrients and moisture from the plant.
Use yellowing and wilting stems in coordination with other signs of when to harvest full-sized potatoes. Sometimes, yellowing occurs prematurely while the spuds continue to develop. Check the tubers to confirm readiness.
Tuber Test
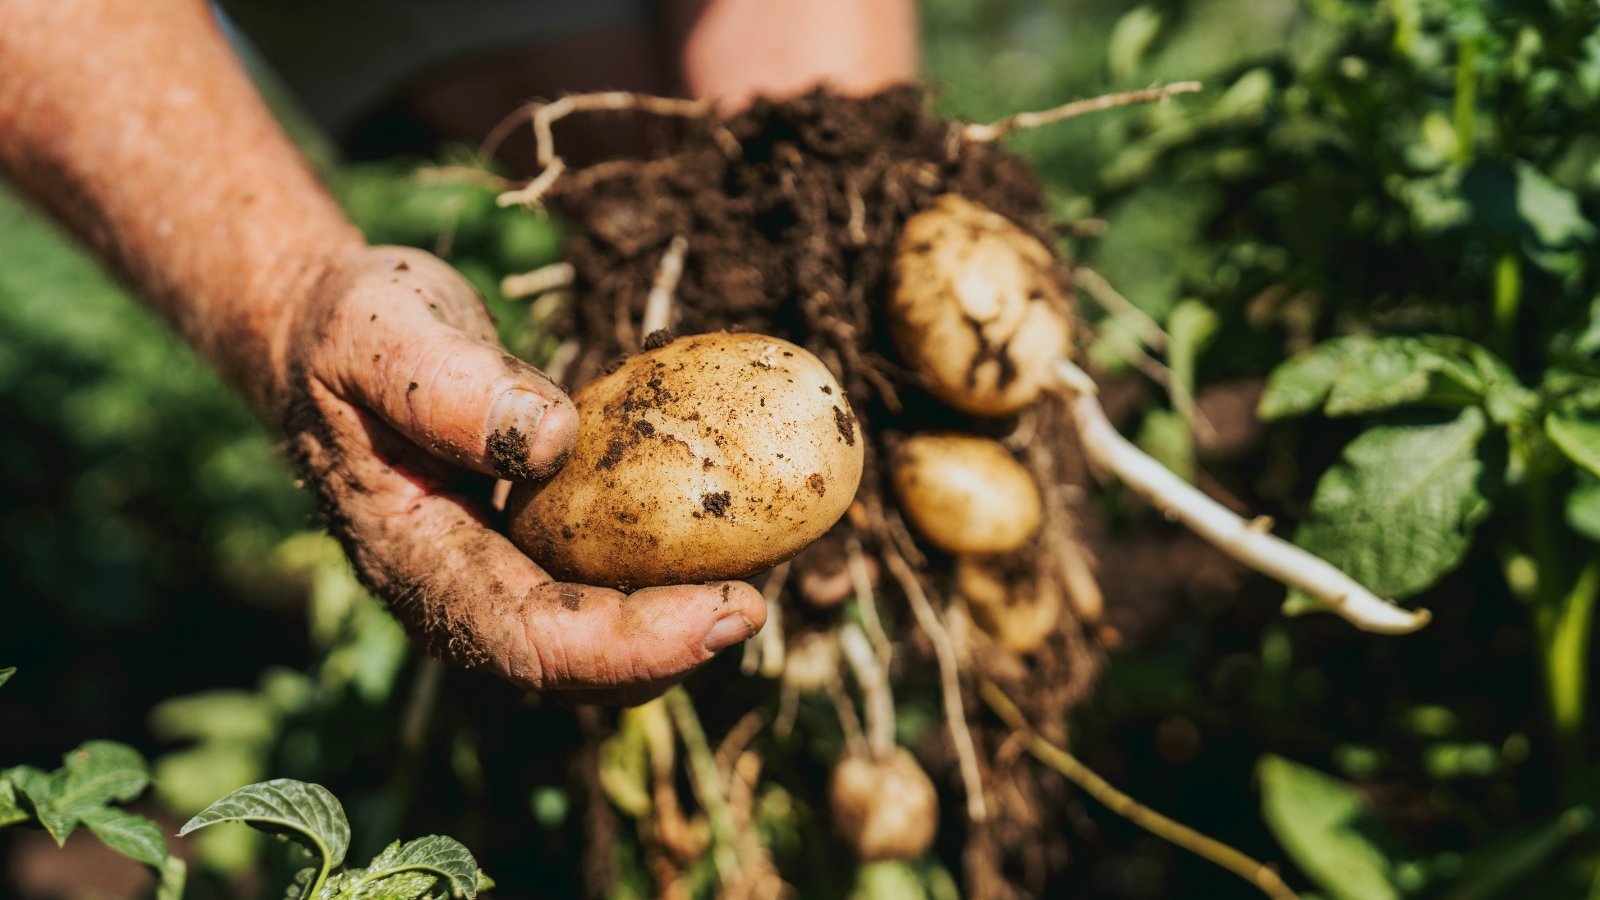 Dig a few roots to check firmness carefully.
To be certain of ready potatoes, dig a couple of the roots to check size, density, and skin. The skin should be firm and hold to the spud. If it rubs away easily, leave the tubers in the ground to develop for a few more days.
Lifting the Tubers
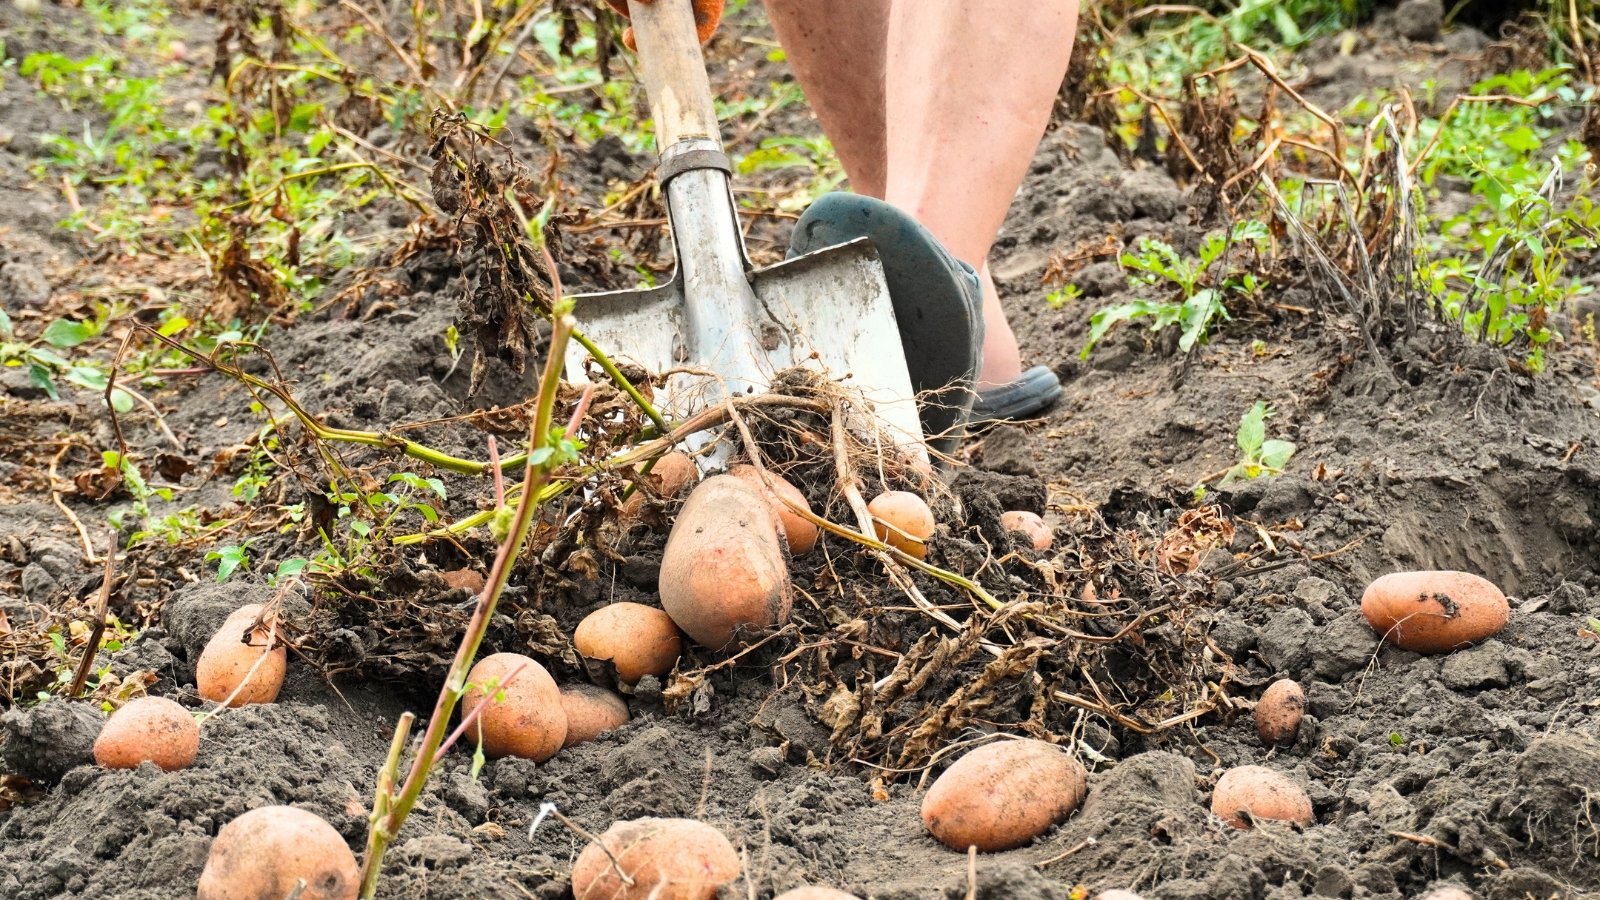
 Dig around the plant to protect tender skins.
When all signs point to ready potatoes, lift them on a warm, dry day. Trim away the vines for easier harvesting. With a spading fork, dig away from the central plant to capture the bulk of the potatoes unscathed.
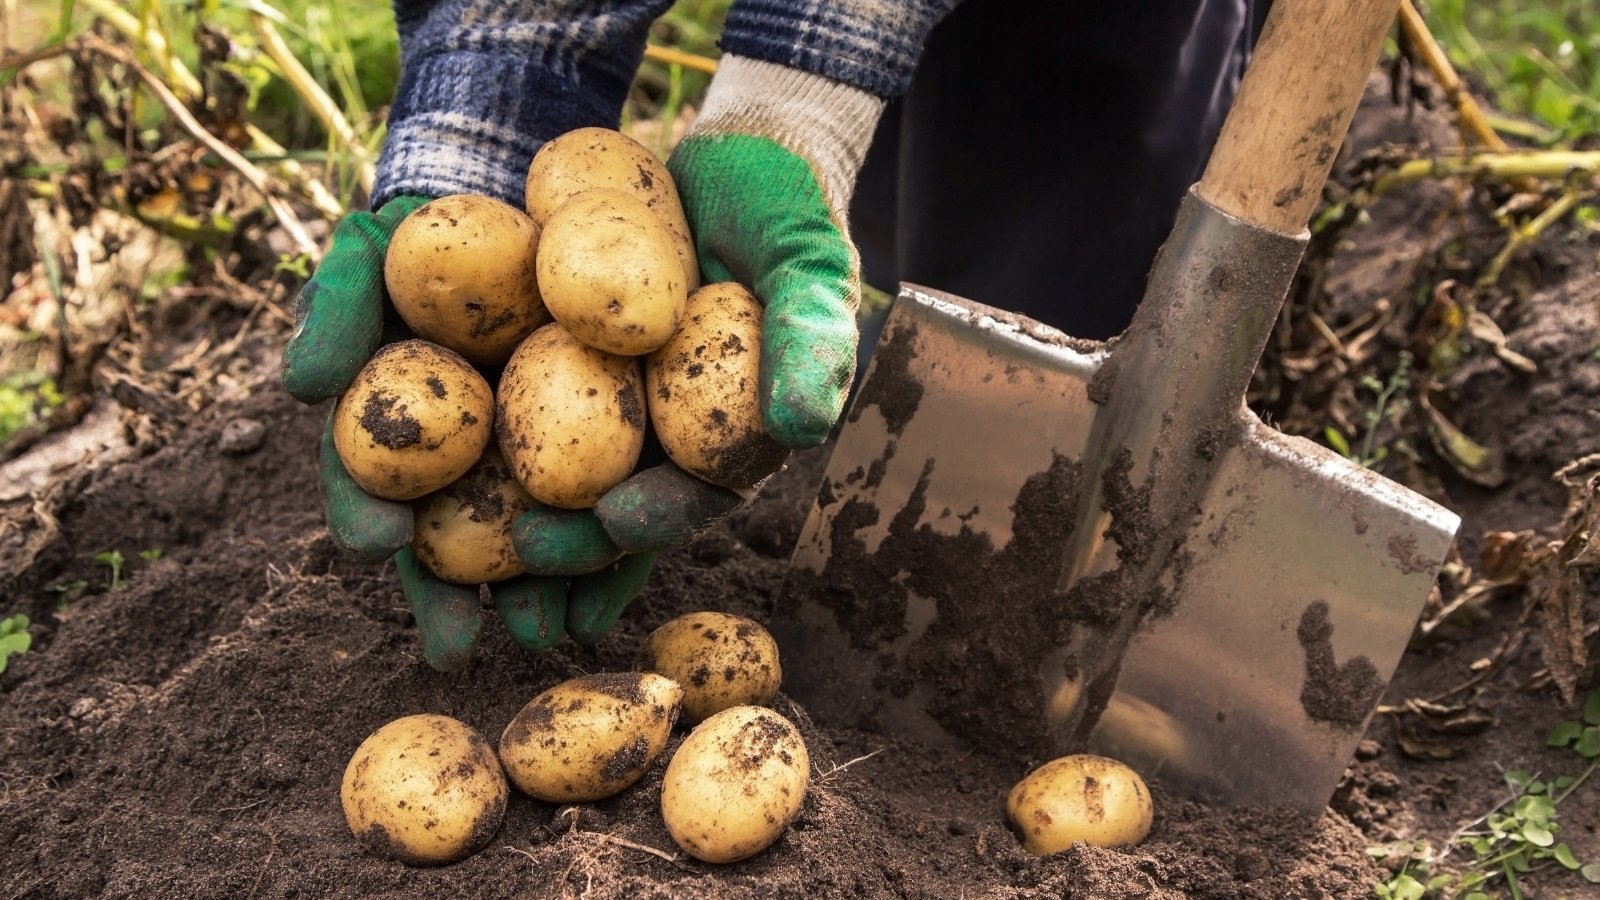
To harvest, use a garden fork or spade to loosen the surrounding soil and lift the potatoes, taking care not to damage tender skins. Separate any soil clumps and brush soil from the roots, but hold off on rubbing or washing until after curing and storing.
At the harvest, sort out potatoes for fresh eating (any damaged during harvest) and those for storing. Compost any with soft spots to avoid rot.
Curing Potatoes
 Spread tubers out to allow air circulation evenly.
Potatoes do well with curing for two weeks in a cool, humid location. When you cure potatoes for storage, you get a thick skin and healed cuts. It also slows respiration, the conversion of starches and sugars to carbon dioxide and water.
In the home garden, a porch, shed, mudroom, basement, or garage may work to cure potatoes for storage. Temperatures between 45 and 60°F (7-16°C) are best for successful curing. A relative humidity of 85-95% is optimal. Because the tubers contain so much water, they need a humid environment to prevent withering and drying.
Spread the potatoes in a single layer in the space to allow for plenty of air circulation between roots. Piling the group can contribute to the spread of pathogens and impact the bunch.
Storing
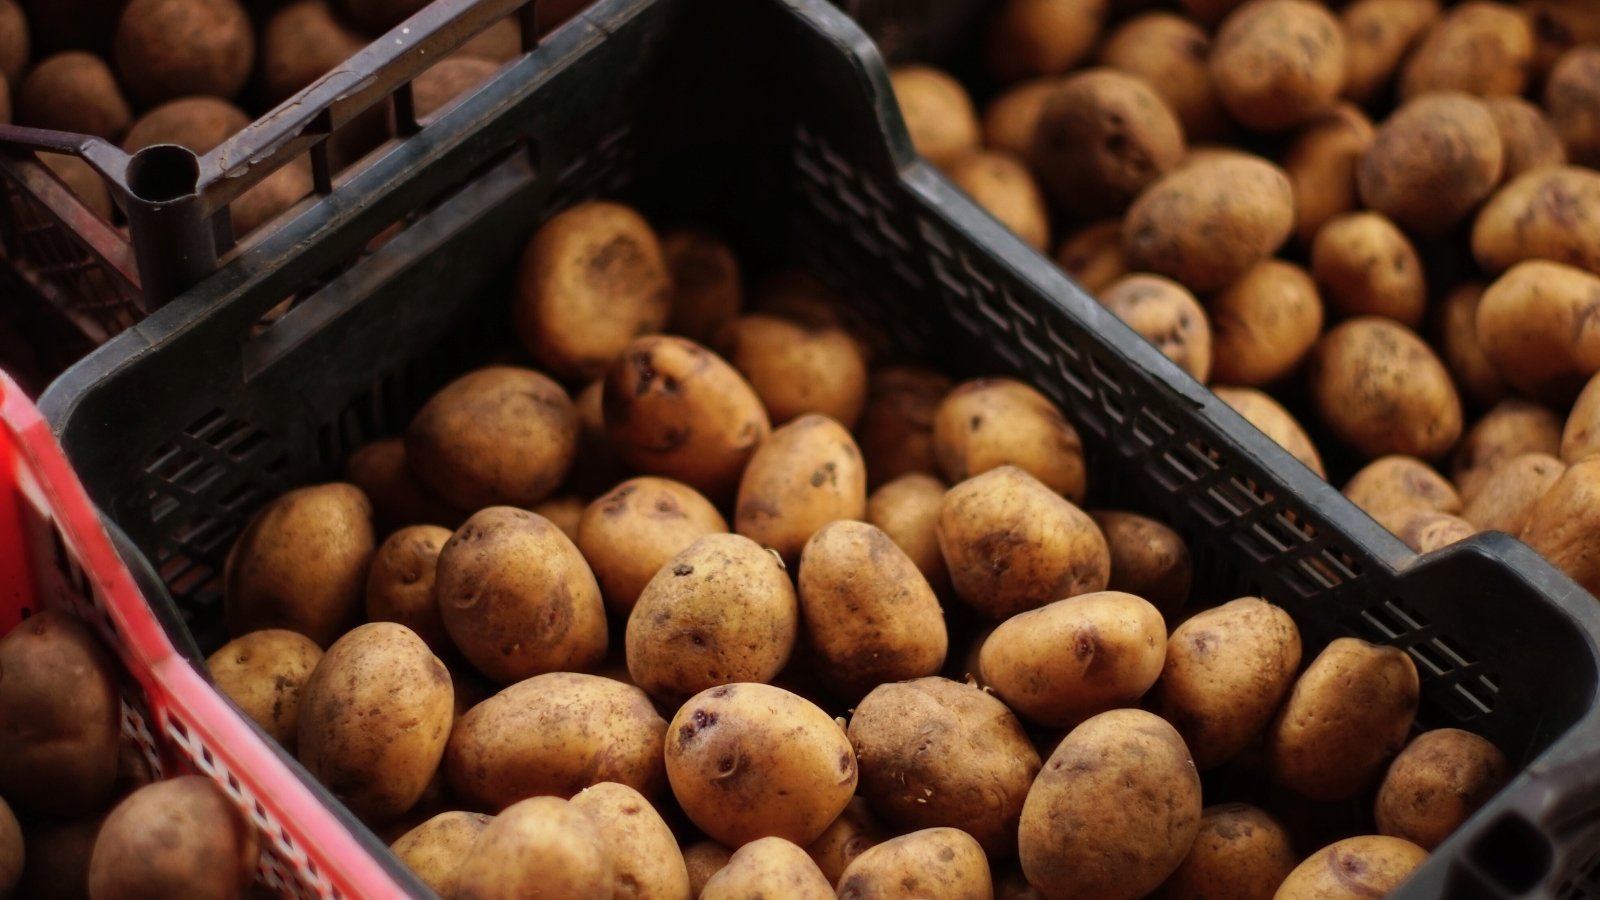 Store tubers in cool, dark, ventilated spaces.
After you cure potatoes for storage, sort through the batch again to toss any shriveled, soft, or discolored tubers. These can damage others as they rot in storage. And, most potato diseases occur post-harvest.
The vegetables store for over six months in a cool, dark space like a root cellar, garage, or basement. A separate refrigerator at ideal storage temps and humidity works, too. Optimal storage temperatures are 40 to 45°F (4-7°C) with a relative humidity of 90%. Store them in ventilated baskets, crates, or boxes. If conditions are too dry, spuds soften and shrivel.
If temperatures are above 45°F (7°C), the roots sprout and shrivel after a couple of months. Below 35 to 40°F (2-4°C), potatoes may develop a sweet, sugary taste. Keep them at room temperature for a few days to restore a natural flavor.
Keep the spuds in dim light, as the sun can cause green skins and a bitter flavor. Greening also indicates the presence of solanine, a toxic compound that can cause illness. Cut away small green spots, and discard any totally green spuds.
Freezing
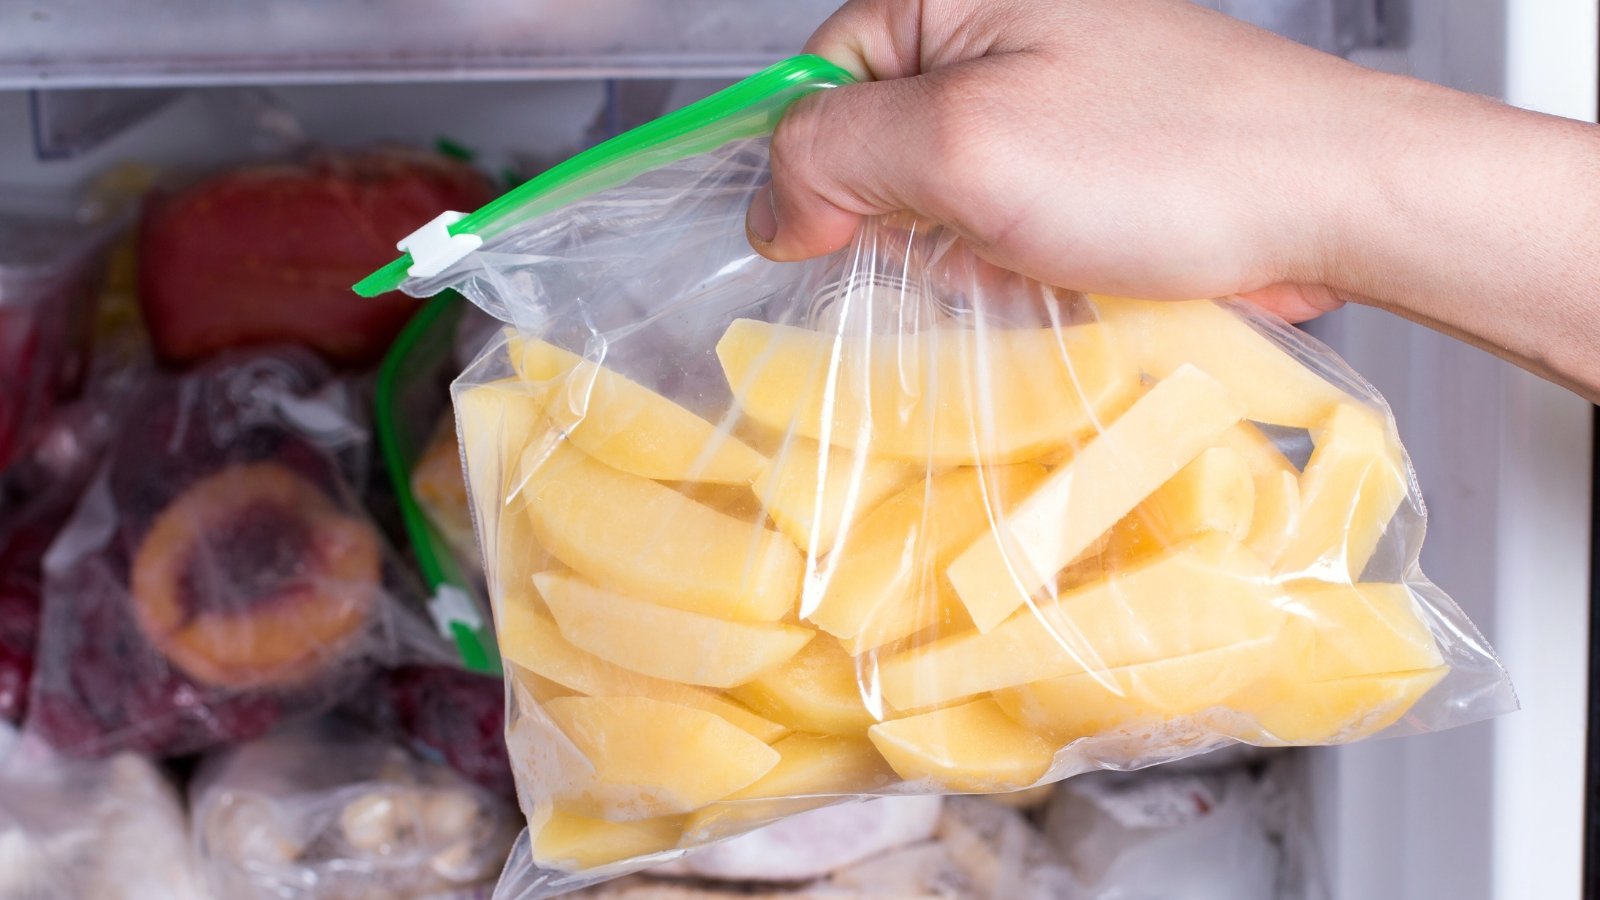 Small roots freeze well when cooked to just tender.
While the texture and flavor of potatoes change with freezing, for gardeners with a bounty of spuds and nowhere to store them, freezing is an option for lasting enjoyment. Small potatoes are best for freezing whole. Cook the potatoes until they are nearly tender via steaming, baking, and boiling, and let them cool at room temperature. Peel and slice larger tubers for freezing.
Pack them into an airtight container or sealable bag for freezing, leaving half an inch of headspace.
Dehydrating, freeze-drying, and pressure canning work for storing the abundance, too.


 English (US) ·
  French (CA) ·