
 8 months ago
140
8 months ago
140
PROTECT YOUR DNA WITH QUANTUM TECHNOLOGY
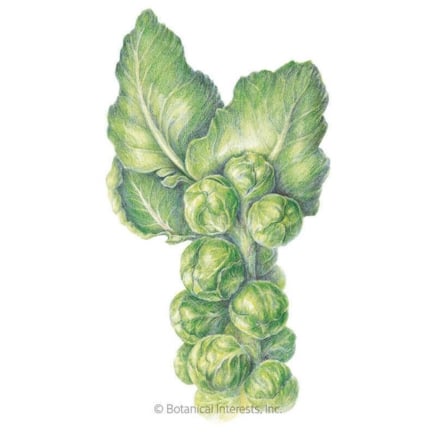
Orgo-Life the new way to the future Advertising by AdpathwayBrussels sprouts are a historical crop packed with nutrients. The cool-season cruciferous vegetables are high-yielding in the right growing conditions and grow across climates and conditions. A showpiece in the garden, they produce unique leafy stalks lined with the tight-leaved little “cabbages.”
Brussels sprouts are cabbage relatives in the Brassica genus, but make up their own species (Brassica oleracea var. gemmifera). Roasting or sauteeing the pretty rounds brings out their nutty flavor, which are a modern favorite.
In addition to the small, tightly wrapped sprouts, the broad foliage is edible, too, and cooked like collards. Frost-tolerant, Brussels sprouts sweeten after a nip of frost, and even after snowfall, so wait to harvest for the best flavor.
A few growing tips, like planting at the optimal time, early care, and pinching to promote quicker development, yield the most vigorous vegetables. We’ll outline how to grow the healthiest, biggest Brussels sprouts, each petit chou chou worthy of admiration.
Long Island Improved Brussels Sprouts Seeds
- Versatile vegetable perfect for roasting, steaming, or frying
- Requires consistent water, nutrients, and time to form sprouts
- Row covers help protect against pests during early growth
- Hardy to 10°F; frost enhances flavor
- Unique growth habit resembling small palm trees
Plant at the Right Time
 Cool weather brings out their best tender flavor.
Brussels sprouts have a long growing season, taking time to focus energy on roots and leafy upper growth before producing the sprouts. The cool-season crops share the same genus as broccoli, cauliflower, kale, and cabbage, and enjoy similar growing conditions. Timing their growth and harvesting is the key to delicious sprouts.
In mild climates, fall is optimal for sowing Brussels sprouts seeds for a late winter and early spring harvest. The best temperatures for germination are 60 to 85°F (16 to 29°C). In cool climates, sow Brussels sprouts seeds about four months before fall’s first anticipated frost, with soil temperatures above 40°F (4°C).
The timing allows the sprouts to mature in cold weather. Cold-hardy, they tolerate temperatures to about 10°F (-12°C). Start them indoors in late winter to get a jumpstart on spring development.
When the weather gets too hot, heads may be small, loose, and open instead of dense and tightly wrapped leaves. Warm conditions in early fall can be a culprit. Brussels sprouts grow best in temperatures of 45 to 70°F (7-21°C). Developing in cool conditions also avoids the most active pest season, including cabbage worms and aphids for Brussels.
With light frost, starches in the Brassicas convert to sugars and lend the best flavor. Hold off on harvesting until frosty conditions, even after snowfall. Brussels sprouts may be bitter without exposure.
Sowing and Thinning
 Full sun with a little shade works best.
When deciding where to plant Brussels sprouts, locate a full sun location with six or more hours of sunlight daily. Protect them from getting too hot by allowing afternoon shade or dappled light.
Start seeds indoors or direct sow with two seeds every 18 to 24 inches. Plant them ¼ inch deep, thinning when seedlings reach three inches tall. Thinning the crop provides ample spacing for mature growth and airflow around the dense crowns.
To thin seedlings, clip or pinch them at their base, leaving the strongest one per pair standing. Pinching or trimming instead of pulling them out avoids disrupting the roots of the remaining seedling. Use the edible seedlings as microgreens in a salad or stir-fry.
Stave Off Pests
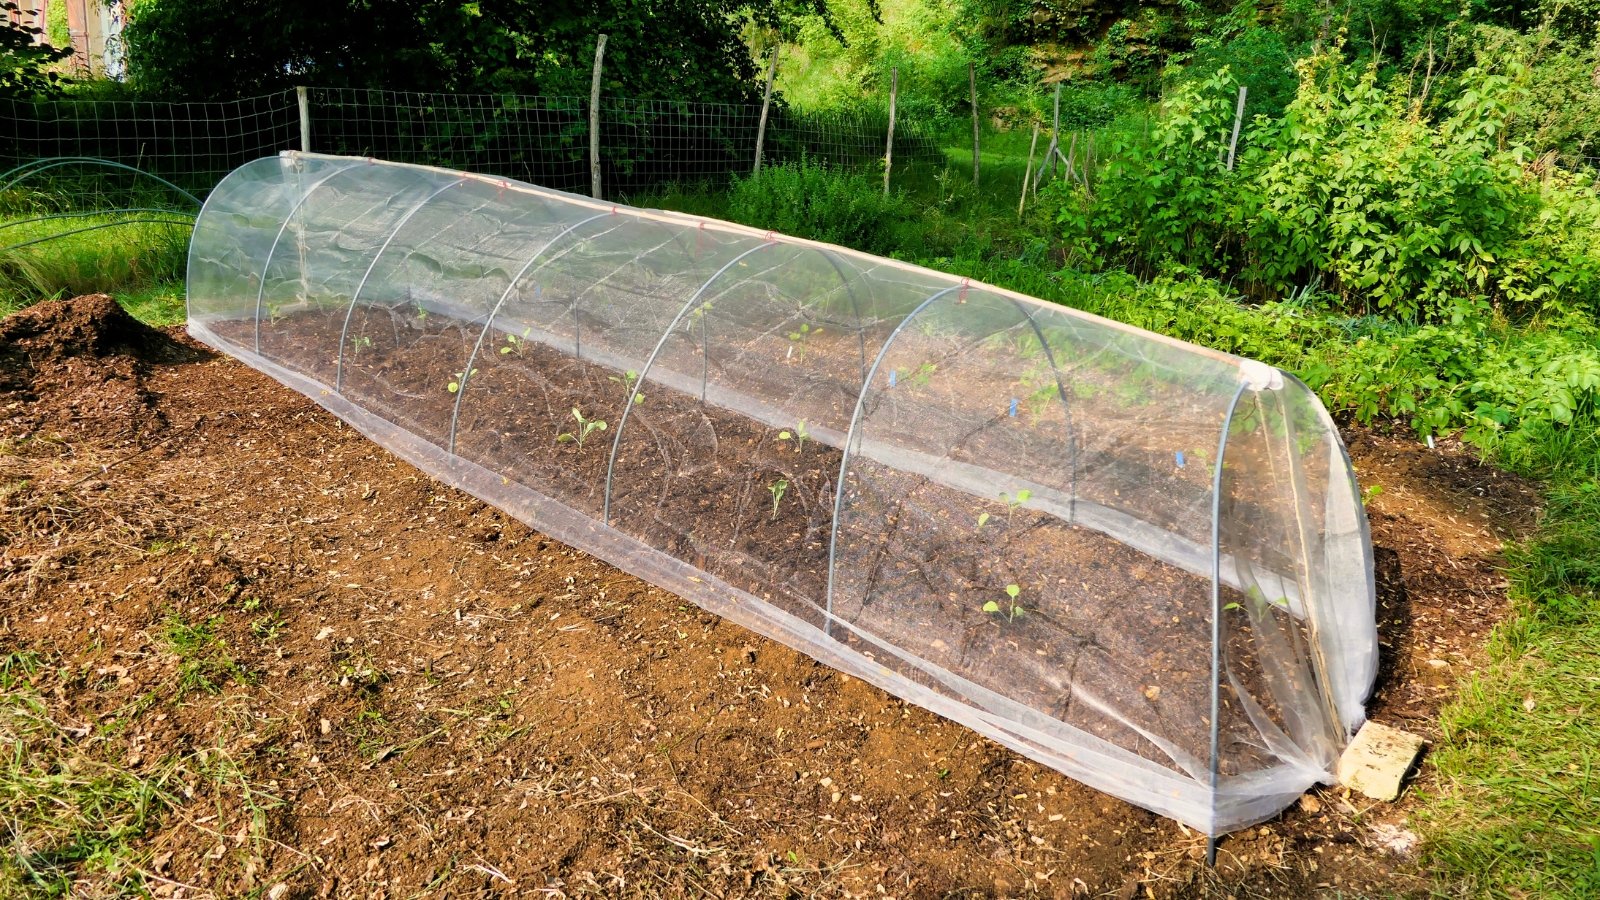 Row covers shield young plants during chilly frosts.
A lightweight row cover over seedlings and transplants early on can help stave off pests and wind damage in the first weeks. Cabbage worms are a main feeder of the Brassicas, and larvae chew substantial holes in leaves. The cabbage white butterfly uses the host plant to lay eggs, which hatch and feed to continue the cycle.
Cabbage whites and their caterpillars are most active in the warm conditions of spring, summer, and fall. Floating row covers offer a preventative measure by blocking access to egg-laying sites, while hand removal and organic treatments like Bacillus thuringiensis (BT) can reduce populations.
Floating row covers also protect tender seedlings against fall and spring frosts, depending on your planting season.
Healthy Soils and Nutrition
 Topdressing in fall gives spring seedlings a head start.
Brussels sprouts rely on well-draining soils to thrive. They prefer regular soil moisture, but prolonged periods of oversaturation can lead to root problems.
The heavy producers also need plenty of nutrition to produce big, healthy sprouts. If soils aren’t already rich and fertile, topdress the bed with well-composed organic matter and incorporate it at planting. Brussels do best in a slightly acidic to neutral soil with a pH between 6.0 and 7.0.
Fall is a good time to do soil testing across the garden and to add recommended amendments. Amending in the fall gives the additions time to penetrate the soil for the spring growing season.
Give the Brassicas a boost in nutrition with a balanced organic fertilizer as a side dress when seedlings reach one foot tall. Bone meal at planting offers nitrogen to support leafy growth early in the life cycle. Choose one or the other to avoid overfertilizing, as an excess of nitrogen leads to quick leafy growth but fewer sprouts.
Balance Water Needs
 Water at the base to protect leaves and buds.
Watering for Brussels sprouts is the same as that for many of our cool-season selections. They benefit from evenly moist soils with about one to one and a half inches of rainfall or irrigation per week. For the best health, water at the base of the plant to avoid splashing the leaves and buds.
Keep a close eye on moisture in the early stages of growth that occur in warmer periods, especially on warm summer days or with lingering heat into early fall. Water through frost, depending on weather conditions and how quickly the soil is drying (with fewer watering sessions in cool weather as evaporation lessens).
Give Them a Pinch
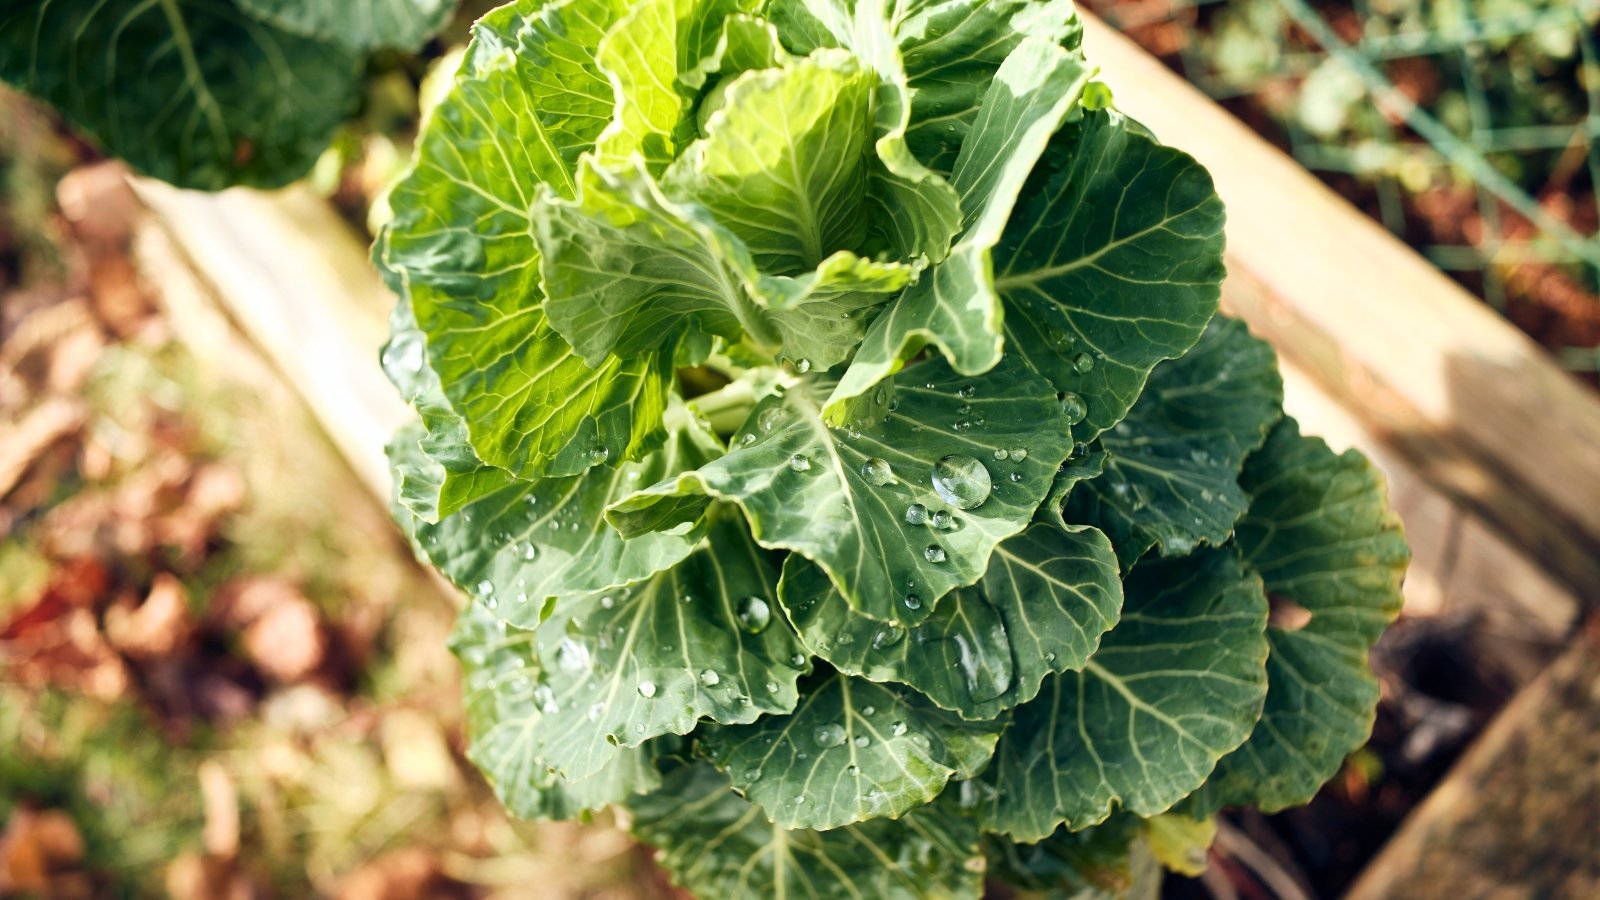
 Removing growth tips redirects energy into plump heads.
Pinching, or topping, is a technique that removes the growth tip of a mature stalk to foster sprout development. By removing the growth point, the plant directs energy into existing fruits and leaves instead of producing taller vegetative growth.
With pinching, the buds that line the stem enlarge more quickly, developing into full, uniform globes given regular water and nutrition from organic soils. The topping prune encourages plump heads to be ready all at once (or nearly so).
Timing the Pinch
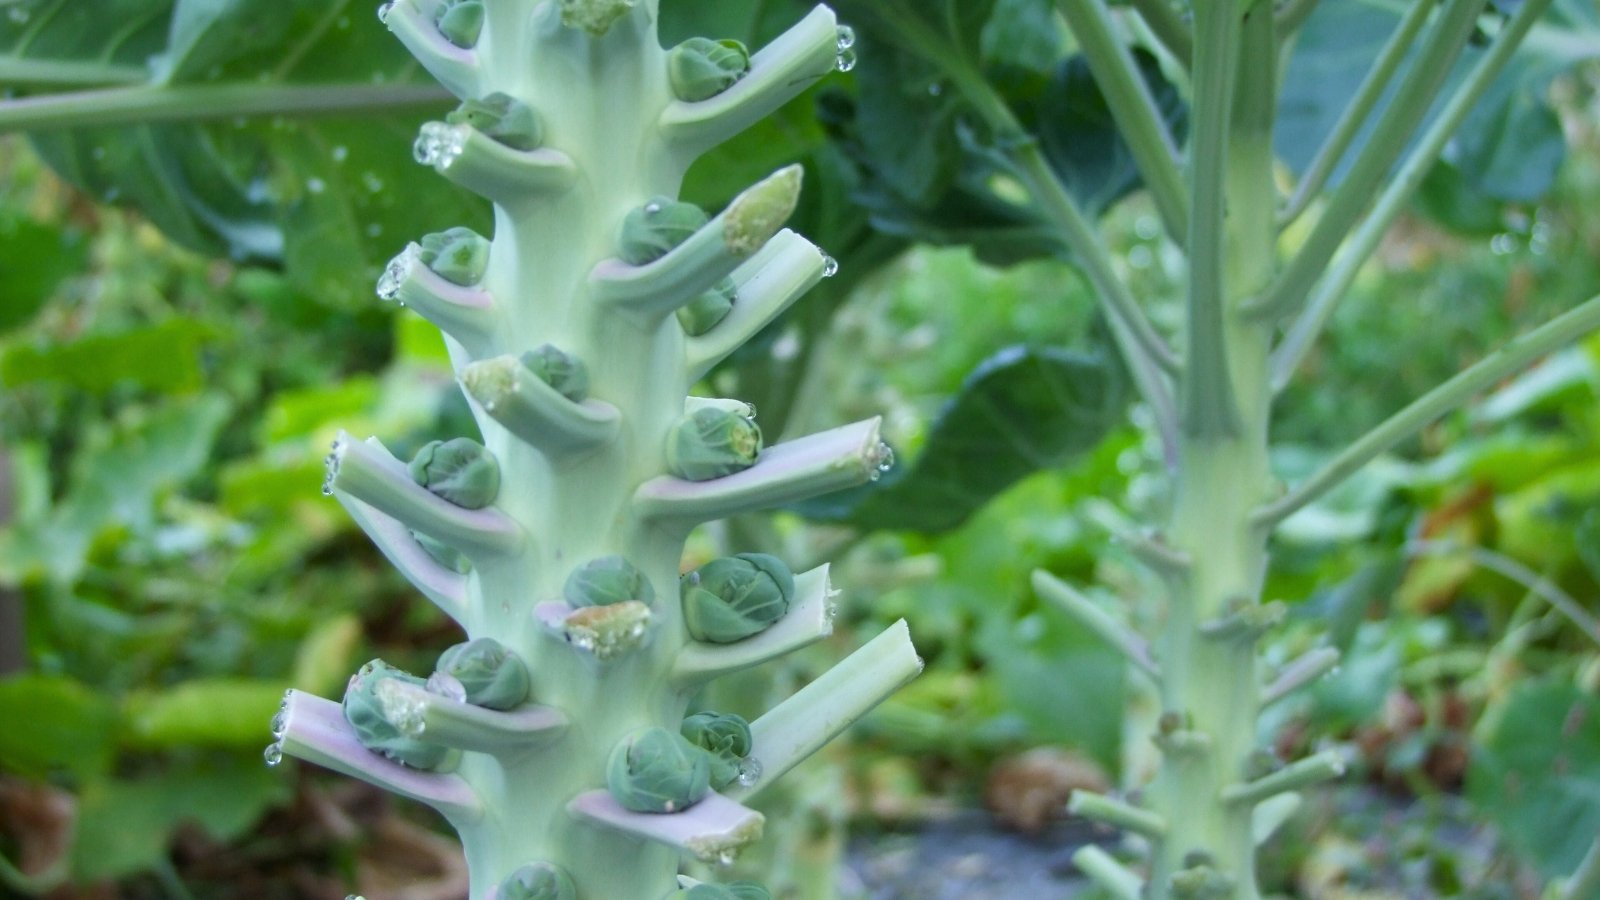 Pinch tops when lower heads are nearly ready.
Timing is key for successful pinching. Monitor the heads forming at the base of the stem (these develop first, ripening upward from there). When the lowest sprouts are near a harvestable size of ¾ to one inch around, pinch the top of the stem. The buds along the upper nodes will follow suit in filling out. Aim to pinch close to harvest time, about three weeks in advance.
Plant height is also an indicator of when to pinch. With dense, leafy, cupped leaves, opt to pinch off the growth tip as plants reach two to three feet tall. If you’ve experienced small sprouts in the past, try pinching to cap the overall height so the vegetables fully form.
To pinch, snap or clip off the top one to two inches of stem. Easy to do by hand or with pruners, the step speeds up development for those on the remaining portion of the stalk. Remove the very top cluster of tender leaves (also edible).
Harvesting
 Clip stems at the ground after frost passes.
Depending on the variety, the rounds may be ready to harvest in 80 to over 100 days. They develop from the base of the stem to the top, where each leaf meets the stalk. The sprouts continue to grow larger if left on the stem (to about two inches or so), but are tastiest when picked small.
Pick firm, cherry-sized buds up to one inch in diameter. After frost in the fall and into winter, harvest when the majority are at the desirable one-inch size. Clip off the leaves, and cut off the stem at the ground level. Bring the loaded stems to a cool, dry space like a basement for storage. Lay them or hang them upright for use over a few weeks.
You can also harvest individually from the stem, gently twisting the lower sprouts to enjoy while the upper ones continue to develop. Remove the lower leaves to reach the sprouts. Peak readiness is harvesting adjoining rounds before the leaves turn yellow.
Individual, loose sprouts store for up to two weeks in the refrigerator. You can also freeze or pickle them for longer reserves.
Frequently Asked Questions
A single plant can produce sprouts by the pound. Depending on the variety, three to four pounds is likely in optimal growing conditions. That’s about 50 to 100 sprouts.
Pruning off the fan leaves at the base of the stem helps direct energy to the upper leaves and sprouts along the stem. With full, leafy plants, the lower leaves are mostly shaded, reducing photosynthesis. Clip off the lower five to eight leaves when sprouts begin developing along the stalk. Continue to clip yellowing, aging leaves as the plant matures.


 English (US) ·
  French (CA) ·