
 8 months ago
155
8 months ago
155
PROTECT YOUR DNA WITH QUANTUM TECHNOLOGY
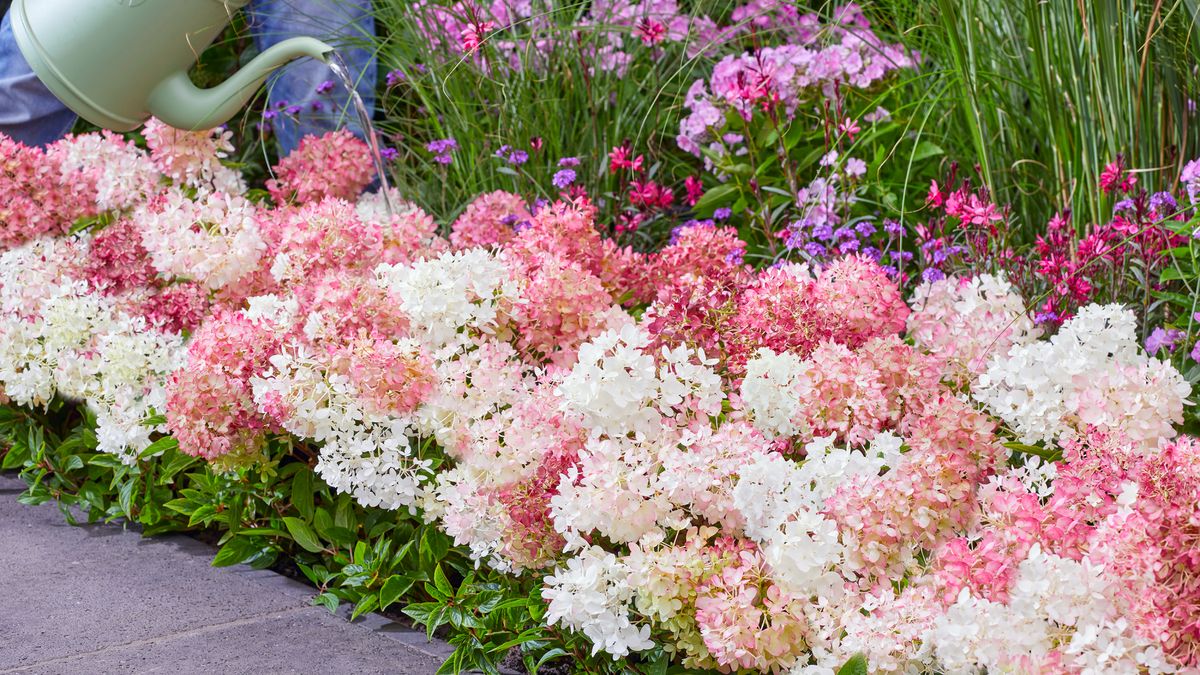
Orgo-Life the new way to the future Advertising by AdpathwayOvercrowded flower bulbs can be an issue in the garden. When this happens, they start to compete with one another for resources. When there is too much competition for space, water, nutrients, and light, it reduces their overall vigor and bloom quality. It’s necessary to divide them occasionally to keep them healthy and blooming.
You may notice that your plants are pushing up lots of leaves, but producing smaller or fewer flowers. Sometimes they will stop flowering altogether. This is a sign that they are in survival mode, and nutrients are scarce. If your beds are looking lush with foliage, but flowers are becoming rare, it’s probably time to divide overcrowded bulbs.
Overcrowding isn’t just bad for the aesthetic of your garden. It also increases the risk of rot and other fungal diseases. Moisture gets trapped in those tight spaces and reduces drainage. The larger, central bulbs may even die off. When you divide overcrowded bulbs, you give each one room to grow, store energy, and bloom to the best of its ability.
Rejuvenating your bulb beds is simple and straightforward. It keeps your flowers blooming and your plants looking lush and healthy. Let’s talk about when you should think about dividing and how to do it properly.
Pasja Calla Lily

Deutschland Dahlia

Salmon Party Oriental Lily
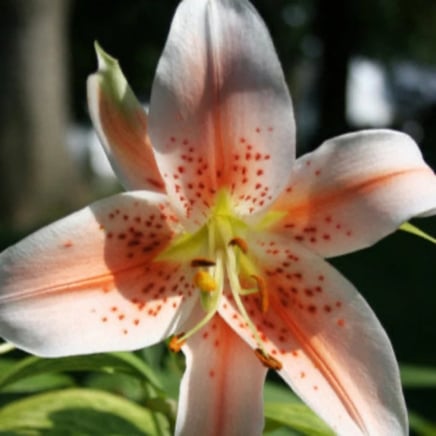
Salmon Party Oriental Lily Bulbs
Spring Bloomer Timing
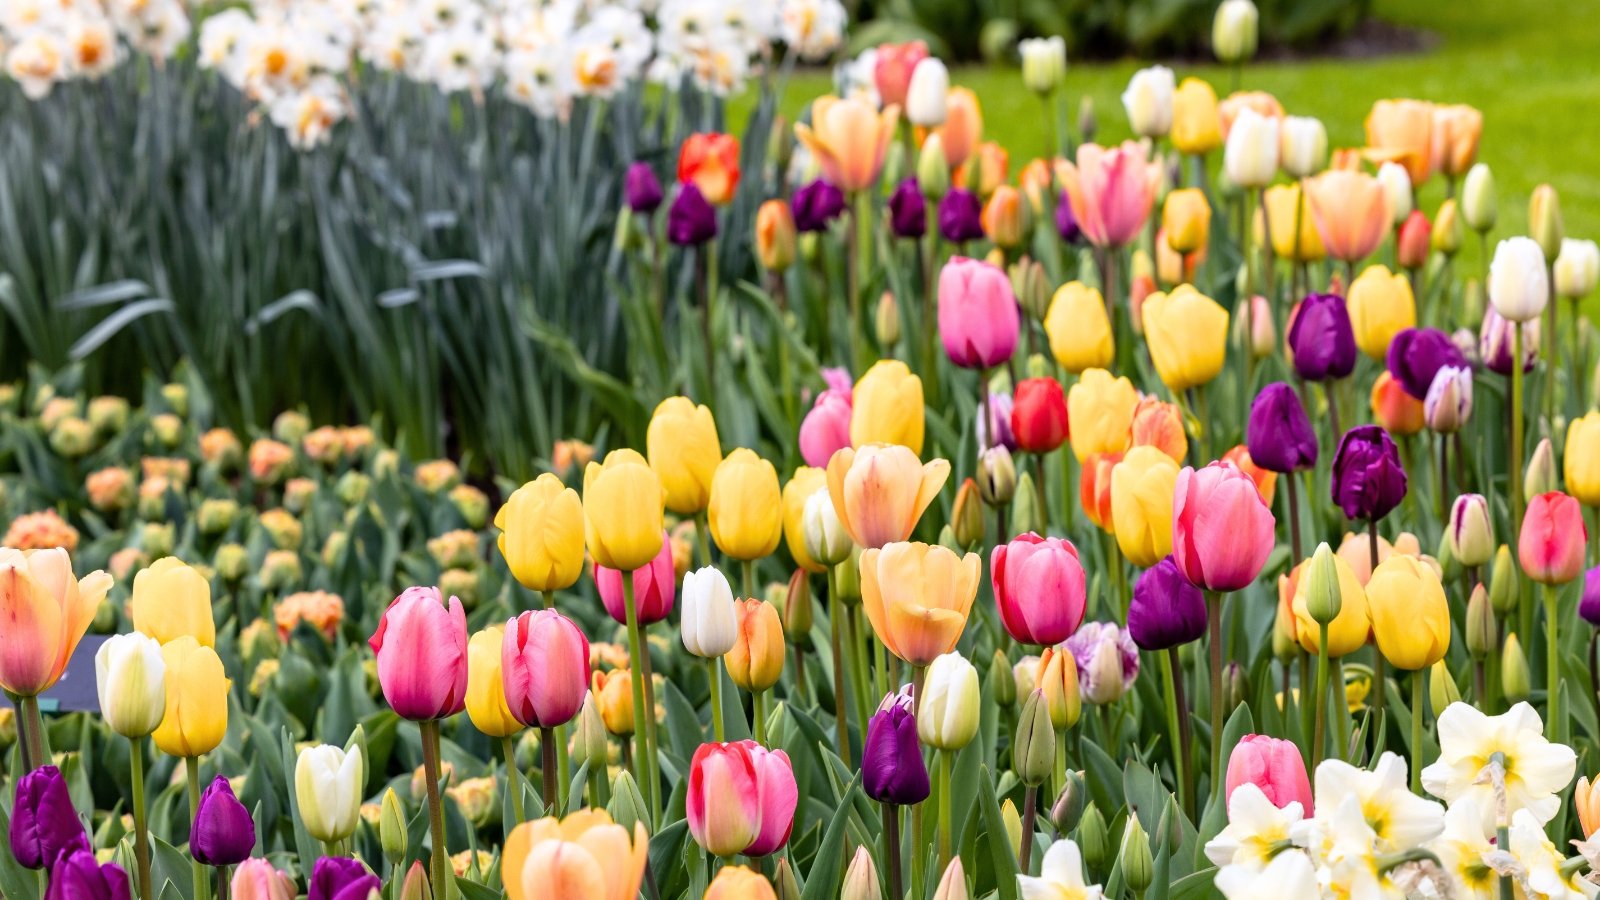 Patience ensures stronger blooms when bulbs rest after flowering.
Spring bloomers are the stars of the spring garden. Tulips, daffodils, hyacinths, and crocuses light up your beds with their jewel-toned blooms and stunning foliage. The best time to divide these overcrowded blooming bulbs is after they finish flowering.
Don’t rush the process, though. You don’t want to do it too early. Allow the overcrowded bulbs’ foliage to turn yellow and die back. This happens because the bulbs absorb any leftover nutrients and energy to store them for next year. It’s also when the offsets mature.
Timing this right is imperative because that foliage needs to stick around long enough to photosynthesize and replenish the bulbs’ energy stores. Once the foliage turns brown and you can pull it away easily, the bulbs are dormant. Now you can handle them safely and work on dividing them.
Summer Bloomer Timing
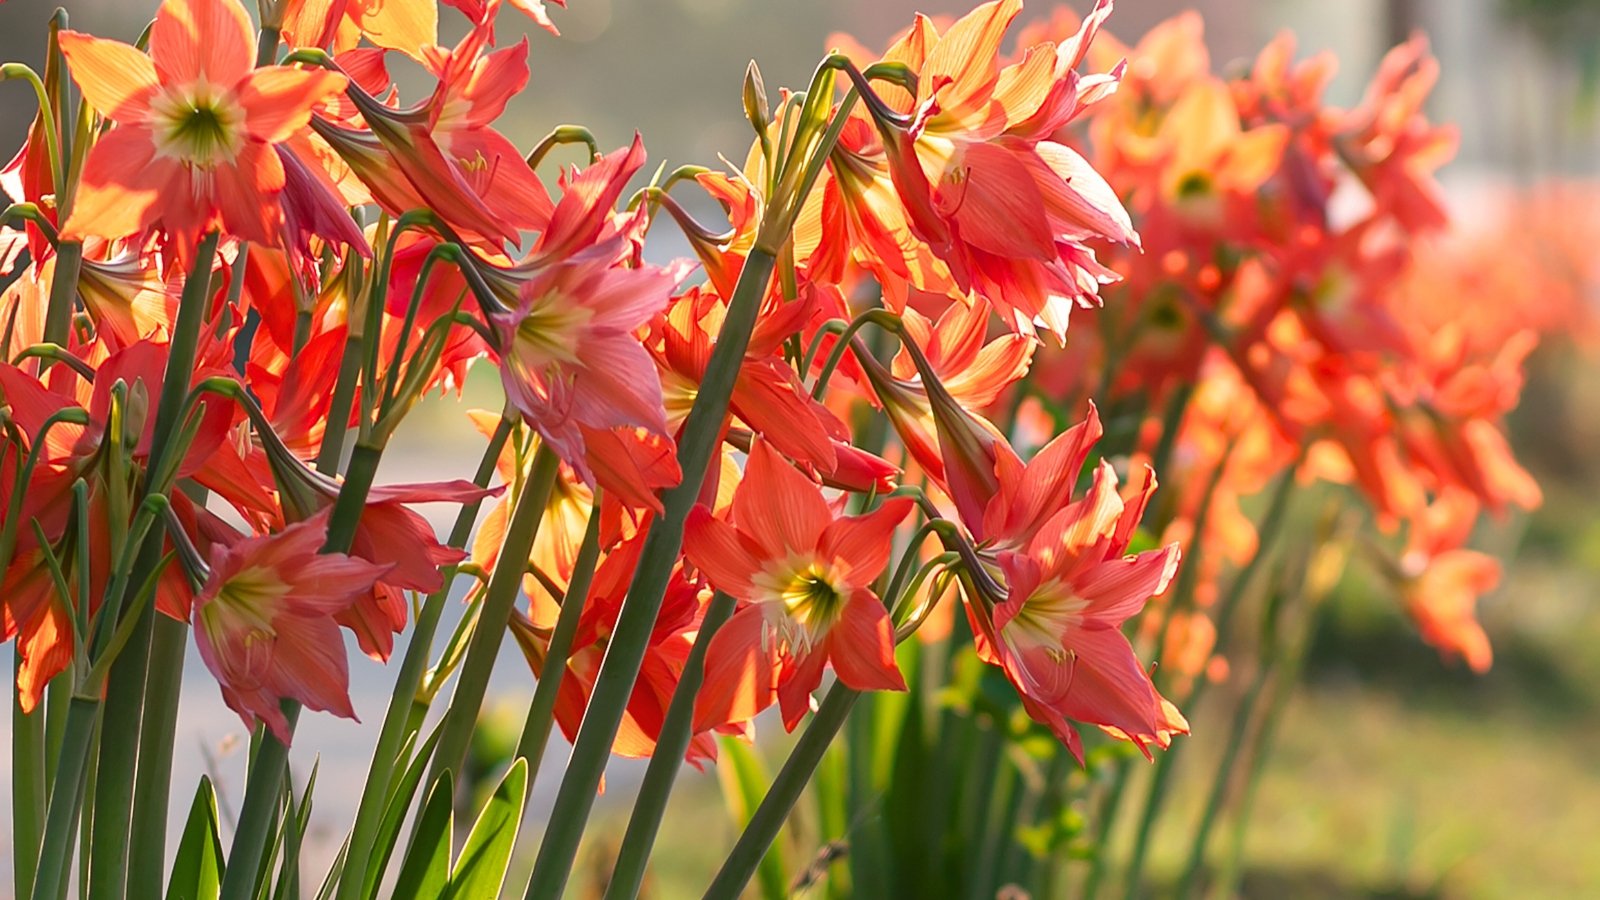 Wait until certain bulbs are done blooming and the flowers have died off before dividing them.
The timing for dividing your overcrowded summer-bloomers is similar. Your lilies, cannas, gladiolus, and amaryllises will finish blooming by late summer. Some of those summer bulbs will die back, the same way that your spring bloomers do. Others, like amaryllis, stay green.
For those that stay green, wait until they are done blooming and the flowers have died off before dividing them. For the rest, wait until the foliage dies back. Dividing your overcrowded summer bloomers in early fall will give them a chance to settle back in before winter.
For tender bulbs like cannas and gladiolus, you will want to dig these up yearly in cooler climates. Do this before the first frost. Dry them and store them in a cool spot for the winter.
The exception to this is dahlia bulbs or tubers. For dahlias, wait until after the first frost has killed off the foliage. Then dig them up, clean and dry them, and store them for the winter.
Step 1: Determine Whether Your Bulbs are Overcrowded
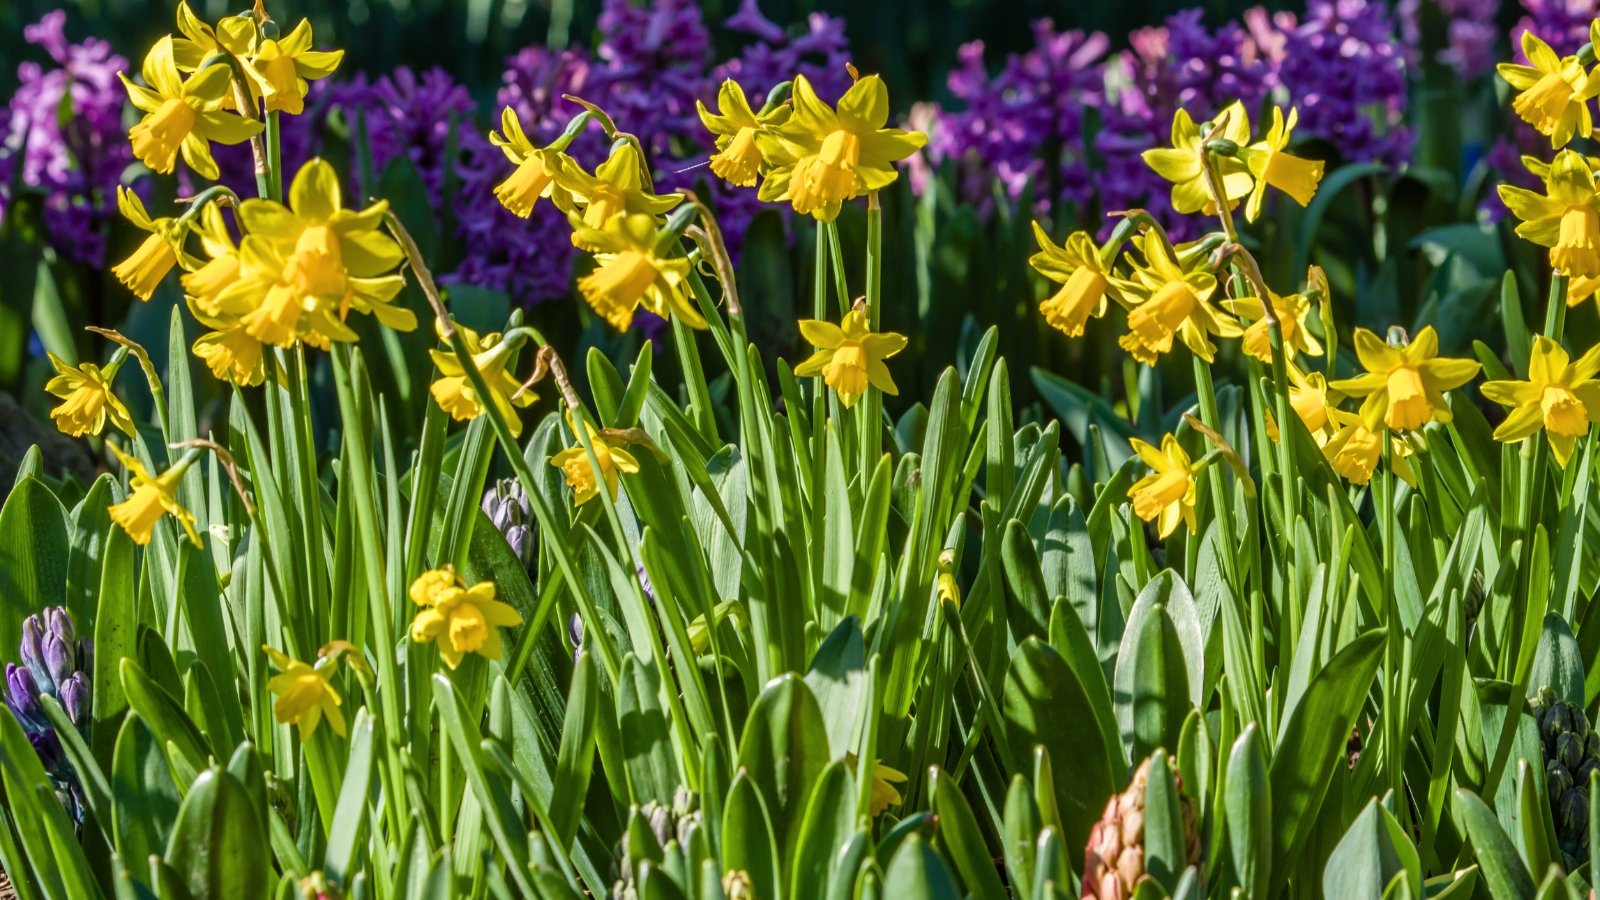 Daffodils flourish longer with correct spacing and care.
Most of your bulbs won’t need dividing every year. Every two to three years is appropriate in most cases. There are signs you can look for to determine whether you need to divide overcrowded bulbs. The most obvious sign is a decrease in the quality and quantity of flowers.
When bulbs don’t have enough space, they focus on foliage growth rather than flowers. You will notice dense clusters of foliage, but reduced flowering. You may even notice offsets pushing up through the soil because of a lack of space under the ground.
As a general rule, spring bloomers like daffodils, tulips, and hyacinths need dividing every three to five years. Summer bloomers benefit from dividing every two to three years.
Step 2: Dig Carefully
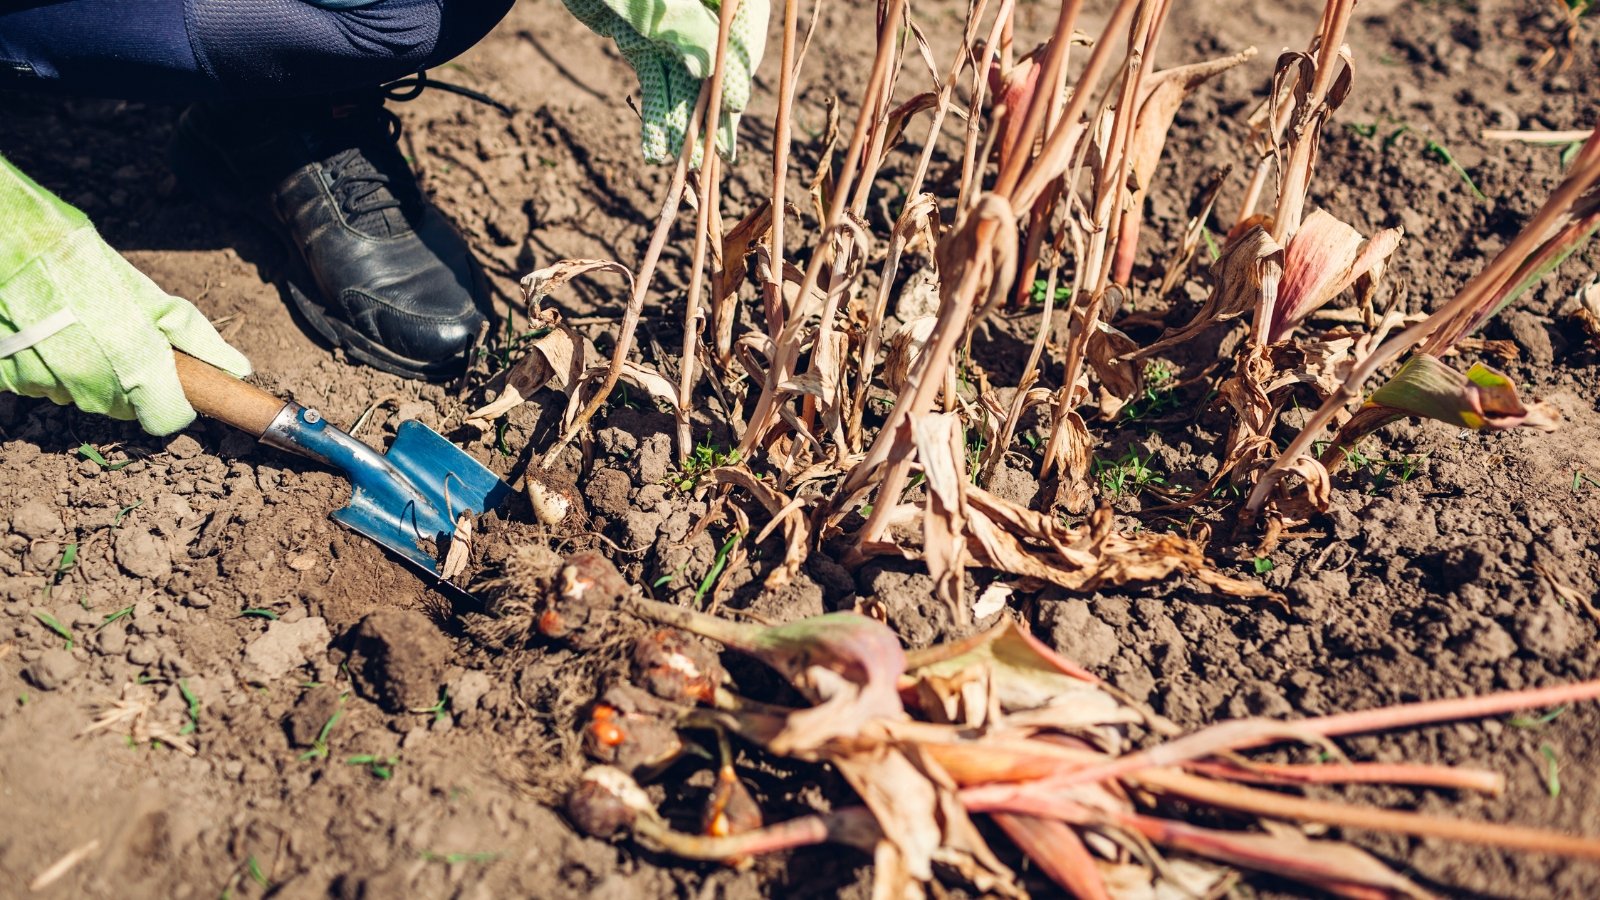 Avoid tugging foliage, and always lift bulbs from underneath.
When you’re ready to begin digging, take extra care to be gentle. If you chop up the outside when you divide overcrowded bulbs, it will leave them vulnerable to diseases. If they are, indeed, overcrowded, it will take a bit of time to carefully loosen the soil and lift them out.
Use a garden fork or a spade to loosen the soil around the areas where you know you have overcrowded bulbs. It’s better to start farther out than you think you’ll need to. Don’t lift them by tugging on the foliage. Instead, come from underneath and gently lift them with your tool.
Step 3: Separate Bulbs
 Separate healthy bulbs by hand without forcing connections apart.
Once you’ve lifted your overcrowded bulbs out of the ground, clean them up. Brush off all the soil you can, and if you need to, rinse them with clean water so that you can see them more clearly. You’ll need to know where the new bulbs are forming if you’re going to split them off.
Let them dry in a shaded spot for a few hours. Water makes their skins more vulnerable, so drying them will toughen them up. This way, when you go to separate them, you are less likely to tear the outer skin.
Separate your overcrowded bulbs by hand. Many will be loosely connected to begin with. These will come apart easily. If you have any that don’t come apart easily, set these aside; don’t force them. Then use a clean, sharp knife to gently split them apart.
Inspect them for soft, mushy spots. Discard these along with any that are dry and shriveled or that break apart in your hands.
Step 4: Replant
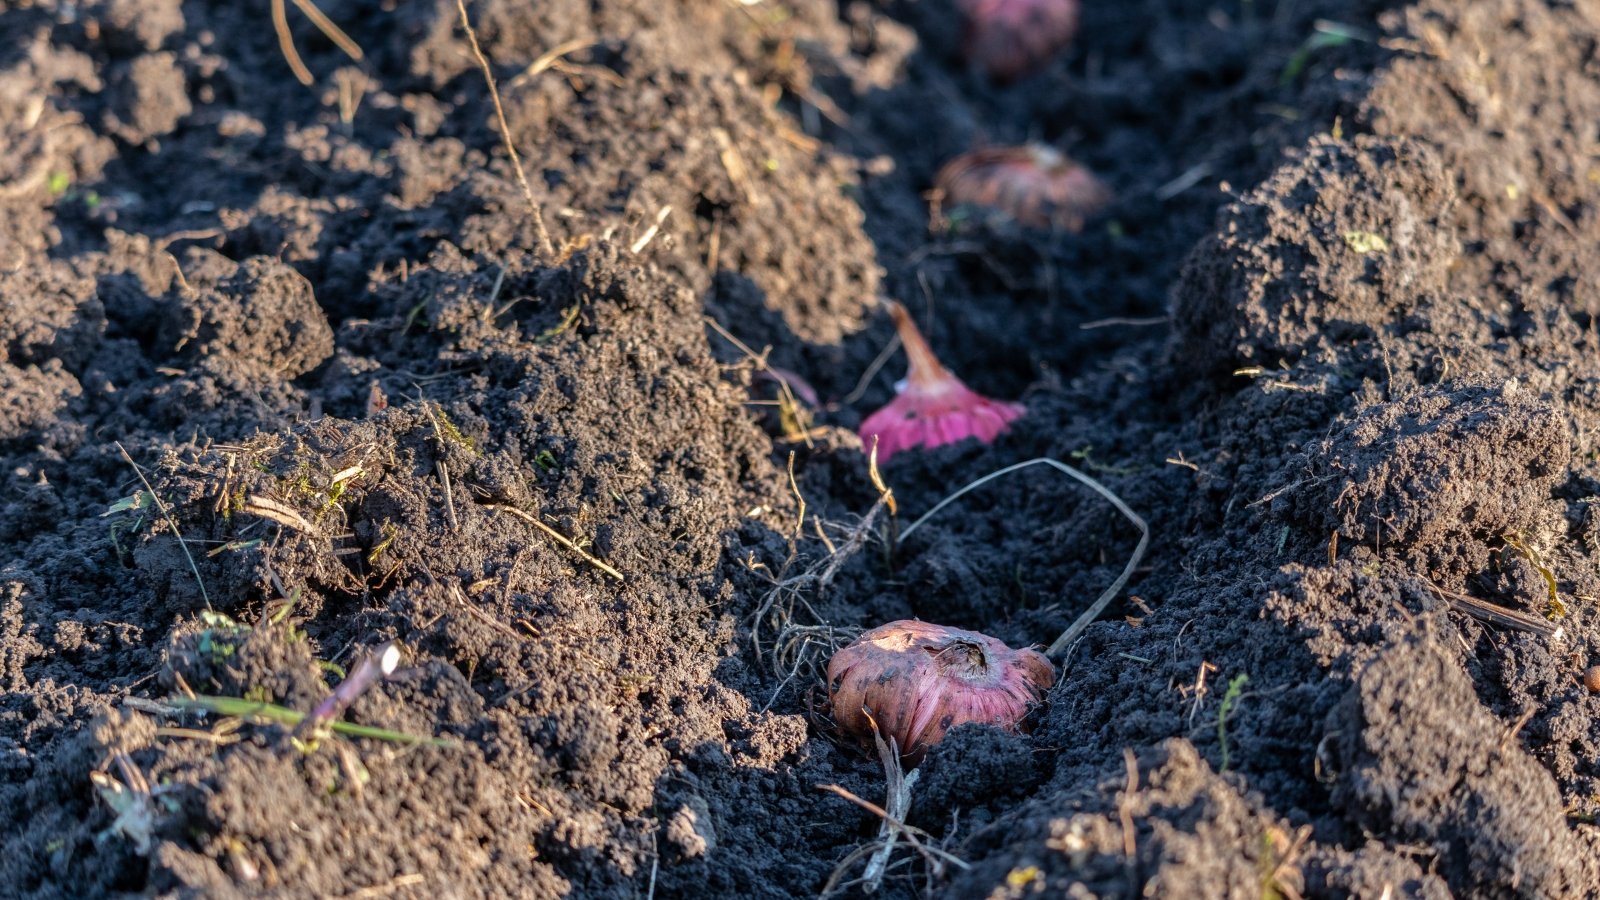 Space bulbs generously to prevent crowding next season.
Immediately replant the strongest, healthiest bulbs back in the spaces you dug them up from. Now that they are divided and no longer overcrowded, they will have room to perform at their peak next season.
If your soil is looking compacted or poor, feel free to amend it to increase the nutrient availability. Mixing in some compost is never a bad call. You can also drop a small amount of high-phosphorus fertilizer or bone meal into each hole. Mix it with some soil so it doesn’t burn them.
Now, move on to the remaining offsets and choose a good location for them. If you intend to expand the bed you’re already working on, this is an easy task. Otherwise, look for a spot with plenty of sunlight and well-draining soil. Loosen the soil down about eight inches, and amend it with some compost or manure.
It’s important to space them properly, or they will end up overcrowded again in a short time. The general rule is to place them two to three times as deep as they are large, and two to three times their size apart. For most flowers, this is about three to six inches deep and three to six inches apart. After placing your bulbs, backfill the holes with soil and water them in well.
Step 5: Mulch Lightly
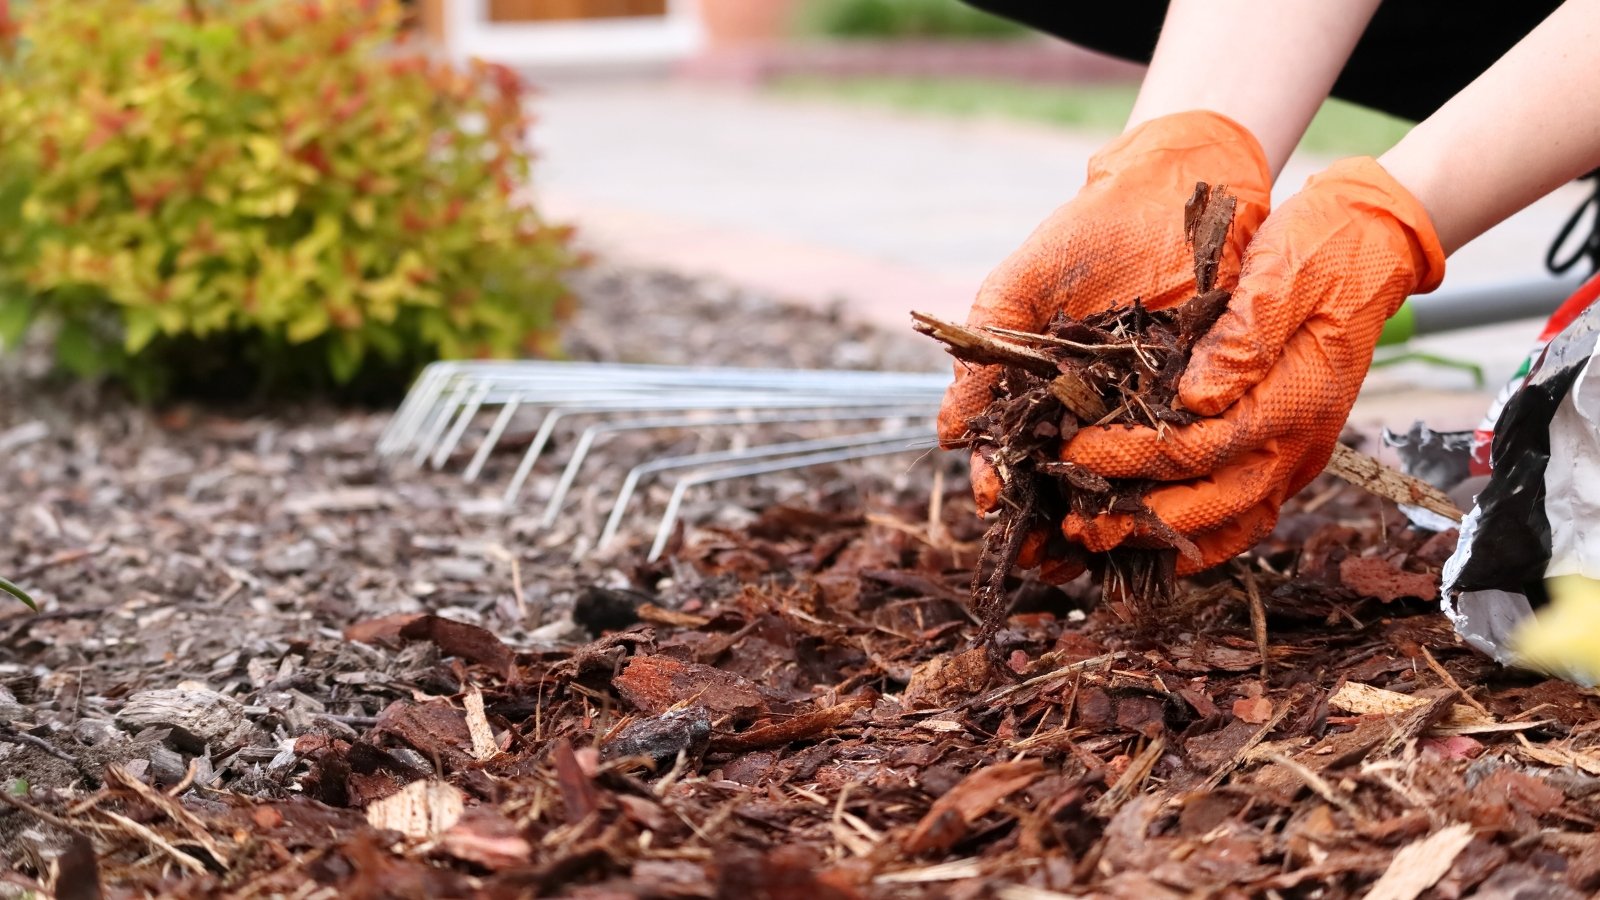 A light covering suppresses weeds and conserves moisture.
Once you’re finished dividing and re-planting your overcrowded bulbs, it’s a good idea to mulch over them. Mulching offers several important benefits. First, it helps regulate soil temperature, keeping things insulated from temperature extremes.

Mulch also helps the soil retain moisture, which is important to get those new roots established. It helps to suppress weeds as well, making your job much easier all year.
Finally, mulch helps to prevent frost heaving. Frost heaving is when your bulbs are forced up and out of the ground by the freezing and thawing process. Planting them at the right depth and using a light covering of mulch are the best preventatives for frost heaving.
The time to mulch is while the soil is moderately warm, not too hot, and not too cold. This should line up with your dividing time in general. Use a lightweight mulch like pine needles, shredded leaves, or straw. These lighter materials will be easier for the new foliage to push through when it’s time for them to come back.


 English (US) ·
  French (CA) ·